30
Style 2
To Turn the Ice Maker On/Off:
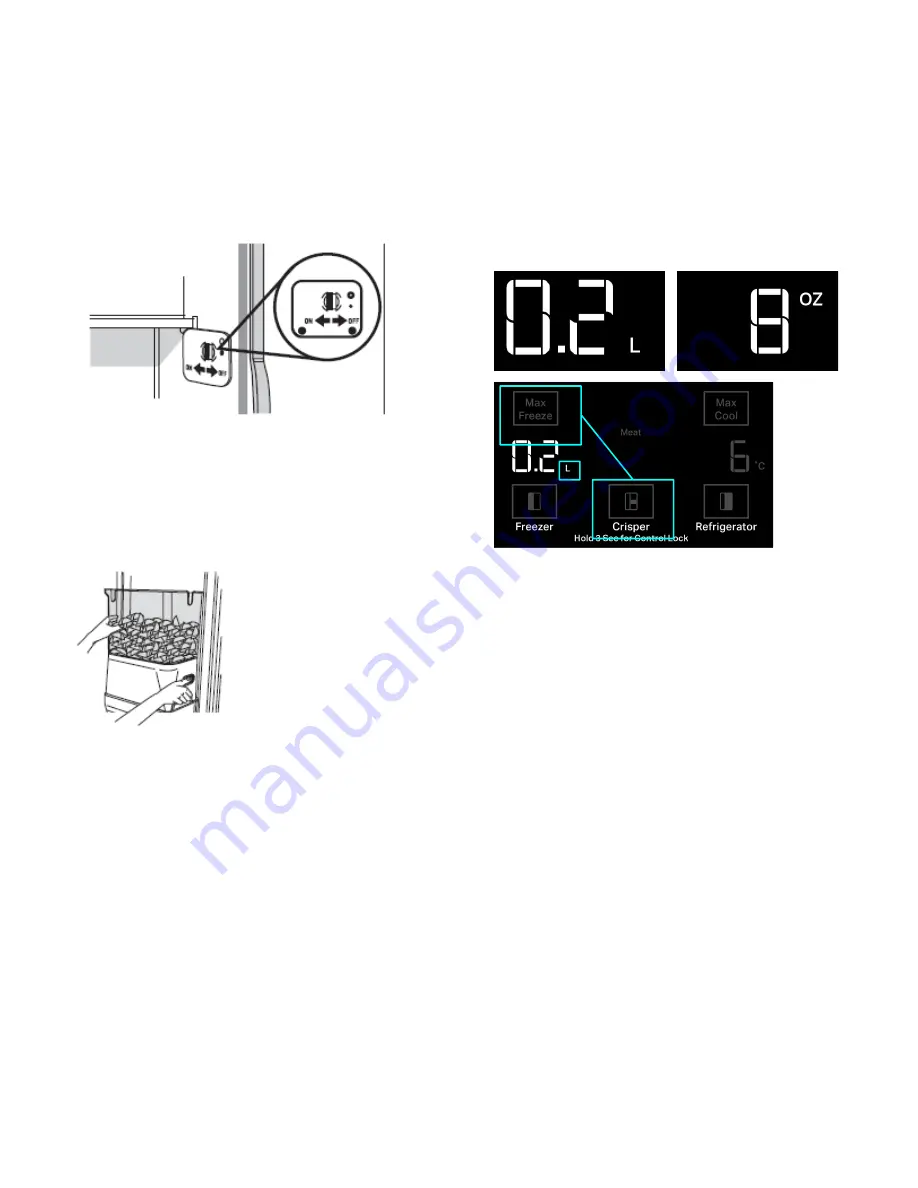
The On/Off switch is located on the top right side of the freezer
compartment.
1.
To turn the ice maker on, slide the control to the ON (left)
position.
NOTE
:
Your ice maker has an automatic shutoff. The ice maker
sensors will automatically stop ice production, but the control will
remain in the ON (left) position.
2.
To manually turn the ice maker off, slide the control to the OFF
(right) position.
To Remove and Replace the Ice Storage Bin:
1.
Hold the base of the storage bin with both hands and press the
release button to lift the storage bin up and out.
NOTE
:
It is not necessary to turn the ice maker control to the OFF
(right) position when removing the storage bin. The sensor cover
("flipper door") on the left wall of the freezer stops the ice maker from
producing ice if the door is open or the storage bin is removed.
2.
Replace the storage bin on the door and push down to make
sure it is securely in place.
Clean the Ice Storage Bin
NOTE:
It is normal for ice to stick together in the ice bin. Ice may
be dispensed or used more frequently which will break up the ice.
It is recommended that the ice container be emptied and cleaned
as needed.
To clean the ice storage bin:
1.
Empty the ice container. Use warm water to melt the ice if
necessary.
NOTE
:
Do not use anything sharp to break up the ice in the bin or
bucket. This can cause damage to the ice container and the dispenser
mechanism.
2.
Wash ice bin with a mild detergent, rinse well and dry
thoroughly. Do not use harsh or abrasive cleaners or solvents.
Remember
�
Allow 24 hours to produce the first batch of ice. Allow 3 days to
completely fill ice container.
�
Discard the first three batches of ice produced to avoid
impurities that may be flushed out of the system.
�
The quality of your ice will be only as good as the quality of the
water supplied to your ice maker.
�
Avoid connecting the ice maker to a softened water supply.
�
Water softener chemicals (such as salt) can damage parts of
the ice maker and lead to poor quality ice. If a softened water
supply cannot be avoided, make sure the water softener is
operating properly and is well maintained.
�
It is normal for the ice cubes to be attached at the corners.
They will break apart easily.
�
For
Style 1
ice maker, do not force the wire shutoff arm up or
down.
�
Do not store anything on top of the ice maker or in the ice
storage bin/bucket.
Setting Liters and Ounces
Hold [Max Freezer] + [Crisper] button for 3 seconds to switch
between L and OZ.
When activated, the corresponding point LED is lit at FULL
brightness. The LED will turn off after 10 seconds if it’s not in the
mode associated to the water amount mode.
The L/OZ only turns on when there is an interaction associated to
water amount (eg, measured fill, calibration..)
Measured Fill
Calibrate Measured Fill
Household water pressure may affect the accuracy of the
Measured Fill feature. For optimum performance of your water
dispenser, you must first calibrate Measured Fill.
Start Calibration Mode
1.
Press and hold the Measured Fill button for 3 seconds to enter
Calibration Mode. The button will display along with the 0.2 L
or 8 oz default settings.
2.
Pressing the water pad will dispense water (e.g. into a
measuring cup) until the desired amount is dispensed.
Releasing the water pad will stop water dispensing.
Save and Exiting Calibration
1.
If water was dispensed, pressing the Measured Fill button will
save the amount dispensed, a tone will play and the calibration
amount display will blink twice.
2.
If no water was dispensed, Pressing the Measured Fill button
will exit Calibration mode without saving the calibration
amount.


