MAINTENANCE & TROUBLESHOOTING
TROUBLE
Low pressure
Oil discharge in air
Insufficient output, low
discharge pressure
Excessive vibration/
compressor knocks
Compressor uses too
much oil
POSSIBLE CAUSE
Air leak in safety valve
Drain cock open
Restricted air filter
Defective throttle uploader
Improper oil viscosity
Too much oil in crankcase
Compressor overheated
Restricted air filter
Restricted air filter
Leaks in air lines, air valves, fittings...
Drive belt slipping
Drain valve open
Defective pressure gauge
Leaking head gasket
Worn piston, worn out rings
Defective check valve
Loose compressor, motor or guard
Compressor not level
Wrong oil being used
Compressor valves loose or broken
Check valve knocks at low pressure
Restricted air filter
Wrong oil viscosity
Oil level too high
Crankcase breather valve malfunction
Worn piston rings
Piston rings not seated.
CORRECTIVE ACTION
Check valve manually by pulling. If condition persists, replace.
Close drain cock
Clean or replace as necessary
Replace throttle uploader
Replace oil with SAE 30 non-detergent oil
Drain crankcase and fill to proper level
Air pressure regulated too high
Replace filter
Replace filter
Replace worn components
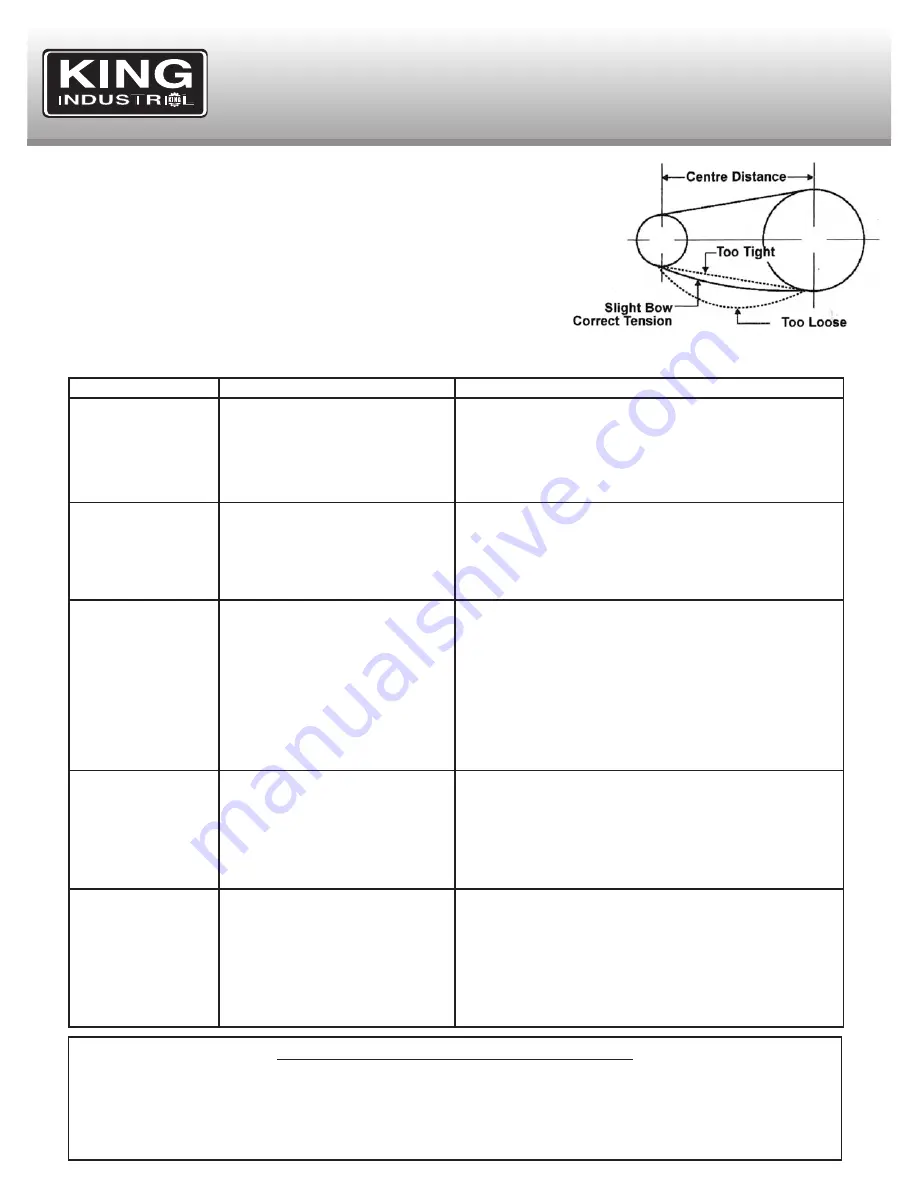
Tension V-belt
Close drain valve
Replace pressure gauge
Replace head gasket
Replace worn parts
Clean check valve or replace
Tighten components
Level compressor
Drain and replace with proper oil
Check and replace worn or damaged valves
Remove and clean check valve
Replace filter
Drain and replace oil
Fill with oil to proper level
Replace crankcase breather
Replace piston rings
Allow 100 hours of normal operation for new rings to seat
HONDA ENGINE SERVICE INFORMATION
IF YOU ARE EXPERIENCING PROBLEMS WITH THE HONDA ENGINE, DO NOT RETURN TO THE
RETAILER, READ THE MAINTENANCE SECTION OF THE HONDA INSTRUCTION MANUAL, IF THIS DOES
NOT HELP YOU, CONTACT HONDA CANADA, INC. BY PHONE OR THROUGH THEIR WEB SITE FOR
SERVICE/REPAIR INFORMATION.
TOLL FREE: 1-888-9HONDA9 (946-6329) or WEB SITE: www.honda.ca
REPLACING/TENSIONING DRIVE BELT
If the drive belt needs tensioning, the belt should be adjusted so when pressure is
applied in the centre, there is approximately 1/2” slack. See Fig.8.
1) To install a new belt, remove belt guard. Loosen engine mount bolts and slide engine
towards the pump, remove belt.
2) Install proper replacement belt, slide engine away from pump to provide
recommended tension, align pulleys and fasten engine mount bolts.
3) Reinstall belt guard. Belt tension should be checked after 20 hours of operation.
Check belt tension monthly thereafter.
FIGURE 8


