4
PORTABLE CLAMPING STAND
1) Portable Clamping Stand Assembly (Cont.)
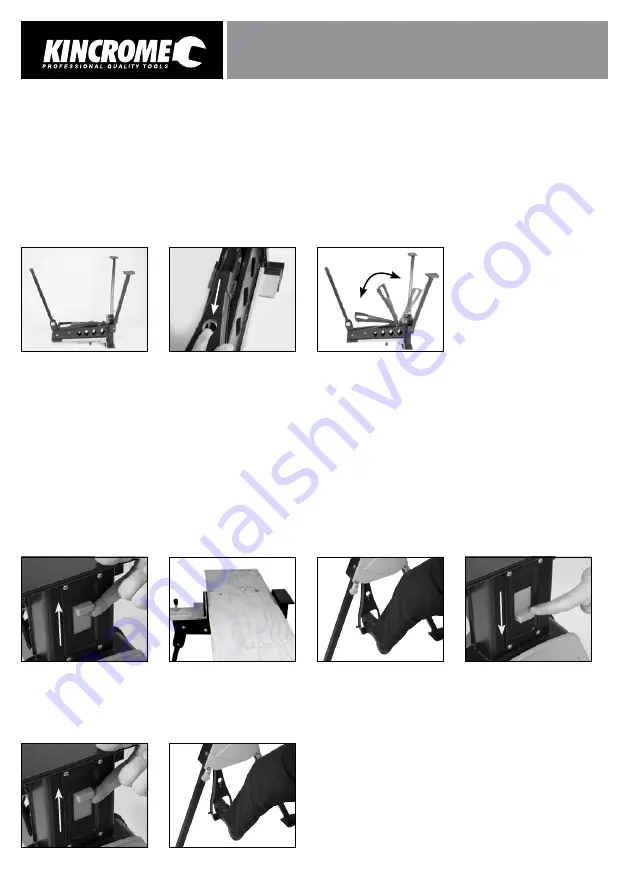
6. Unfold the folding front legs (6) towards the front of the portable clamping stand until they locate and click into the
fully extended position (fig 4).
7. Unfold the clamp foot pedal (8) by releasing the foot pedal folding release lever (7) (fig5a), then unfold the clamp foot
pedal (8) out towards the front of the portable clamping stand (fig 5b) until it clicks & locks into place .
8. The portable clamping stand is now assembled and can be turned over onto its feet.
Caution: Take care when lifting or moving the clamping stand. Ensure you use the correct lifting techniques when lifting
heavy objects. Prior to using the portable clamping stand ensure that the stand is located on a sound level surface where
all three legs are touching the ground.
2) Portable Clamping Stand User Instructions (A) 0-420mm
2a) Clamping your work piece
1. Ensure that the clamp lock lever (10) located on the front of the portable clamping stand is in the unlock position as shown
in (fig 6).
2. Using the rail push handle (1) extend the sliding clamp rail (2) to enable you to fit the material you are clamping within the
front and rear anti marring jaws (3) (fig 7).
3. Using the clamp foot pedal (8) press the foot pedal in and out with your foot to clamp your work piece tightly (fig 8), then
while maintaining pressure on the clamp foot pedal (8) move the clamp lock lever (10) down into the lock position as
indicated in (fig 9).
Note: Your work piece should now be tightly secured in the clamping stand and you can commence working on your product
or materials.
2b) Un-clamping your work piece
To unclamp your work piece move the clamp lock lever (10) into the unlock position (fig 10) then press the clamp foot pedal (8)
with your foot (fig 11). Following the above will unlock the clamp and enable you to remove your work piece.
(fig 4)
(fig 5a)
(fig 5b)
(fig 6)
(fig 10)
(fig 7)
(fig 11)
(fig 8)
(fig 9)


