


8 Port /16 Port User Manual
-
9
-
Closing the console
Close the LCD display panel and the power automatically will shut down.
Push the release catch in the direction of the arrow, push the LCD panel all the
way in until it automatically lock up.
Key
AUTO LOCK
2-1.6 open angle of the console
LED Instructions
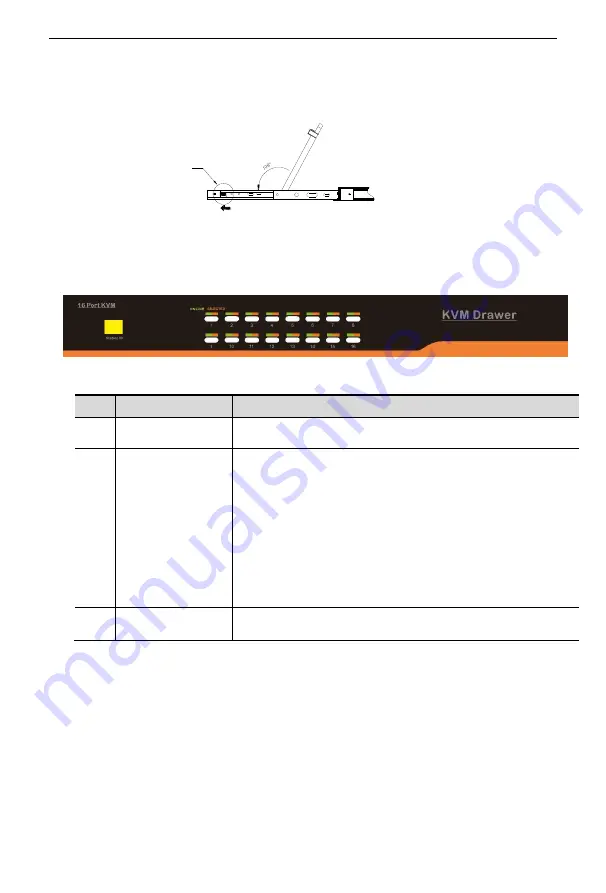
3-1.1 front view
Table 3-1.1 LED instructions
No.
Components
Function
1
1-8 or
1-16
1) Switching freely from port 1 to port 8 /16
2
Port Selection
Buttons& LEDs
Indicator LEDs are built into the switches, the online
LED light is on the left and the selected LED light is on
the right.
1
)
An online LED light(green) indicates that the KVM
has connected to its corresponding computer and power
on.
2
)
A selected LED light(orange) indicates that the
computer attached to its corresponding port is up and
running.
3
Station ID
Display the current port