3
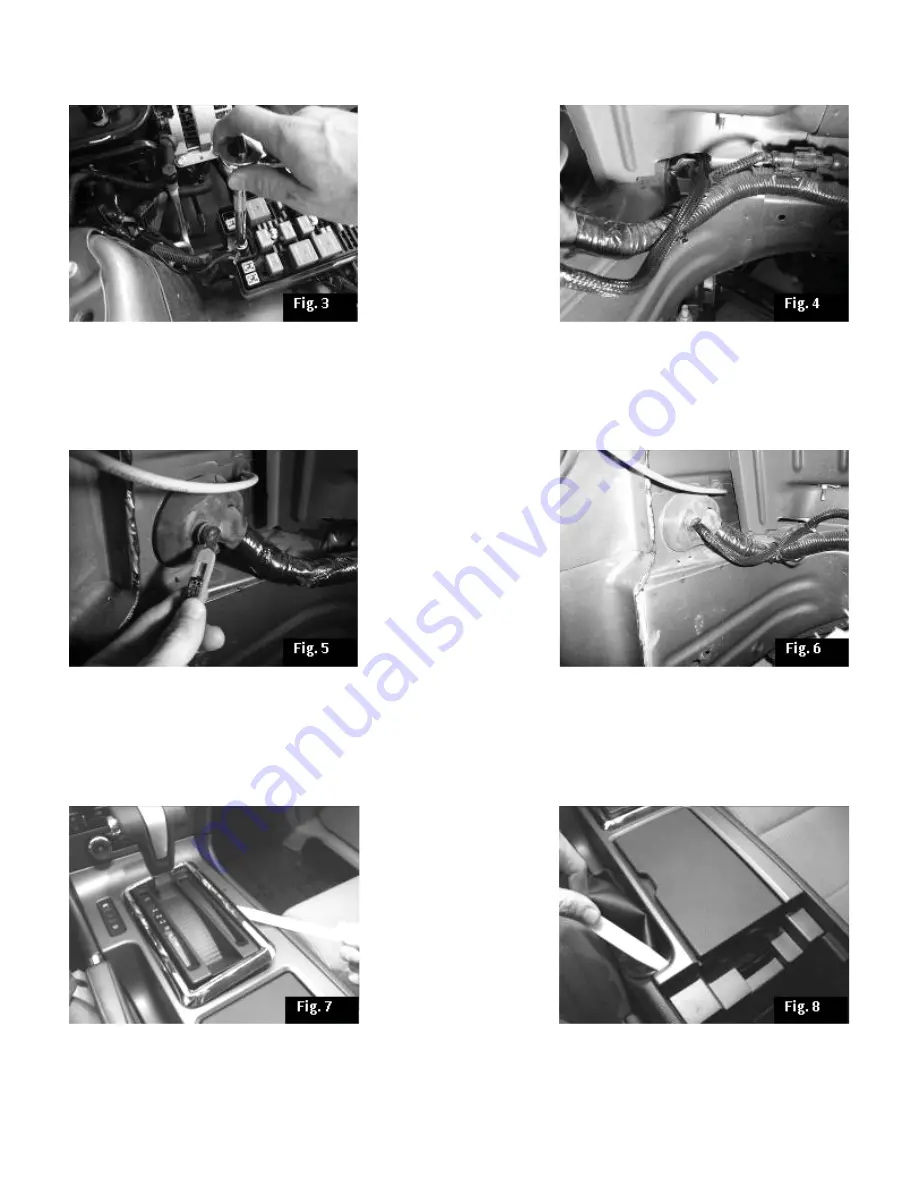
7. Route the power harnesses down to the small opening near the fi re wall that leads into the fender well
area. Fig. 4
8. Using a razor knife make a small incision in the rubber grommet. Fig. 5
9. Pass the power harnesses into the cabin and secure with the provided wire ties. Fig. 6
10. From inside the car, install the provided white three-pin connector on the end of the amplifi er power har-
ness. (Any wire can be installed in any position) Install the two-pin black connector on the subwoofer power
harness.
Radio Removal
11. Using a panel removal tool gently pry loose the bezel around the shifter and remove. Fig. 7
12. Open the center console lid and gently pry loose the top of the console. Disconnect wiring and set
aside. Fig. 8
13. Remove the two screws securing the bottom of the radio bezel. Fig. 9
14. Pry loose the radio bezel and disconnect wiring. Fig. 10
15. Remove the four screws securing the radio, pull radio from dash and disconnect wiring.


