4
3
5
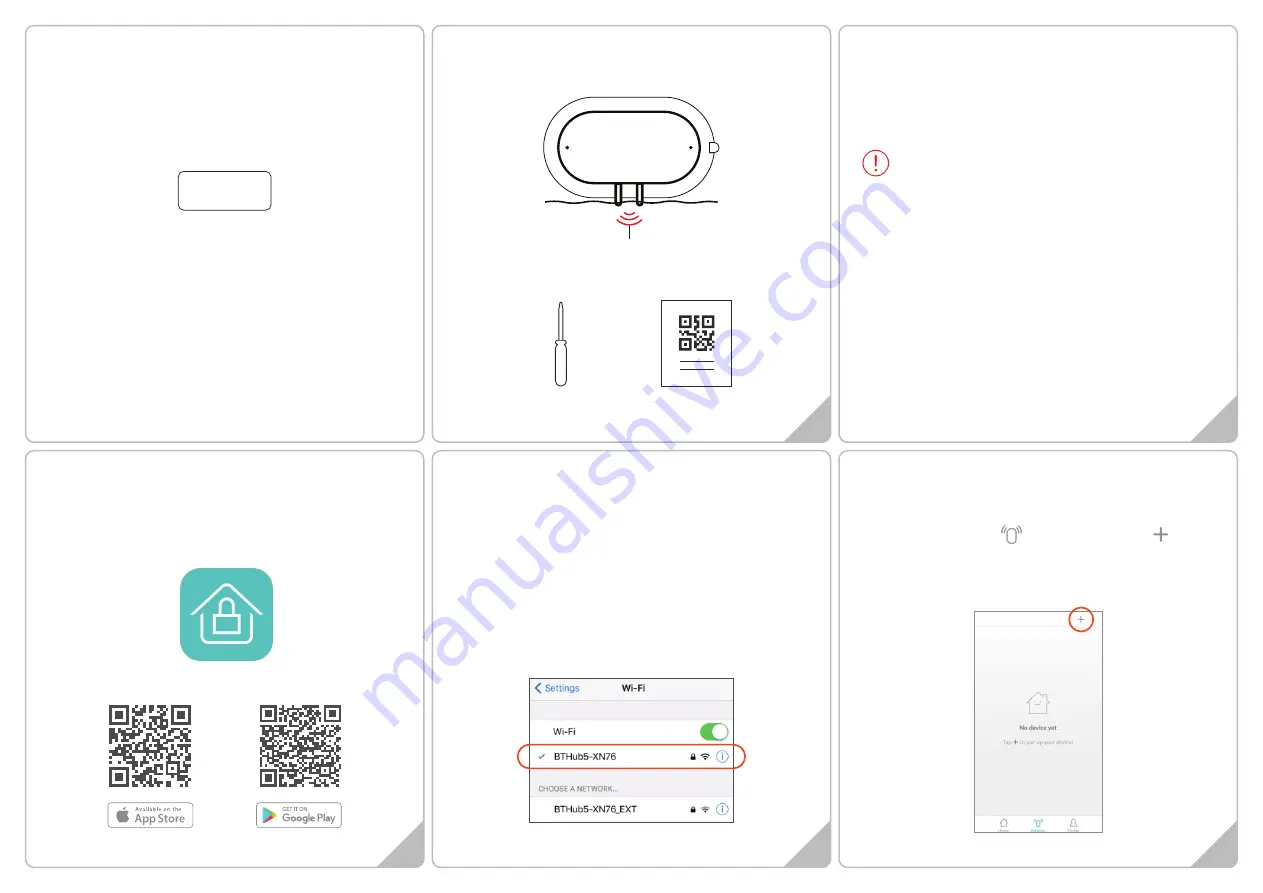
Setting up your DEVICE
1. Please have 2 new AAA batteries for the sensor ready, but do not
install just yet.
2. Re-Open the APP, go to Devices section, press and
then Start
3. Ensure that the Router SSID is the same that you have just seen
in your smartphone’s WIFI Settings or you will not be able to pair
successfully
Setting up your DEVICE
Go to the locations in the Building where you eventually wish to
use the Sensor. Look at your smart phone and ensure you have a
good and steady WIFI connection. Exit the APP, open SETTINGS on
your smart phone and click WIFI. If you just have a main Router, it
will be showing its reference (or SSID). However, if you have one or
more extenders, they may also be showing underneath.
VERY IMPORTANT
‒ The Sensor will only communicate Alarm
signals to the WIFI Router or Extender that you are about to pair to
so it is essential that you pair it to the closest/strongest WIFI
signal/SSID.
Installing the APP
1. Before powering up the device, please install our free
NetzHome APP onto your phone.
2. Now complete your User Profile by inputting your email
address and a 6-to-20-digit password.
NetzHome
1
2
Getting started
1. Please check that your smart phone app is updated.
2. Please also check that your Wi-Fi router is working properly and
operates on 802.11b/g/n 2.4GHz with WPA/WPA2 encryption.
We also support OPEN encryption. i.e. no password
Product Features
1. Built-in Wi-Fi module that sends all alerts to your Smartphone if
water has reached both poles under the tag
2. Separate low battery and loss of signal notifications
3. Life-time cloud service is included
4. Simple Wi-Fi connection set up with APP
5. Individual tag setting from your smartphone
6. APP records last 30 activations time and date stamped
7. Schedule up to 4 periods per day when unit is automatically
turned off.
2.4GHz is the standard connection for most routers.
Please do
NOT
choose 5GHz connection.
QR Code Card
Screwdriver
In the Box
Wi-Fi Water Level Sensor
Poles
QUICK START GUIDE
Wi-Fi WATER LEVEL SENSOR
WT13


