13
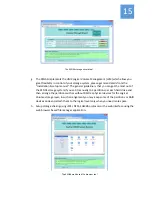
KSNAS
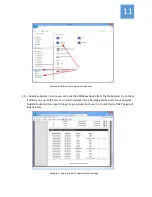
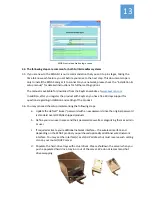
control
application
login
screen
34.
The
following
steps
are
common
for
both
Full
&
Headless
systems
35.
If
you
are
new
to
the
KSNAS
it
is
our
recommendation
that
you
set
it
up
in
stages,
taking
the
time
to
know
each
feature
you
set
before
you
move
to
the
next
step.
This
document
scope
is
only
to
install
the
KSNAS
and
get
it
to
connect
to
your
network,
please
check
the
“Installation
&
setup
manual”
for
detailed
instructions
for
further
setting
options.
The
manual
is
available
for
download
from
the
KeyScan
website
at
www.keyscan.com
In
addition,
after
you
register
the
product
with
KeyScan
you
have
free
30
days
support
for
questions
regarding
installation
and
setting
of
the
product.
36.
You
may
proceed
the
setup
implementing
the
following
steps:
a.
Update
the
default
“ksuser”
password
with
a
new
password
since
the
original
password
is
standard
over
all
KSNAS
shipped
products.
b.
Define
your
own
user
names
and
their
passwords
as
well
as
categorizing
them
as
admin
or
user
c.
If
required
activate
your
additional
network
interface
–
the
wireless
interface
and
depending
on
the
KSNAS
product
you
purchased
optionally
additional
wired
network
interface.
You
may
set
the
interface(s)
as
static
IP
address
but
must
reserve
such
setting
also
on
your
router/DHCP
server.
d.
Populate
the
hard
‐
drive
trays
with
actual
drives.
Please
shutdown
the
server
when
you
push
a
populated
hard
drive
tray
in
or
out
of
the
server.
We
do
not
recommend
hot
drive
swapping.

