background image

Assembly

This HEALTH TRAINER 601 treadmill is shipped in one piece and fully assembled. After opening
the box, remove any packing materials from the treadmill. Do not throw away any packing materials
until the unit is working properly. Place the base on a clean, level surface. Make sure the electrical
cord will easily reach an electrical outlet.
Moving
CAUTION! TO AVOID THE RISK OF INJURY, NEVER ATTEMPT TO MOVE THE TREAD-
MILL WHILE IT IS IN THE UNFOLDED OPERATING POSITION. TO REDUCE THE
POSSIBILITY OF INJURY WHILE LIFTING, BEND YOUR LEGS AND KEEP YOUR BACK
STRAIGHT. AS YOU RAISE THE TREADMILL, LIFT USING YOUR LEGS, NOT YOUR
BACK. IN ORDER TO RAISE OR LOWER THE TREADMILL SAFELY, YOU MUST BE
ABLE TO LIFT 45 POUNDS (20KG). IT IS SUGGESTED YOU ALWAYS USE THE AID OF
A SECOND PERSON WHEN MOVING THE TREADMILL.
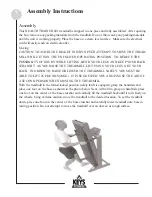
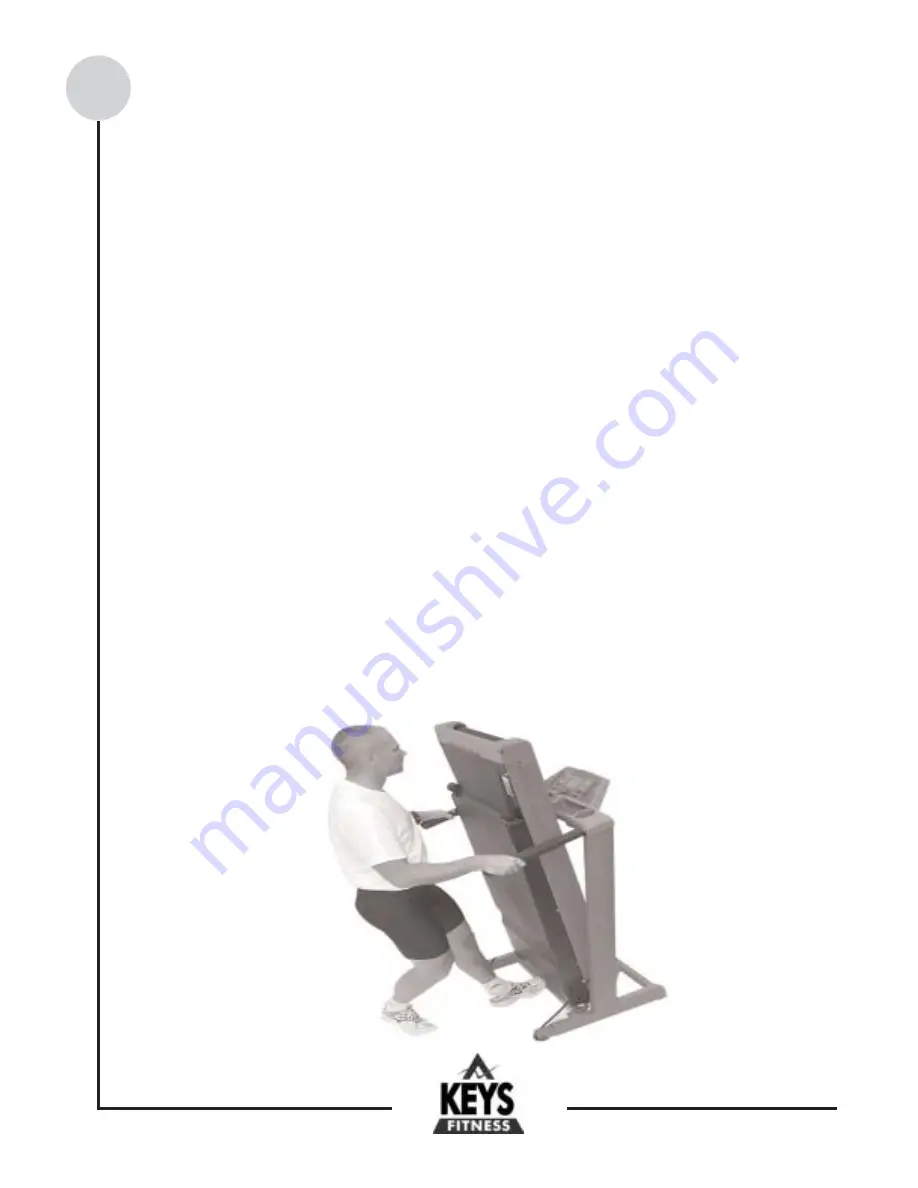
With the treadmill in the folded locked position (safety latch is engaged), grasp the handrails and
place one foot on the base as shown in the photo below. Next, with a firm grasp on handrails, place
one foot on the center of the base crossbar and carefully tilt the treadmill back until it rolls freely on
the wheels. Using extreme caution, move the treadmill to the desired location. To set the treadmill
down, place one foot on the center of the base crossbar and carefully lower treadmill onto base in
resting position. Do not attempt to move the treadmill over an uneven or rough surface.

7

Assembly Instructions 

Содержание HealthTrainer HT601

Страница 1: ...601 TREADMILL OWNER S MANUAL Model Name HT601 Serial Number Purchase Date Write down for future reference Keys Technical Service 888 340 0482 KEYS Fitness Products LP P O Box 551239 Dallas TX 75239 1...

Страница 2: ...er Requirements 8 Console Functions and Descriptions 9 Program and Operating Instructions 10 11 Program Descriptions and Profiles 12 Belt Adjustments and Tension 13 Change to MPH or Km H 14 Maintenanc...

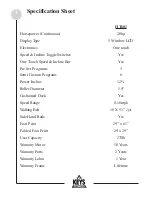
Страница 3: ...Speed Incline Bar Yes Pre Set Programs 3 Semi Custom Programs 6 Power Incline 12 Roller Diameter 1 9 Cushioned Deck Yes Speed Range 0 10mph Walking Belt 18 X 51 2 ply Side Hand Rails Yes Foot Print 29...

Страница 4: ...to plugging in your treadmill Keep the power cord away from the incline wheels and do not run the power cord underneath your treadmill Do not operate the tread mill with a damaged or frayed power cord...

Страница 5: ...r exer cise heart rate If you have heart problems you are not active and or are over the age of 35 years do not use the pre set treadmill programs or start an exercise program without first contacting...

Страница 6: ...hilles tendons and ankles QUADRICEPS STRETCH With one hand against a wall for balance reach back and grasp one foot with your other hand Bring your heel as close to your buttocks as possible Hold for...

Страница 7: ...OUR LEGS NOT YOUR BACK IN ORDER TO RAISE OR LOWER THE TREADMILL SAFELY YOU MUST BE ABLE TO LIFT 45 POUNDS 20KG IT IS SUGGESTED YOU ALWAYS USE THE AID OF A SECOND PERSON WHEN MOVING THE TREADMILL With...

Страница 8: ...tectors can be purchased at most hardware stores The manufacturer recommends a single out let surge protector with UL 1449 rating as a Transient Voltage Surge Suppressor TVSS with UL sup pressed volta...

Страница 9: ...ted calories used based on 150 lb person at the indicated speed incline and time INCLINE WINDOW INCLINE Indicates incline in percent of grade 0 12 in 0 5 increments CENTER BRICKYARD WINDOW Displays qu...

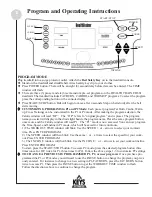
Страница 10: ...low to zero To pause your workout press PAUSE To re start after pausing Press the PAUSE button WARNING THE TREADMILL BELT WILL RESUME AT THE SPEED THE TREADMILL WAS MOVING BEFORE PAUS ING Countdown Ti...

Страница 11: ...me you select will display in the diode light beside the program name Press the same program button once more and the Calorie window will read P1 The P1 mode is now accessed You can now program the Ti...

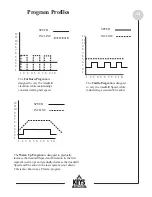
Страница 12: ...m is designed to gradually increase the treadmill Speed and Elevation in the first segment warm up and gradually decrease the treadmill Speed and Elevation in the last segment cool down This is also k...

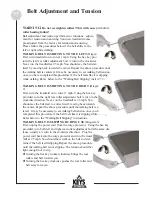
Страница 13: ...1 mph Using the hex key provided turn the right rear roller adjustment bolt turn in the clockwise direction Next run the treadmill at 2 5 mph You should see the belt start to correct itself moving ba...

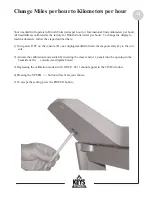
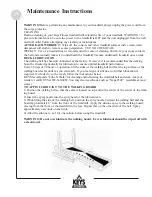
Страница 14: ...r OFF on the console Do not unplug treadmill Attach the magnet safety key to the con sole 2 Activate the calibration mode switch by inserting the eraser end of a pencil into the opening in the backsid...

Страница 15: ...e sides of the walking belt and feel the top surface of the walking board as far under as you can reach If you feel signs of silicone no further lubrication is required If it feels dry to the touch fo...

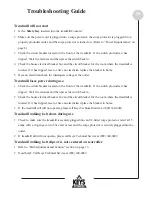
Страница 16: ...ker located on the front of the treadmill If the switch protrudes it has tripped Wait five minutes and then press the switch back in 2 Check the house electrical breaker box and the circuit breaker fo...

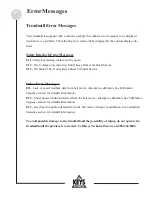
Страница 17: ...al Service Other Error Messages E11 Lack of speed feedback data from belt motor Attempt re calibration See Calibration Sequence section for detailed information E22 Under Speed condition detected from...

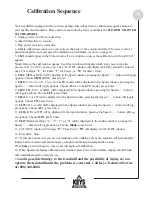
Страница 18: ...Enter 8 CL23 FFF UUU or HHH will be displayed in the Speed window pressing the Speed button will toggle options Choose FFF press Enter 9 CL24 111 or 222 will be displayed in the Speed window pressing...

Страница 19: ...Motor actuator 12 0022 9 3 Piece Bottom Motor Pan 06 0018 06 0019 06 0020 10 Small Fan 06 0080 11 Motor 12 0023 12 Poly V Belt 04 0004 13 Motor Hood Cover Top 06 0105 15 16 Console Assembly 24 0249 19...

Страница 20: ...al family or household use In repairing the Product Keys may replace defective parts or at the option of Keys serviceable used parts that are equivalent to new parts in performance All exchanged parts...

Отзывы: