3
Diese Anleitung ist für den Installateur zur Mon-
tage sowie für den Nutzer zur Bedienung und
Wartung des Produktes. Bitte nach der Installati-
on an den Nutzer zur Verwahrung weitergeben.
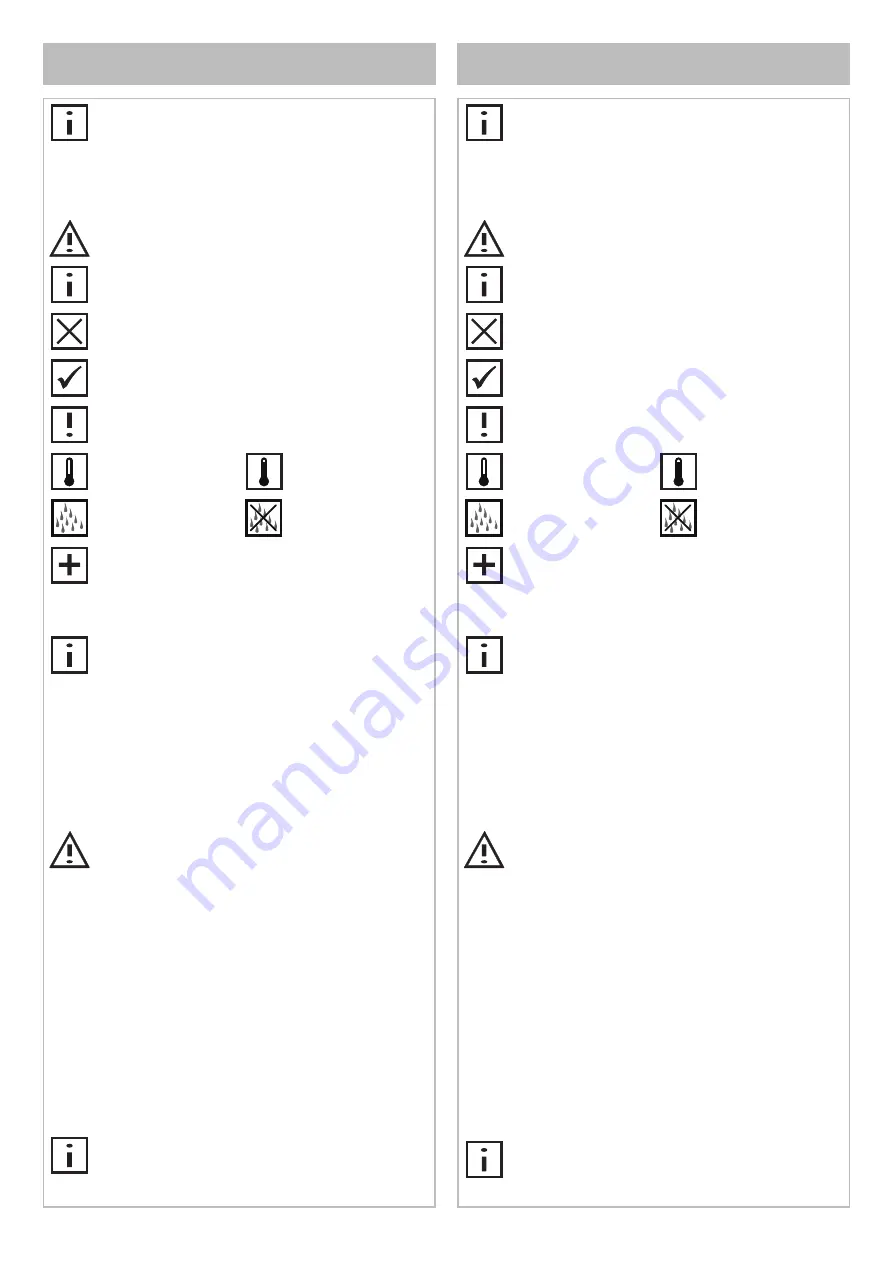
Symbole und Bedeutung
Achtung!
Warnung vor Personen- oder
Sachschaden.
Hinweis, Tipp oder Verweis
Falsche Montage
Korrekte Montage/Funktionsprüfung
Montagedetail beachten
Kaltwasser
Warmwasser
Wasser
fl
uss
Kein Wasser
fl
uss
Optional/Zubehör
Verwendungszweck
Einhebelmischer für die Verwendung im Bade-
zimmer.
Technische Daten
– Durch
fl
uss bei 3 bar Fließdruck:
ca. 23 l/min
Einbaumaße,
siehe Seite 2
Installation,
siehe ab Bild 1 auf Seite 8
Nur neutral vernetzendes Silikon verwenden.
Bedienung,
siehe Bild 8 auf Seite 9
Temperatur- und Durch
fl
ussbegrenzung,
siehe Bild 9
bis 11 auf Seite 9
Montage in umgekehrter Reihenfolge.
Wartung,
siehe Bild 12 auf Seite 9
Montage in umgekehrter Reihenfolge.
– Anzugsmoment Kartuschenmutter: 12-13 Nm
Ersatzteile mit Bestellnummern,
siehe Seite 11
Hinweise zur Gewährleistung und P
fl
ege sind
dem beiliegendem
P
fl
ege- und Garantiepass
zu entnehmen.
DE
Wichtige Informationen, bitte unbedingt lesen!
EN
Important information, please read!
These instructions are for both the installer for
installation and the user for operation and main-
tenance of the product. After installation, please
hand them over to the user to keep.
Symbols and explanations
Attention!
Warning against bodily injury or
damage to property.
Note, tip or reference
Incorrect installation
Correct installation/test of functionality
Observe installation details
Cold water
Hot water
Water
fl
ow
No water
fl
ow
Optional/accessories
Intended use
Single lever mixer tap for use in bathrooms.
Technical speci
fi
cations
– Flow at 3 bar pressure:
approx. 23 l/min
Installation dimensions,
refer to page 2
Installation,
refer to picture 1 on page 8
Use only neutrally netting silicone.
Operation,
refer to picture 8 on page 9
Temperature controll and
fl
ow rate limiter,
refer to
picture 9 to 11 on page 9
Assemble in reverse order.
Servicing,
refer to picture 12 on page 9
Assemble in reverse order.
– Cartridge nut torque:
12-13 Nm
For spare parts with order numbers,
refer to page 11
For warranty and care information please refer
to the attached
warranty and care instruc-
tions
.
Содержание IXMO 59551 010201
Страница 8: ...8 1 2 0 4mm 4 2 2 1 1 2 5mm 3 2 5mm 0 1 2 3 3 1 2 6 5 7 7 ...
Страница 9: ...9 9 11 1 2 30mm 2 5mm 1 2 3 2 5mm 1 3 4 5 2 3 10 12 4 8 7 ...
Страница 10: ...10 ...


