22
7. Installation of the LCD Monitor in the Driver’s Cab
First install the monitor in the driver’s cab.
1. Attach the suction cup on the monitor mounting to the front window of the vehicle and push firmly to the glass
using the lever on the suction foot.
2. Mount the black antenna on the LCD monitor on the rear of the screen.
3. Place the LCD monitor onto the mount.
4. Connect the cigarette lighter adapter to the cigarette lighter (12-24V) on the vehicle and the power connection for
the LCD monitor.
5. Start the engine to provide power for the LCD monitor. If the LCD monitor fails to start on its own then push
the on/off (power) button on the screen. The monitor will not yet receive any image, as the camera has not yet been
installed.
6. Switch the LCD monitor off and continue with the installation.
8. Using the Camera
The easiest way to ascertain the right location for the camera is for a second person to hold the camera in position while
you observe the image on the monitor in the driver’s cab.
8.1 Using the Camera
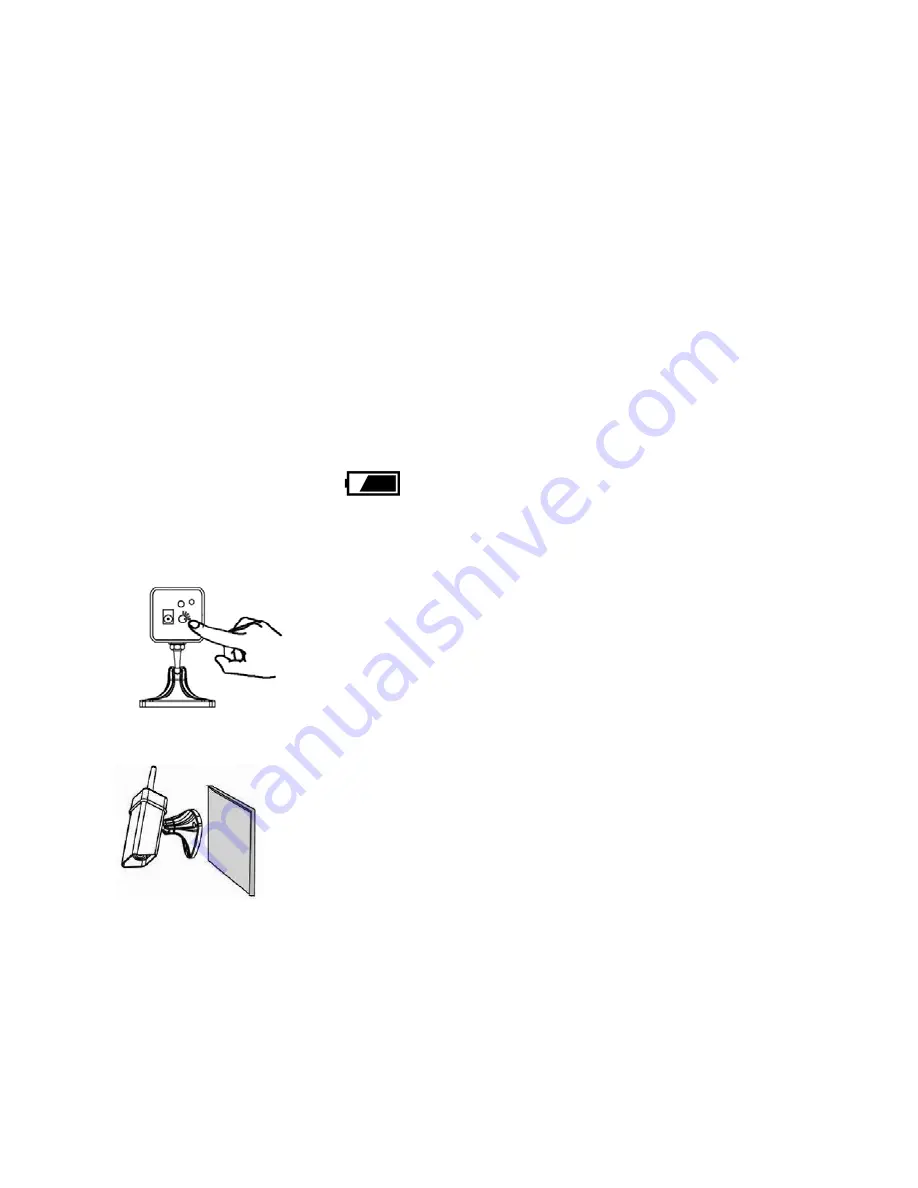
1. Before using make sure the camera is fully charged. Adjust the camera Power ON/OFF/channel button to power on
your camera (set channel 1)
Camera
2. Mount the Magnetic Camera, and then adjust it to a suitable angle.
Be sure that there is the same channel on camera and on LCD monitor
Night Vision
The built-in infra-red lights in the camera provide night vision for low light conditions. The infra-red lights will be activa-
ted automatically at night. The picture will turn to black & white (monochrome) in night vision mode.


