background image

SAFETY AND ADJUSTMENTS

SAFETY

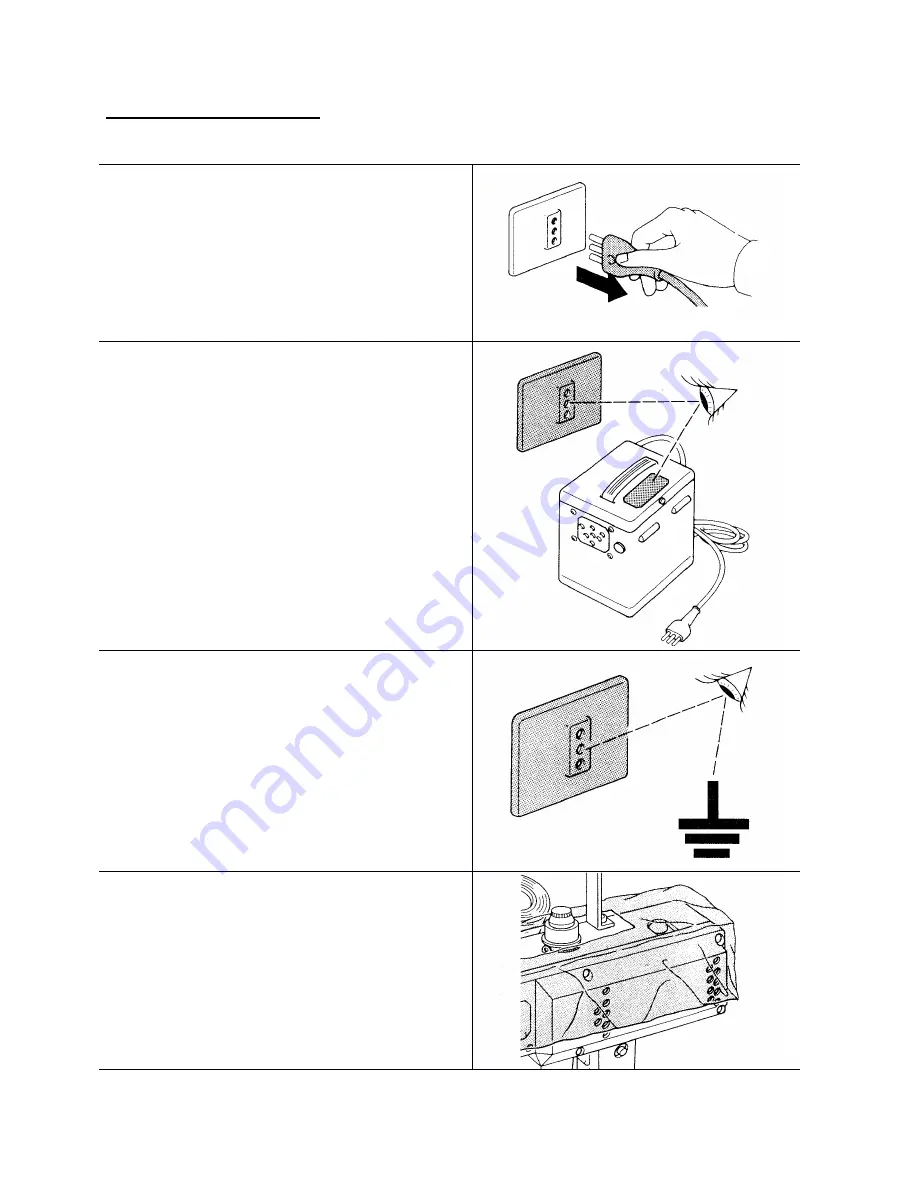
The machine has to be disconnected from the
power supply by pulling out the main plug before:
1. Threading needle and looper. 2.replacing any
parts such as needle presser foot, throat plate,
looper, spreader, feed dog, needle guard, folder,
fabric guide etc. 3. Leaving the workplace and
when the work place is unattended. 4. Doing
maintenance work.

Check if the voltage of the sewing motor
corresponds with the voltage of the wall socket.
The rated voltage is marked in the label of
transformer or machine.

Wall sockets for machines with ground wire must
be porperly grounded.

Do not block up the thermal hole of the motor.

Содержание GK1800

Страница 1: ...INSTRUCTIONS ENGINEER S AND PARTS MANUAL PORTABLE BAG CLOSER Bag Closing SewingMachine...

Страница 2: ...TRUCTURE 2 SAFTY AND ADJUSTMENTS 3 4 SAFTY 3 INSTALLATION AND ADJUSTMENTS 4 OPERATION 5 9 STITCHING 5 CHANGING THE NEEDLE 6 LOOPER AND NEEDLE ADJUSTMENTS CLEANING THE MACHINE 7 LUBRICATION 8 MAINTAINA...

Страница 3: ...y materials and hard duty work The machine is light and handy allowing easy and fast operations The large overarm allows to stitch thin medium and thick bags The one thread simple chain stitch gives a...

Страница 4: ...oper spreader feed dog needle guard folder fabric guide etc 3 Leaving the workplace and when the work place is unattended 4 Doing maintenance work Check if the voltage of the sewing motor corresponds...

Страница 5: ...intenance must be done by an electrician or under direction and supervision of special skilled personnel Thread the machine as shown and make sure the thread end is about 10cm out of the needle s eye...

Страница 6: ...of stitching Place a sample under the press foot and push the start button If the chain stitch is tight or loose please turn the tension knob to regulat till the machine sews and chains off perfectly...

Страница 7: ...ead the needle eye Warning Pull out mains plug before changing the needle 1 Needle position When the needle goes to the lowest position the space between looper point and needle center is about 3 5 4...

Страница 8: ...Retighten screw for the looper Warning Do not loosen the screw A which is position the looper The presser foot pressure is regulated with the regulating screw Clean the machine at least once a week fr...

Страница 9: ...shown in the figure Lubricated by grease from the oil point retighten the screw Warning Do not drop oil and grease on the belt Yearly Open the cover lubricated by grease on feed dog gear looper cam a...

Страница 10: ...OPTIONAL ACCESSORIES Balancer Pedestal stand with foot pedal Pedestal and Column...

Страница 11: ...EXPLODED VIEWS AND DESCRIPTION OF PARTS...

Страница 12: ...M099 Bearing washer M016 Pressure foot spring M058 Looper M017 Joint M059 Looper lever M018 Covering panel M060 Busing M019 Upper thread guide M061 Bushing M020 Sunk screw M062 Axis front bushing M02...

Отзывы: