


16
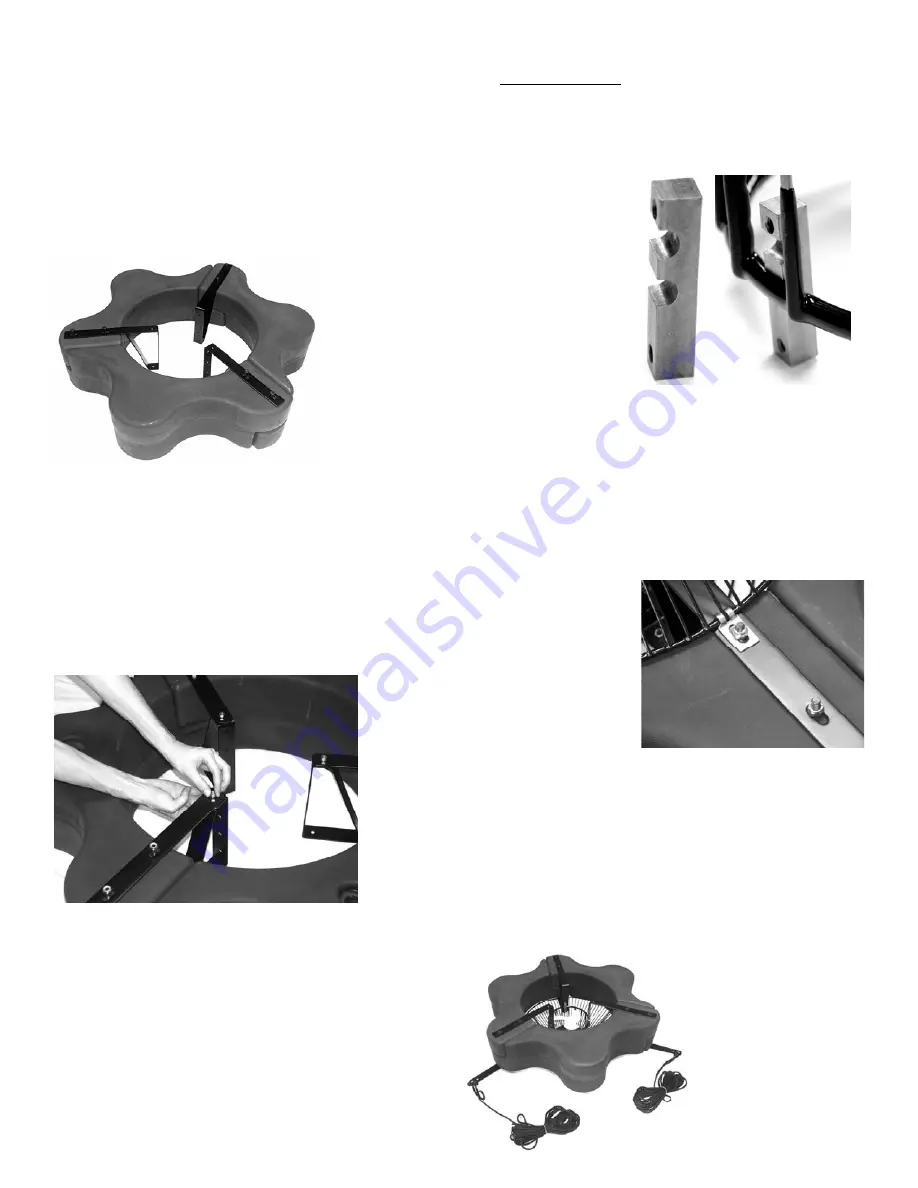
STEP THREE
Position one Top Float Bracket (Part B2-2)so the bolt
holes in the bracket align with the bolt holes in the
two adjoined float sections and insert two 9” Black
Coated Bolts (Part B2-4) through the assembly. This
may require some minor repositioning of the Float
Sections as you push the bolt all the way through.
Do
not force the bolt through.
Repeat at the remaining
two joints.
STEP FOUR
Turn the assembly upside down and place the Bottom
Float Brackets (Part B2-3) over the bolts, the ends of
which should now be extending through the assem-
bly. Loosely install the six Lock Nuts (Part B2-5)on
the ends of the bolts
(do
not tighten).
Connect the top
and bottom brackets using three 1/4” x 3/4” Bolts
(Part B2-7) with three 1/4” Lock Washers (Part B2-8)
and 1/4” Nuts (Part B2-9) and tighten.
STEP FIVE
Place the motor assembly (can side up, white propel-
ler down) in the center of the float. Attach the motor
to the float using the Unit Mounting Brackets (Part
B2-6), 1/4”x 3/4” Bolts and 1/4” Lock Washers.
(This step may require a second person or object
about 4.5” (11.5cm) tall to support the weight of the
motor inside the float. If a support object is used,
make sure the weight is supported on the cage, not
the propeller.
For Model 8400EAF, the notch in the center of the
Unit Mounting Bracket should be positioned over the
top ring of the cage and should be attached to the
Float Bracket using the two lowest holes (closest to
the Lower Bracket) of the Top Float Bracket. (Please
refer to photos below.)
STEP SIX
(Optional Bottom Screen)
If the optional Bottom Screen (Part B2-10) was pur-
chased, it can now be installed. Position the Bottom
Screen over the float so the motor housing (can)
passes through the large hole in the center of the
screen. Remove the center three Lock Nuts from the
9” Bolts and place the Bottom Screen Clips (Part B2-
11) over the Bolts as shown. The power cord can be
slid under the bottom
screen between the
float and screen where
two float sections
come together before
the 3/8” Lock Nuts are
replaced. Replace the
three inside Lock Nuts
and tighten all six
Lock Nuts.
STEP SEVEN
Connect the cord and disconnect per instructions on
page 4-5. Use the Metal Strain Relief provided.
This will help keep the cord free of the propeller and
help prevent damage as well as protect the discon-
nect. The Aerator is now completely assembled and
can be installed following the instructions below.