


DIGITAL COMBO RECEIVER
Menu Guide
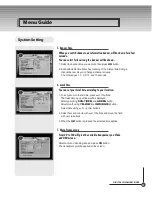
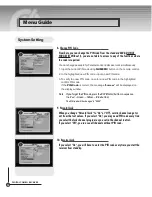
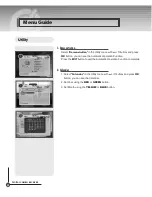
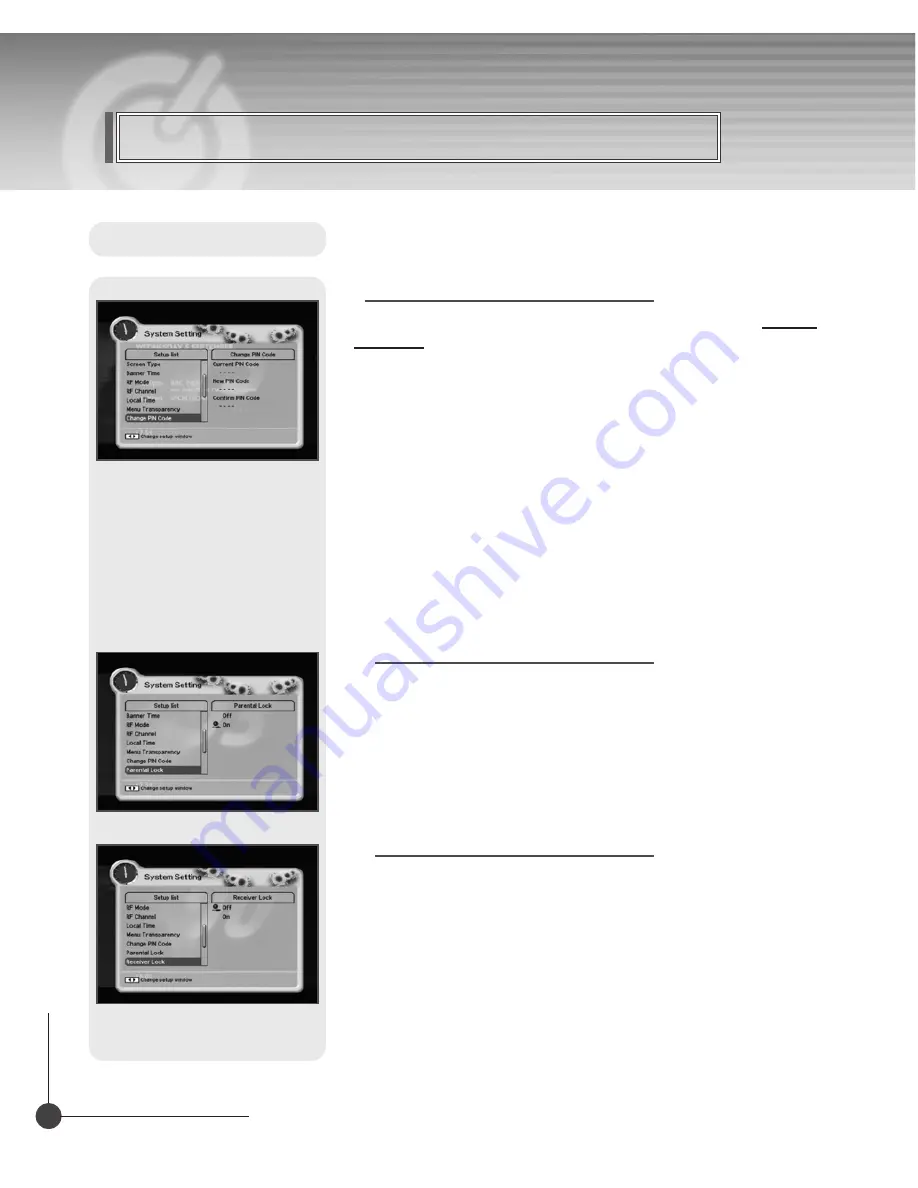
8. Change PIN Code
From here you can change the PIN code from the standard 0000. DO NOT
FORGET IT! Without it, you are not able to access to any of the functions where
the code is required.
You can change password for Parental Lock and Receiver Lock simultaneously.
1. Input the current PIN code using
NUMERIC
button on the remote control.
2. In the highlighted new PIN code, input a new PIN code.
3. To verify the new PIN code, re-enter a new PIN code in the highlighted
confirm PIN code.
If the
PIN Code
is correct, the message
"Success"
will be displayed on
the display window.
Note If you forget the PIN code, press the RGYB(Color) button in sequence.
(i.e. Red
→
Green
→
Yellow
→
Blue button)
The PIN code will be changed to "0000"
9. Parental Lock
When you change "Parental Lock" to "On" or "Off", service channel can get or
not from that set values. If you select "On", you may need PIN code every time
you select the lock channel program as you set in the channel control.
If you select "Off", you can see all channels without PIN code.
10. Receiver Lock
If you select "On", you will have to enter the PIN code every time you start the
receiver from standby.
System Setting
Содержание KTSC-S660HD
Страница 1: ...Digital Combo Receiver KTSC S660HD User s Manual ...
Страница 45: ...45 DIGITAL COMBO RECEIVER Memo ...
Страница 46: ...46 DIGITAL COMBO RECEIVER Memo ...
Страница 47: ...103676 K1 5_ENGLISH ...


