


DIGITAL COMBO RECEIVER
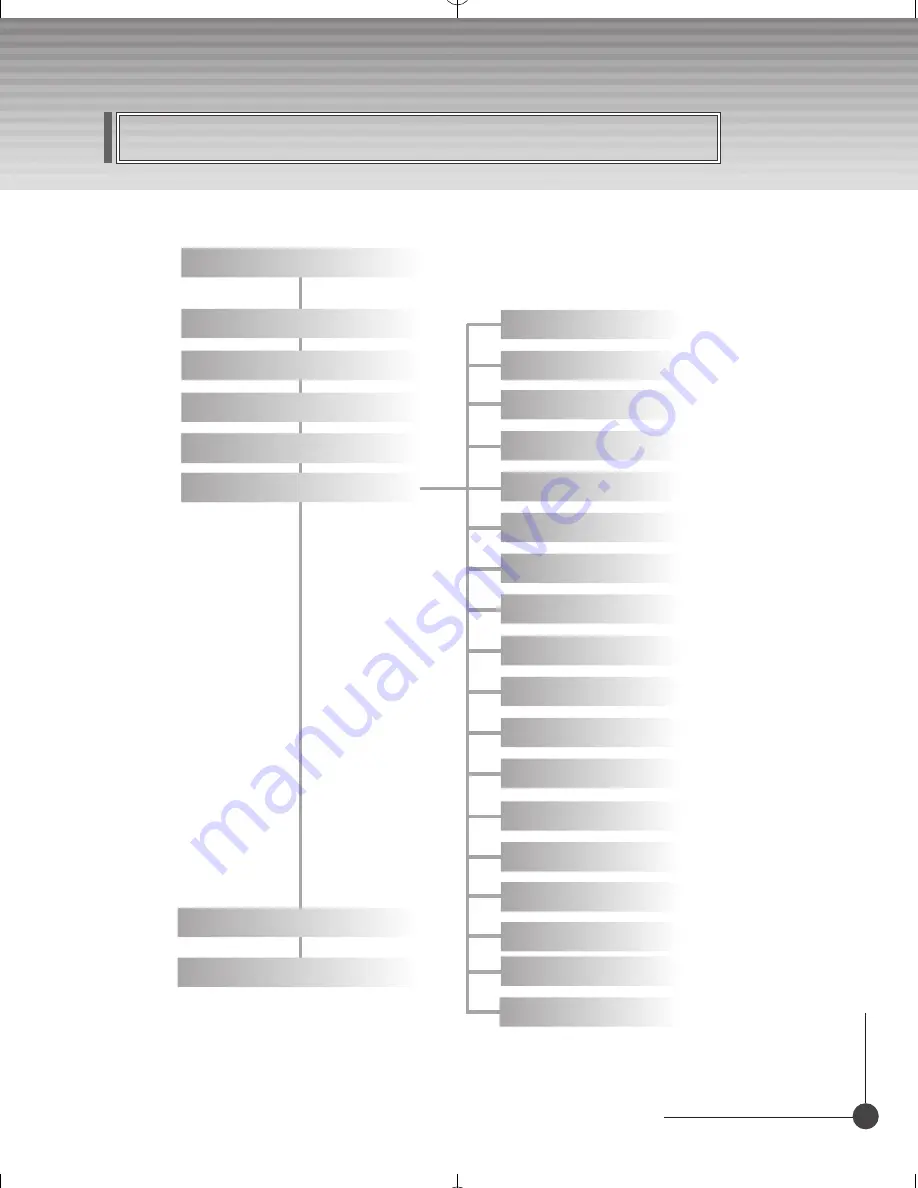
Subtitle Language
SCART Output
Menu Language
Audio Language
Screen Type
Banner Time
RF Mode
RF Channel
Local Time
Menu Transparency
Change PIN Code
Parental Lock
Receiver Lock
Menu Lock
Auto Power
Factory Reset
System Information
Menu Map
Channel List
Edit Channel List
Program Guide
Main Menu
Utility (Option)
Common Interface (Option)
System Setting
SPDIF Output(Option)
Channel Search
Содержание KTSC-570
Страница 1: ...Digital Combo Receiver KTSC 570 User s Manual ...
Страница 50: ...50 DIGITAL COMBO RECEIVER Memo ...
Страница 51: ...51 DIGITAL COMBO RECEIVER Memo ...
Страница 52: ...101040 K1 5_ENGLISH ...


