background image

From the library of: Superior Sewing Machine & Supply LLC

Содержание A-1001

Страница 1: ...Kansai Special INSTRUCTION manual f m n A lOOl A 1001P A IOQS A 1002P A 1004 A 1004P From the library of Superior Sewing Machine Supply LLC ...

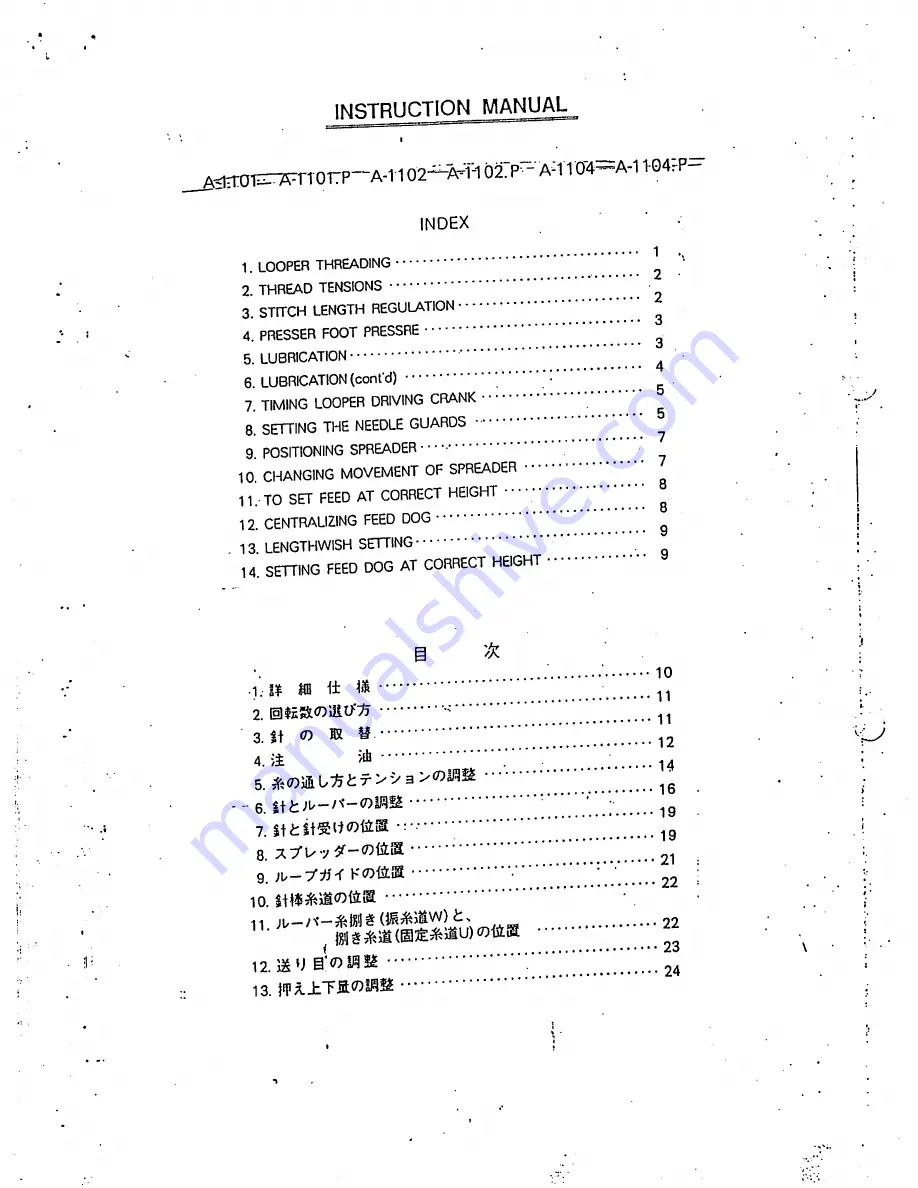
Страница 2: ...LOOPER DRIVING CRANK 8 SETTING THE NEEDLE GUARDS 9 POSITIONING SPREADER 10 CHANGING MOVEMENT OF SPREADER 11 TO SET FEED AT CORRECT HEIGHT 12 CENTRALIZING FEED DOG 13 LENGTHWISH SETTING 14 SETTING FEED DOG AT CORRECT HEIGHT 10 1 u iNB i 2 3 It 7 B 2 4 i 14 5 16 6 i 19 7 Itt itsIt j g Q 7 Zf yy 21 9 JU ytt T KCDtilS r 22 10 11 22 23 12 J IJ 24 13 From the library of Superior Sewing Machine Supply LL...

Страница 3: ...d aheet Table A Saiee aa A 1101 Refer to the attached aheet Table C Mxlnv 4 000 DV x 4 000 OV X 59 4 500 OV X 57 4 500 4 500 DV X 57 Vlth po o llc pro r foot control Rcv r torn preventive device Unleaa epeclally ordered the eeaia la act to 5 S F M Unleaa apeclally ordered the aeaia la act to 5 S F M Unleaa epecUlly ordered the aeaa 1 KMJSM SPECIAt Industrial Sewing llaclilne h 1101 Standard access...

Страница 4: ... is at highest point i i y a k I I yi t jm I Pull rods outward as far as possible After threading the looper return to sewing position POO Fig 3 yr f r f in Fig 4 il i I Vi y v V r li i i i Draw approximately two inches to start sewing of thread through looper eye with which From the library of Superior Sewing Machine Supply LLC ...

Страница 5: ...e Less i Looper Thread Tension ooen front cover plate to reach hooper thread tension th r b screws More Less Depress plunger Fig 5 I Turn to engage notch Press to engage notch 4 6 Depress button in bed to engage length and release button 7 Then turn machine pulley arm by twisting it 1 4 counter In bed and knurled plunger on top or clockwise ir ger while machine is running Never depress button befo...

Страница 6: ...our serviceman See form When correct feeding pressure is attained tighten lock screw to retain adjustment 5 lubrication Thumb screw Rear view Fig 7 Tvop R Use TYPE C when an oil is desired use KANSAI SPECIAL OIL TYPE A ter long period o which will produce minimum stain on fabrics even a Storage oiling points 111 I Oil daily Konsatg xciql Fig 8 L From the library of Superior Sewing Machine Supply L...

Страница 7: ...g 9 Alternating presser machines Fig 11 Push spring cover to left Pressure oil can Inject 1 shot twice daily Close cover after oiling Oil Filling arm shaft reservoir Oiling points Rear view Fig 10 i From the library of Superior Sewing Machine Supply LLC ...

Страница 8: ...TING THE NEEDLE GUARDS When needle guards are properly set they should pass as close as possible to the needles without touching To adjust turn machine pulley over toward operator until the points of the loopers are about to pass the needles on their forward strokes At this point the looper timing mark LT on the machine pulley should be approximately 1 3 inch above the arrow on machine arm Loosen ...

Страница 9: ...Fig 14 1 5875 Fig 15 6 I i i I From the library of Superior Sewing Machine Supply LLC ...

Страница 10: ...l strap Fig 17 The sidewise movement of the spreader may be adjusted for sewing under abnormal conditions Under normal conditions maximum spreader movement is generally used To adjust tilt machine back on its hinges loosen the two spreader driving eccentric screws Fig 17 and the two spreader driving eccentric flange screws Move eccentric to left to increase movement or to right to decrease movemen...

Страница 11: ...n clamp screw 12 CENTRALIZING FEED DOG Sidewise setting Needle should enter needle hole of feed dog with the same clearance between the needle and left or right side of hole i To adjust loosen feed dog screws Fig 19 Move feed dog until correct clearance is attained Hold in posi tion and tighten fefed dog screws Additional adjustment if necessary may be attained by loosening the four rock shaft col...

Страница 12: ...ed Then tighten the two 1 clamp screws 1 1 I 14 SETTING FEED DOG AT CORRECT HEIGHT When the feed dog height is set correctly approximately the full depth of the teeth will show above the throat plate To adjust loosen lock nuts Fig 20 and slightly loosen feed dog clamping screw To raise feed dog turn jack screw clock wise To lower turn jagk screw counter clockwise and tap feed dog down When correct...

Отзывы: