© 2003 U 510e - 06/03
2 of 4
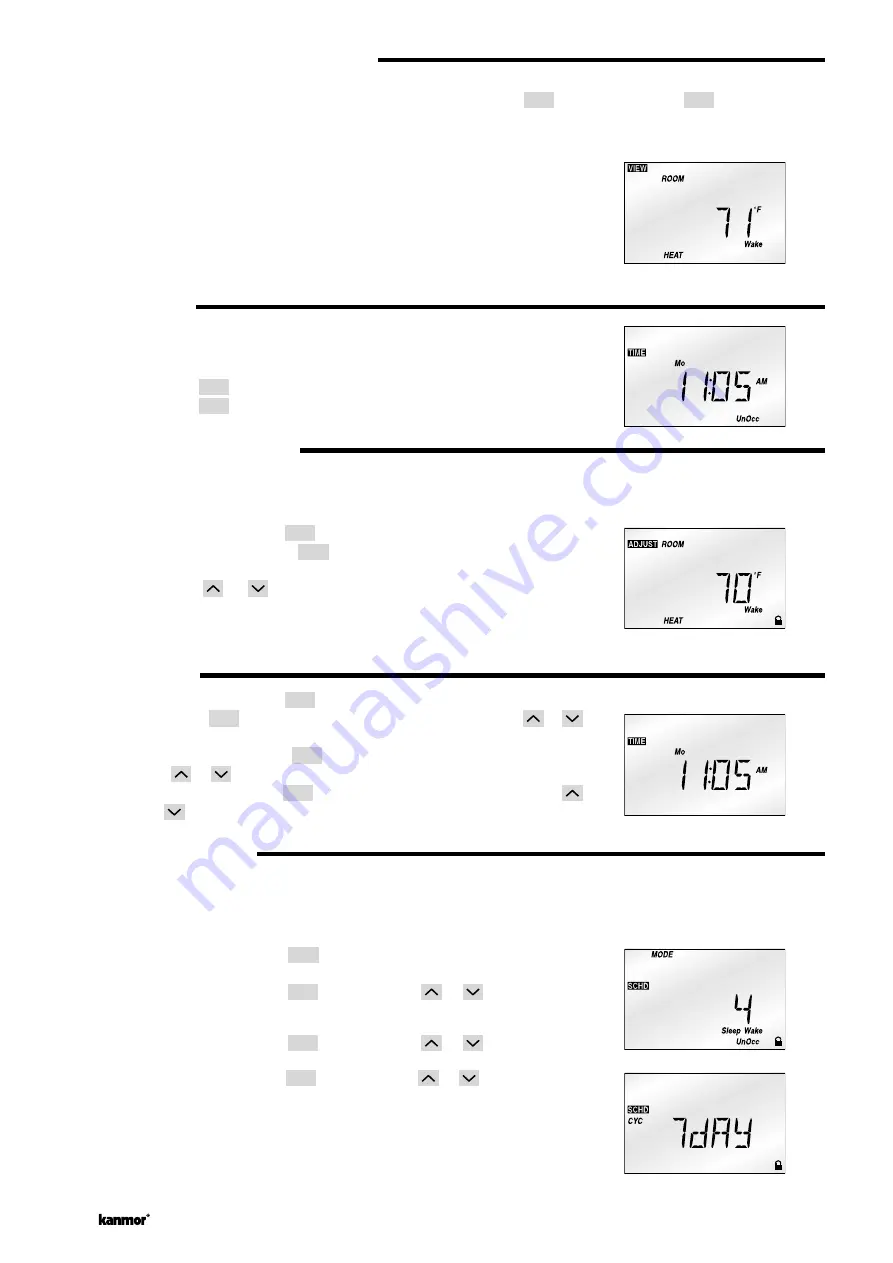
VIEWING THE CURRENT TEMPERATURE(S)
The View menu allows you to view the current temperature(s) being sensed by the thermostat and its auxiliary sensor(s). To
view the various temperatures, begin by selecting the View menu using the
Menu
button. Next use the
Item
button to view the
available temperatures.
Room:
This is the current air temperature of the room that is being controlled. At
least one air sensor must be active for this temperature to be displayed.
Outdoor:
This is the current outdoor air temperature. This item is only available if the
auxiliary sensor has been set to sense the outdoor air temperature.
Slab:
This is the current slab temperature. This item is only available if at least
one of the auxiliary sensors has been set to sense the slab temperature.
Remote:
This is the current temperature at the remote sensor. This item is only avail-
able if the auxiliary sensor has been set to sense a remote temperature.
DEFAULT DISPLAY
The default display for the thermostat can be either the time found in the Time menu
or any item in the View menu .
To select the default display, use the following
procedure.
Step One:
Use the
Menu
button to select either the Time or the View menu.
Step Two:
Use the
Item
button to select the desired item.
SETTING THE TEMPERATURE(S)
A separate heating temperature can be set for each event of the schedule. If a slab sensor is connected to the control, a sepa-
rate minimum slab temperature can be set for each event of the schedule. If the thermostat is used for cooling, a separate
cooling temperature can be set for each event of the schedule.
Use the following procedure to set each temperature.
Step One:
Press and release the
Menu
button until the Adjust Menu is reached.
Step Two:
Press and release the
Item
bu tton u ntil the desired temperatu re is
displayed.
Step Three:
Use the
or
button to set the desired temperature. Record this
temperature in the schedule table found on page 4.
Repeat steps two and three for each additional temperature.
SETTING THE TIME
Step One:
Press and release the
Menu
button until the Time Menu is reached.
Step Two:
Press the
Item
button. While the minutes are flashing, use the
or
button to set the proper minutes.
Step Three:
Press and release the
Item
button. While the hours are flashing, use
the
or
button to set the proper hour.
Step Four:
Press and release the
Item
button. While the day is flashing, use the
or
button to set the proper day.
SETTING THE SCHEDULES
A schedule allows the thermostat to automatically change between several preset temperatures based on the time of day. The
schedule divides the day into either two or four events. For each event, a different temperature can be set. This allows the room
and / or floor to be warm during the day and cooling during the evening and night.
To set the time of day at which each event
is to begin, use the following procedure.
Step One:
Press and release the
Menu
button until the Schedule
(SCHD)
Menu is
displayed.
Step Two:
Press and release the
Item
button. Use the
or
button to select
the desired schedule Mode. None = one temperature per day. 2 = two
temperatures per day. 4 = four temperatures per day.
Step Three:
Press and release the
Item
button. Use the
or
button to select
the schedule Cycle, either 7 day or 24 hour.
Step Four:
Press and release the
Item
button. Use the
or
button to set the
event’s beginning time. If the event does not have a time, select the “- - :
- -” time. This time is found between 11:50PM and 12:00AM. Record the
event time in the schedule table found on page 4 for future reference.
Repeat step four until all events have been programmed.


