background image

Kanguru Bio Slider 


- 7 - 


2. Using the Bio Slider 


Connecting the drive: 

 
Please note:

 Windows 98 is the only operating system that requires you to install 

drivers before connecting USB flash drives. All other supported operating 
systems already have the drivers built in to support USB flash drives.  

1.  If your computer is not turned on, please do so at this time and wait for 

your operating systems to load. 

2.  Remove the cap from your Kanguru Bio Slider and plug it into any USB 

port on your computer.   

NOTE:

 Kanguru Solutions highly suggests using the USB extension cable 

if your USB ports are in an inconvenient location.


This will make it much 

easier to scan you fingerprint. 

3. Windows 98 Users ONLY: 

You operating system will ask you to locate 

the drivers for this device. They are located on the mini CD included with 
your drive. To install these driver files, simply direct Windows 98 to that 
folder or select to search your CD-Rom drive for these files. The 
installation wizard should select these driver files automatically and 
complete the installation. A reboot is required for Windows 98 to 
recognize the drive after the installation is complete.


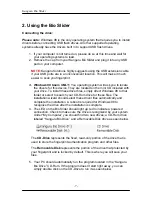
4.  The LED on the Bio Slider should light up red to indicate a powered 

connection. Check to make sure the drive is recognized by your system.  
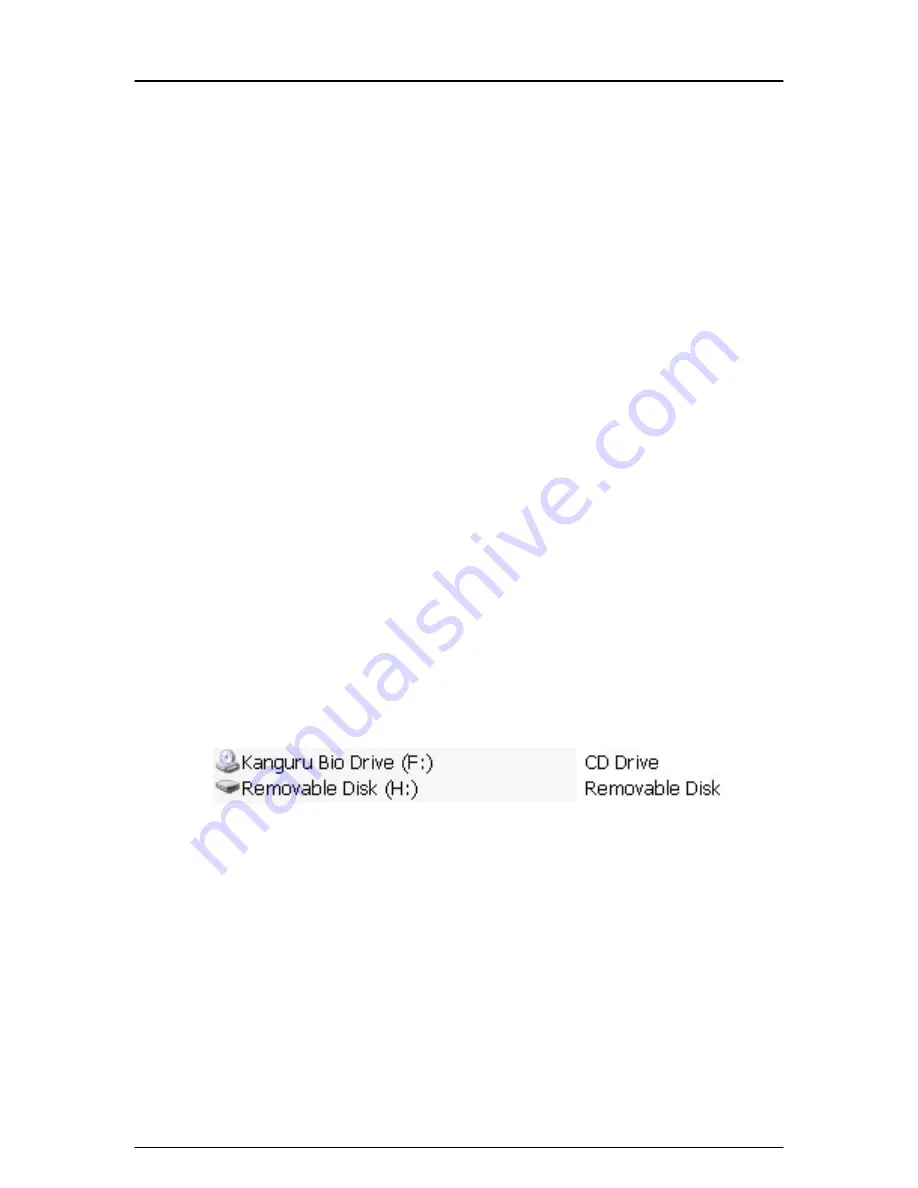
Under “My Computer” you should find two new drives; a CD-Rom drive 
labeled “Kanguru Bio Drive” and a Removable Disk drive as seen below. 


The 

CD-Drive

 represents the fixed, read-only portion of the drive that is 

used to store the fingerprint authentication program and other files.  

The 

Removable Disk 

represents the portion of the drive that protected by 

your fingerprint and is locked by default. This is where you will save your 
files.  

5.  Your PC should automatically run the program located in the “Kanguru 

Bio Drive” CD-Rom. If the program doesn’t start right away, you can 
simply double click on the CD-Drive to run it as seen below. 

Содержание Bio Slider

Страница 1: ...Kanguru Bio Slider 1 USER S GUIDE Copyright 2005 All Rights Reserved ...

Страница 2: ...es not apply if in the judgment of Kanguru Solutions the product fails due to damage from handling accident abuse misuse or if it has been used in a manner not conforming to the product s instructions has been modified in anyway or the warranty labels have been removed If the product proves defective during this warranty period call Kanguru Solutions Technical Support in order to obtain a RMA requ...

Страница 3: ... Bio Slider Package Contents 4 Features 4 Specifications 5 Product Description 6 2 2 U Us si in ng g t th he e B Bi io o S Sl li id de er r 7 7 Connecting the drive 7 Using the Backup Password 11 Disconnecting the Drive 11 3 3 W Wa ar rr ra an nt ty y 1 12 2 Tech Support 12 ...

Страница 4: ...prints as well as the program itself are stored directly on the drive This allows for ultimate portability and ease of use as you can take the Kanguru Bio Slider to any PC without having to install anything The Kanguru Bio Slider can store up to 10 fingerprints on each drive and you have the option to set a recovery password Kanguru Bio Slider Package Contents 1 Kanguru Bio Slider 1 USB Extension ...

Страница 5: ...510 Slide Sensor Sensor Resolution 500 DPI Field Size 192 x 16 Pixels Gray Level 265 levels 8 bits pixel False Rejection Rate 1 3 000 False Acceptance Rate 1 20 000 Allowable Rotation 15º Swipe Speed Up to 15cm s Matching Speed 250ms 30 50 ms typical Write Cycles 1 000 000 Data Retention 10 yrs Shock Resistance 1000Gs OS Compatibility Windows 98 Windows 98SE Windows ME Windows 2000 Windows XP Size...

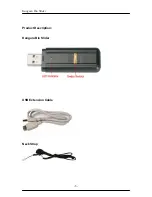
Страница 6: ...Kanguru Bio Slider 6 Product Description Kanguru Bio Slider USB Extension Cable Neck Strap ...

Страница 7: ...mply direct Windows 98 to that folder or select to search your CD Rom drive for these files The installation wizard should select these driver files automatically and complete the installation A reboot is required for Windows 98 to recognize the drive after the installation is complete 4 The LED on the Bio Slider should light up red to indicate a powered connection Check to make sure the drive is ...

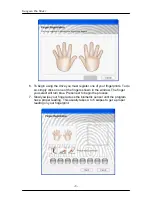
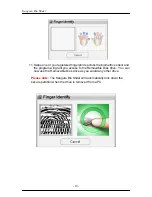
Страница 8: ... so simply click on one of the fingers shown in the window The finger you select will turn blue Press next to begin the process 7 Slowly swipe your finger across the biometric sensor until the program has a proper reading This usually takes 4 to 5 swipes to get a proper reading on your fingerprint ...

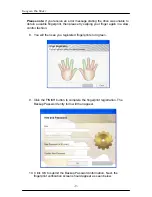
Страница 9: ...ping your finger again in a slow control fashion 8 You will then see you registered fingerprints turn green 9 Click the FINISH button to complete the fingerprint registration The Backup Password entry form will then appear 10 Click OK to submit the Backup Password information Next the fingerprint verification screen should appear as seen below ...

Страница 10: ...he biometric sensor and the program will grant you access to the Removable Disk drive You can now use the Removable Disk drive as you would any other drive Please note The Kanguru Bio Slider will automatically lock down the secure partition when the drive is removed from a PC ...

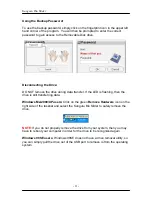
Страница 11: ...he LED is flashing then the drive is still transferring data Windows Me 2000 XP users Click on the green Remove Hardware icon on the right side of the taskbar and select the Kanguru Bio Slider to safely remove the drive NOTE If you do not properly remove the drive from your system then you may have to reboot your computer in order for the drive to be recognized again Windows 98SE users Windows 98S...

Страница 12: ...utions liability exceed the price paid for the product from direct indirect special incidental or consequential software or its documentation Kanguru Solutions offers no refunds for its products after 30 days of purchase Kanguru Solutions makes no warranty or representation expressed implied or statutory with respect to its products or the contents or use of this documentation and all accompanying...

Отзывы: