background image


USK STP 23783 - 080302 


Place the pressing cushion under the dart, seam etc. 


Make sure the area to be pressed is raised and lower the pressing 
plate. The raised area is the only area the plate should contact. 

NOTE: 

Do not attempt to lower the pressing plate to its lowest 

position or lock the pressing plate against the ironing board with 
the pressing cushion in place. You 

MAY DAMAGE 

the steam press 

by doing so. 


Raise the pressing plate after a few seconds.


STORING 


Water may be left in the water tank, because it will not drip out if 
the machine is stored in an upright position. However, it is 
recommended that if the machine will be stored for some time, 
that all the water in the unit should be drained by pressing the 
burst of steam button until all of the water is pumped out. 


Press “ON/OFF”, the red power light will go out. Disconnect the 
plug from the outlet. Leave appliance in open position. 


Wait for the steam press to cool completely (approximately 30 
minutes). 


When cool, lower the pressing plate onto the ironing board 
pushing the handle to its lowest position. 


Turn the locking knob to the locked position. This should prevent 
the steam press from opening while being moved or stored. 


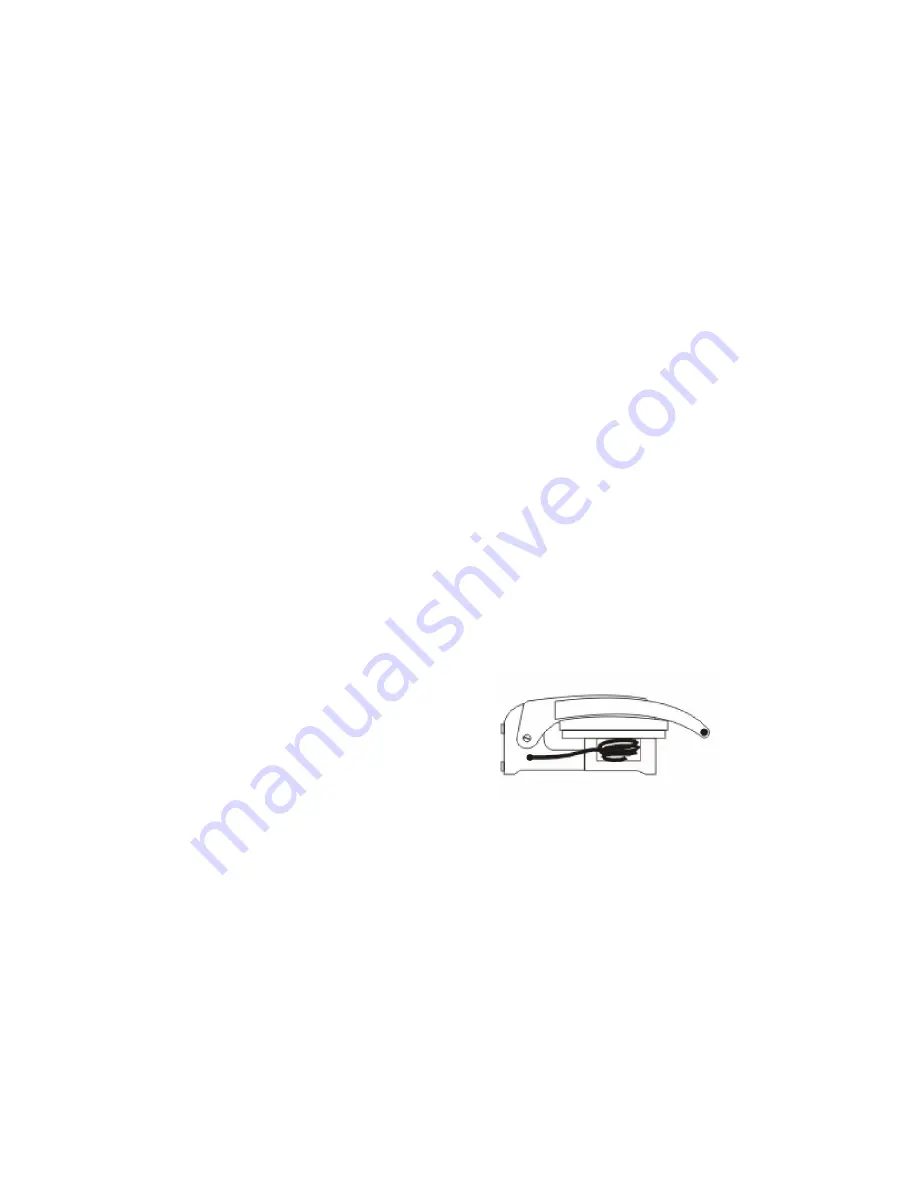
Loosely wrap the electric cord 
and place it in the opening at 
the front of the base of the 
ironing board. You are now ready 
to store the unit. 

 
CLEANING 


To clean the pressing plate, place the pressing cushion in the 
center of the ironing board. Place a clean towel over the 
pressing cushion and the ironing board. Set the temperature 
control to its maximum setting. When the ready light comes on 
and the steam ready light goes off, gently lower the pressing 
plate onto the pressing cushion. With water in the water tank, 
press the burst of steam button 6 to 7 times. Be careful to avoid 

Содержание USK STP 23783

Страница 1: ...Steam press Prensa de planchar USK STP 23783 120V 60Hz 1350W...

Страница 2: ...when not in use Be careful to avoid spilling water on the appliance when filling 8 Do not operate the appliance with a damaged cord or plug or after the appliance has been dropped or damaged in any m...

Страница 3: ...ttage appliance on the same circuit If an extension cord is absolutely necessary a 10 ampere cord should be used Cords rated for less amperage may overheat Care should be taken to arrange the cord so...

Страница 4: ...3 Burst of steam button 4 Pressing plate 5 Ironing board 6 Control panel a Power light red b Ready light green c Steam ready light yellow d ON OFF switch e Temperature selector 7 Water tank 8 Ironing...

Страница 5: ...when filling 5 Slide the water tank back in 6 When pressing unplug the appliance before refilling USE Make sure the locking knob is in the open position UNLOCK allowing free movement of the pressing...

Страница 6: ...low steam ready light is on Steam is available only when the temperature of the pressing plate reaches 302 F or 150 C The green ready light goes off when the unit has reached the desired temperature T...

Страница 7: ...e stubborn wrinkles Lower the pressing plate until it is about two inches from the garment Press the burst of steam button for about 3 5 seconds After releasing the burst of steam button you may fully...

Страница 8: ...ON OFF the red power light will go out Disconnect the plug from the outlet Leave appliance in open position Wait for the steam press to cool completely approximately 30 minutes When cool lower the pr...

Страница 9: ...ft against the ironing board for about 10 seconds You will hear a warning beep If the pressing plate is left in the open up position without use after approximately 15 minutes the unit will be automat...

Страница 10: ...lection to a higher temperature Wait for the steam ready light to come on If not use spray misting bottle as directed Water drips from the pressing plate Burst of steam button has been pressed too lon...

Страница 11: ...ent it will carry the remaining warranty of the original product This warranty does not apply to any defect arising from a buyer s or user s misuse of the product negligence failure to follow KALORIK...

Страница 12: ...ALORIK Service Center please visit our website at www KALORIK com or call our Customer Service Department for the address of the nearest authorized KALORIK Service Center If you send the product pleas...

Страница 13: ...ndolo y tambi n cuando el aparato no est en uso Tenga cuidado de no derramar agua en el aparato durante el llenado 8 No utilice el aparato si el cable o el enchufe est n da ados o si el aparato se cay...

Страница 14: ...circuito Si resulta absolutamente necesario usar un cable de extensi n se debe usar un cable de 10 amperios Los cables con tensiones nominales menores pueden sobrecalentarse Se debe cuidar de poner e...

Страница 15: ...ar 5 Tabla de planchar 6 Panel de mandos a Testigo luminoso de funcionamiento rojo b Testigo luminoso de temperatura verde c Testigo luminoso del vapor amarillo d Interruptor e Selector de temperatura...

Страница 16: ...de ver el nivel de agua en la parte delantera del dep sito 4 Tenga cuidado de no derramar agua en el aparato durante el llenado 5 Vuelva a colocar el dep sito dentro del aparato 6 Durante el planchado...

Страница 17: ...se enfr e UTILIZAR EL VAPOR El aparato produce vapor s lo cuando el testigo amarillo del vapor est encendido Se puede utilizar el vapor nicamente cuando la temperatura de la prensa de planchar alcanz...

Страница 18: ...aparato Si la temperatura est bastante elevada puede utilizar la funci n de doble vapor pulsando el bot n de doble vapor 3 para eliminar las arrugas Baje la placa superior hasta que quede a cerca de...

Страница 19: ...ARATO Puede dejar el agua en el dep sito ya que no gotear cuando el aparato est guardado de forma horizontal Pero cuando guarde el aparato por un largo periodo se recomienda vaciar el dep sito pulsand...

Страница 20: ...planchar es amovible Puede limpiarla con detergente suave y agua templada DISPOSITIVOS DE SEGURIDAD Su aparato cuenta con varios dispositivos de seguridad Si deja la placa superior cerrada en la tabla...

Страница 21: ...a temperatura elegida no es suficiente Si conviene para la prenda elija una temperatura m s alta Espere a que el testigo amarillo del vapor se encienda Puede tambi n utilizar el vaporizador como arrib...

Страница 22: ...stos por el consumidor Si se env a un producto de reemplazamiento se aplicar la garant a que queda del producto original Esa garant a no se aplica a los defectos debidos a una mala utilizaci n por par...

Страница 23: ...stro Servicio al Consumidor al servicio post venta KALORIK lo m s pr ximo Visite nuestro sitio internet www KALORIK com o llame al Servicio al Consumidor para obtener la direcci n del Servicio post ve...

Страница 24: ...Back cover page last page Assembly page 24 24 K080302...

Отзывы: