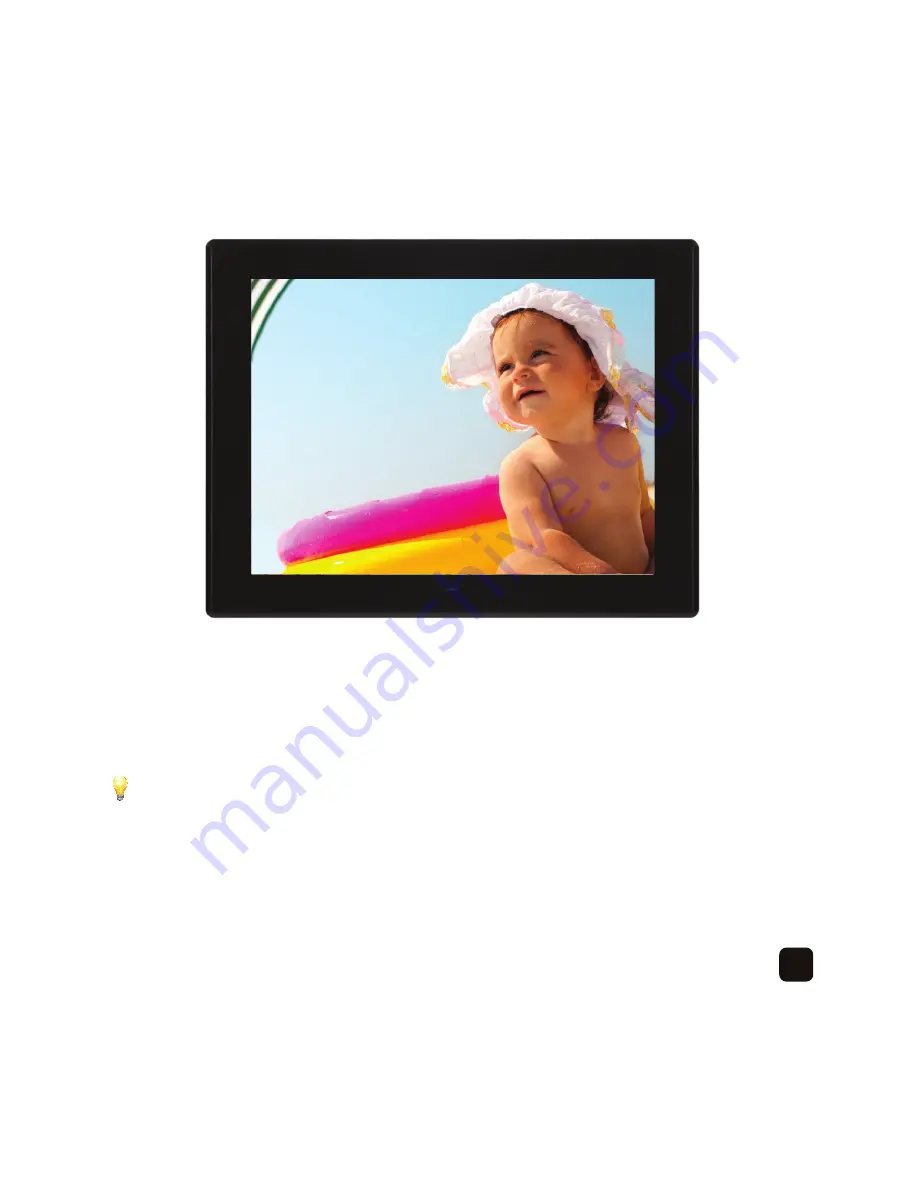
background image

31

Subsequent pressing of the 

‘ZOOM’

 button will increase the zoom from x2 to x16. 

Press the 

‘ROTATE’

 button to rotate the photo. You can rotate the photo 90°, 180° and 270°.

           The rotate function is for previewing only. It does not permanently change the 
orientation of the photo file. 

Press the 

‘PLAY/PAUSE’

 button to continue playing a slideshow.

Press the 

‘SETUP’ 

button


again to close the control menu.

Press the ‘

MENU’

 button to go to the main menu.

Содержание KBA04043

Страница 1: ...let s get started ...

Страница 2: ... the box 5 Product description 7 Remote control 8 Getting started 13 Setup 20 Transferring your media files 25 Playing a slideshow 33 Playing a slideshow with music 34 Playing video files 37 Playing music files 39 File mode 43 Clock and Calendar 44 Contact us 44 Frequently asked questions ...

Страница 3: ...ter memory card or USB memory stick directly to the internal memory Play photos videos and music from the internal memory memory card or USB memory stick Play a photo slideshow with transitions and background music Built in clock and calendar with slideshow function Wall mountable with an integrated Kensington Slot Includes a mini remote control select a different photo pause a slideshow zoom rota...

Страница 4: ...SB 2 0 Host Mini USB Audio output 3 5 mm stereo plug Speaker Stereo 2 Watts Picture format BMP JPEG maximum resolution 8000 x 8000 Picture capacity Maximum 1000 picture files Video format MPEG 1 MPEG 2 MPEG 4 M JPEG Xvid AVI maximum resolution 1024 x 768 Audio format MP3 WMA Memory cards MMC MS SD SDHC maximum 16GB Language English French German Italian Spanish Working temperature 0 C 40 C Humidit...

Страница 5: ...al Photo Frame Ultra Slim Doing so my cause the unit to malfunction and may void the warranty Do not touch the power cable with wet hands or use defective power cables as it may cause electric shocks or fire Do not drop the Kaiser Baas 15 Digital Photo Frame Ultra Slim as it may cause serious damage and may void the warranty Place all magnetised devices such as speakers away from the Kaiser Baas 1...

Страница 6: ...BGM MUTE MENU RETURN SETUP PLAY PAUSE VOL VOL ZOOM ROTATE OK POWER BGM MUTE MENU RETURN SETUP PLAY PAUSE VOL VOL ZOOM ROTATE 15 Digital Photo Frame Ultra Slim USB cable Power adaptor User guide Warranty card Bracket Remote control ...

Страница 7: ...5 Product description Right side Memory card slot USB input Mini USB Headphone speaker output DC input ...

Страница 8: ...ear D R A C S M C M M D S B S U I N I M B S U MENU Power button Left volume Right volume Up previous photo previous music track previous video Down next photo next music track next video Menu Ok play pause ...

Страница 9: ... or video file DOWN Directional button press to display the next photo or play the next music track PLAY PAUSE Play or pause a slideshow music track or video file VOL Press to decrease the volume VOL Press to increase the volume ZOOM Press to magnify a photo or video Press to display a previous photo play a previous music track or play a previous video file Press to display the next photo play the...

Страница 10: ...8 Getting started To prevent scratches on the display during transport there is a protective plastic sheet covering the screen Please remove this before use ...

Страница 11: ...9 Connect the power adaptor to the DC input located on the right hand side of the frame D R A C S M C M M D S B S U I N I M B S U MENU ...

Страница 12: ...10 Connect the other end into the mains power point ...

Страница 13: ...11 Insert the bracket into the rear of the frame and screw in securely ...

Страница 14: ...12 Remove the plastic tab from the remote control before use OK POWER BGM MUTE MENU RETURN SETUP PLAY PAUSE VOL VOL ZOOM ROTATE ...

Страница 15: ...the frame press the power button on the remote control or the power button located on the back of the frame D R A C S M C M M D S B S U I N I M B S U MENU OK POWER BGM MUTE MENU RETURN SETUP PLAY PAUSE VOL VOL ZOOM ROTATE ...

Страница 16: ...re files on the on board memory for demonstration purposes The files can be deleted if they are no longer required see page 39 for instructions Press the MENU button to exit the slide show You will now see the following screen Press the directional button to select Setup and press OK to confirm 14 ...

Страница 17: ...is displayed Slideshow Mode Change the type of transitions that you want displayed between each picture Music Repeat Mode Change the repeat mode when playing music tracks Movie Repeat Mode Change the repeat mode when playing video files Slideshow Option Change the slideshow display from random to sequence Time Change the date and time 15 ...

Страница 18: ...16 Display Mode This will change how a photo or video is displayed Wide mode ...

Страница 19: ...17 Normal mode ...

Страница 20: ...e the contrast level Saturation Change the saturation level Auto Power On Enable the frame to be turned on at a particular time Auto Power Off Enable the frame to be turned off at a particular time AutoPlay Choose what to display first when the frame is turned on Default Return to factory default settings ...

Страница 21: ...e or arrow buttons to change the year press the button to select the month and press the or arrow buttons to change the month press the button to select the date and press the or arrow buttons to change the date press the button to select the hour the time is in 24 hour format and press the or arrow buttons to change the hour press the button to select the minutes and press the or arrow buttons to...

Страница 22: ...of on board memory To play your photo music and video files from the on board memory you need to connect the frame to your computer to copy over your files Connect the USB cable into the Mini USB input on the left hand side of the frame D R A C S M C M M D S B S U MENU ...

Страница 23: ...21 Connect the other end of the cable into a spare USB port on the computer ...

Страница 24: ...22 You will see the following message on the frame The computer will detect the frame as a removable device ...

Страница 25: ... create a Photos folder for your picture files a Music folder for your music files and a Videos folder for your video files You can also create sub folders within those folders for example Photos Birthdays Copy your selected media files into the relevant folders When you have finished disconnect the USB cable from the frame Press the POWER button on the remote control to turn the frame off and the...

Страница 26: ...folder for your picture files a Music folder for your music files and a Videos folder for your video files You can also create sub folders within those folders for example Photos Birthdays Copy your selected media files into the relevant folders When you have finished disconnect the USB cable from the frame Press the Power button on the remote control to turn the frame off and then on again to ini...

Страница 27: ...aying a slideshow To play a slideshow press the or button to select the location of your files then press OK For the on board memory select NAND For memory card select SD MMC For USB memory stick select USB ...

Страница 28: ...Us the or button to select Photo then press the OK button 26 ...

Страница 29: ...27 You will now see thumbnail images of your photo files ...

Страница 30: ...the creation date and time will be displayed at the bottom right Any album art included with your music files will also be displayed with your photo files If you don t want the album art to be displayed go to File and delete those files see page 39 for instructions img1 13 jpg 2012 6 2 10 51 56 ...

Страница 31: ...ngle photo only Press the PLAY PAUSE button to start playing a slideshow Press the or buttons to select a different photo to display Press the PLAY PAUSE button to pause a slideshow and press again to continue playing OK POWER BGM MUTE MENU RETURN SETUP PLAY PAUSE VOL VOL ZOOM ROTATE OK POWER BGM MUTE MENU RETURN SETUP PLAY PAUSE VOL VOL ZOOM ROTATE ...

Страница 32: ...30 Press the SETUP button to display the control menu 6 JPG Press the ZOOM button to zoom into the photo ...

Страница 33: ...he photo You can rotate the photo 90 180 and 270 The rotate function is for previewing only It does not permanently change the orientation of the photo file Press the PLAY PAUSE button to continue playing a slideshow Press the SETUP button again to close the control menu Press the MENU button to go to the main menu ...

Страница 34: ...photo Next photo Zoom Rotate 90 Rotate 180 Rotate 270 Pause a slideshow Play a slideshow Stop a slideshow 90º 180º 270º 90º 180º 270º 90º 180º 270º 90º 180º 270º 90º 180º 270º 90º 180º 270º 90º 180º 270º 90º 180º 270º 90º 180º 270º ...

Страница 35: ...E button to mute the audio Press the and buttons to change music tracks When you press the PLAY PAUSE button the slideshow will pause and the music will continue playing On screen display Volume level Mute Due to the extra processing power required to play a slideshow with music the transitions between each photo may not animate smoothly X X OK POWER BGM MUTE MENU RETURN SETUP PLAY PAUSE VOL VOL Z...

Страница 36: ...e or button to select the location of your files then press OK For the on board memory select NAND For memory card select SD MMC For USB memory stick select USB Press the OK button to continue Press the or button to select Movie then press the OK button ...

Страница 37: ...e selected will start playing in the preview screen The audio will not be heard when previewing video files Press the or button to select a file and press the OK button to play Press the PLAY PAUSE button to pause the video and press again to continue playing ...

Страница 38: ... the speed from x1 to x4 Press the PLAY PAUSE button to continue playing Press SETUP again to close the control menu Press the VOL and VOL buttons to increase or decrease the volume and the MUTE button to mute the audio Press the MENU button to go to the main menu 36 X 4 You can also fast forward or rewind the video Press the SETUP button to display the control menu 00 00 17 X X 4 ...

Страница 39: ...s To play music files press the or button to select the location of your files then press OK For the on board memory select NAND For memory card select SD MMC For USB memory stick select USB Press the OK button to continue ...

Страница 40: ... Music then press the OK button Your music files will be listed in alphabetical order Press the and buttons to select a music track and the PLAY PAUSE button to play and pause a music track Press the MENU button to go to the main menu ...

Страница 41: ...ile mode press the or button to select File then press the OK button Press the or button to select the folder that you want to access then press the OK button You will see the files located in the folder in alphabetical or numerical order To select files that you want to delete or copy press the button You will see a icon next to the file name ...

Страница 42: ...te To de select a file press the button again and the icon will be removed When the files have been selected press the SETUP button You will now see COPY and DELETE Press the or button to select the relevant option and then press the OK button You will see the following ...

Страница 43: ...41 Select the tick icon to confirm and the cross icon to cancel Select the relevant option then press the OK button When you select the COPY option you will see an additional screen ...

Страница 44: ...ess the button Select a folder to save to then press the OK button to confirm The files will now copy over to the destination that you have selected It may take some time to copy over large files You will see a counter reach 100 when each file has been copied over Press the MENU button to go back to the main menu ...

Страница 45: ...ress the OK button Press the and buttons to change the month and the and buttons to change the year When the alarm is enabled you will see the alarm time displayed A photoslide will play when the clock and calendar is displayed Press the MENU button to go back to the main menu 17 00 ...

Страница 46: ...daptor and the mains power is turned on Q The remote control is not functioning A Check that the plastic tab has been removed and the battery has been inserted correctly It is recommended to replace the battery every 12 months Q I have inserted my memory card USB memory stick but it is not reading it A Check that the memory card has been formatted as FAT or FAT32 The NTFS file system is not compat...

Страница 47: ... colour of the photos being displayed look washed out A At the menu menu go to Setup and adjust the saturation level Q The music is playing but there is no audio coming from the speakers A Press the VOL button to increase the volume If you have headphones attached disconnect them Q How can I play my photos in random order A At the main menu go to Setup and for Slideshow Option select Random Q Ther...

Страница 48: ......

Отзывы: