6
2.
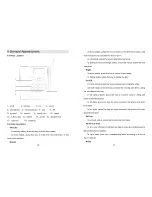
Lock phone
3.
Lock zone
Selectable Features
1.
Desktop or Wall-mounted
2.
Casing Colors: grey, black blue
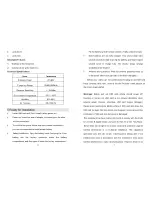
Technical Specifications
Items
Parameters
Emission Power
23 dBm
Frequency Range
CDMA 800MHz
Receiver Sensitivity
< -104dBm
Environment Temperature
-10
℃
~ +50
℃
Humidity
0%~95%
Air Pressure
86~106KPa
5 Ready for Installation
Ø
Install UIM card well (Don
’
t install it when power on).
Ø
Power on: Insert one end of adapter into power jack, the other
into the phone jack.
Ø
To void that the power failure stop your normal conversation,
you are recommended to install private battery.
Ø
Battery installation: Open the battery cover, first plug the Li-ion
battery into the battery connector inside the battery
compartment, and then pace it inside the battery compartment.
7
Fix the battery by foam-rubber cushion. Finally, close the cover.
Ø
New batteries are not fully charged. Your phone might take
several seconds to start charging the battery, and might require
several hours to charge fully. The display shows Charge
Complete when finished.
Ø
Antenna setting method: Twist the antenna perpendicularly up
to the screw pillar in the right side of the base unit tightly.
Before use
,
make sure the power of phone being on and UIM card
insert correctly, then wait Internet Service Provider name appear on
the screen to get started.
Warnings
: Before pull out UIM card, phone should power off.
Inserting or pulling out UIM card is not allowed absolutely when
external power connect, otherwise, UIM card maybe damaged.
Please avoid touching the Metal surface of SIM card and place the
SIM card far away from the electric and magnetic area to prevent the
information in SIM card from being lost or damaged.
This equipment has been tested and found to comply with the limits
for a Class B digital device, pursuant to Part 15 of the FCC Rules.
These limits are designed to provide reasonable protection against
harmful interference in a residential installation. This equipment
generates uses and can radiate radio frequency energy and, if not
installed and used in accordance with the instructions, may cause
harmful interference to radio communications. However, there is no


