background image

Installation instructions

Maintenance and troubleshooting

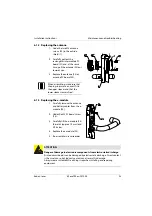
Kaba c-lever 

k2evo702en-2012-05

25

2. Turn the key in the opening direction as far as the limit stop.

3. Open the door using the key-operated latch.

6.3.2 Emergency opening using battery emergency device

Unlocking from the inside

1. With a panic lock, the Kaba c-lever can always be unlocked by operating the 

handle. The relevant locking function is otherwise ensured by moving the 
inner handle.

Unlocking from the outside

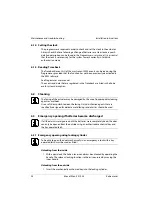
If opened in an emergency using the battery emergency device, the lever handle 
on the outside of the Kaba c-lever furniture remains engaged until the dead 
batteries have been replaced!

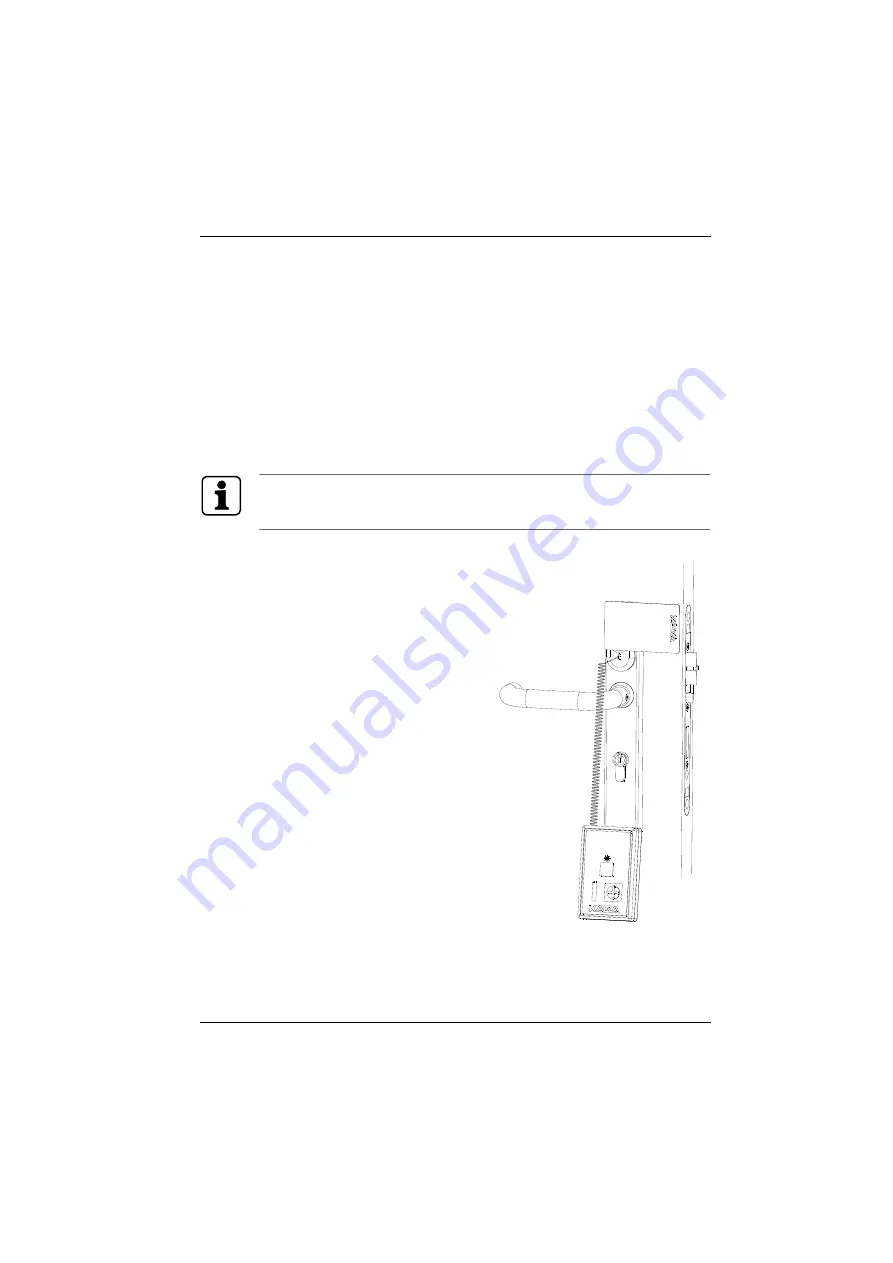
1. Use the programming cable 

(1355-42) and programming 
pins (1355-42A) to attach the 
battery emergency device to 
the programming connector.

2. Hold the authorised user 

media in front of the antenna 
of the c-lever furniture.

3. Keep the button on the 

battery emergency 
device pressed for approx. 1 
second.

4. Open the door by operating 

the handle.

Содержание C-lever

Страница 1: ...EN Kaba c lever Installation instructions Doc no k2evo702en 2012 05...

Страница 2: ...5505 www kaba com Sales Kaba Ltd Lower Moor Way Business Park Tiverton Devon EX 16 6SS England Tel 44 870 000 5292 www kaba co uk Kaba is a registered trademark of Kaba AG This documentation may not b...

Страница 3: ...s 7 2 2 2 Handling of lithium batteries 7 2 3 Disposal of packaging 8 2 4 Disposal of the actuator 8 2 5 Conformity 8 3 Product description 9 3 1 Scope of supply 9 3 2 Additional accessories 9 3 3 Pre...

Страница 4: ...Replacing the antenna 23 6 1 3 Replacing the e module 23 6 1 4 Setting the clock 24 6 1 5 Reading Traceback 24 6 2 Cleaning 24 6 3 Emergency opening if batteries become discharged 24 6 3 1 Emergency...

Страница 5: ...ning 1 3 Content and purpose The content of these instructions is limited to the installation and maintenance of the Kaba c lever Detailed information about programming can be found in the supplementa...

Страница 6: ...to make it easier to read these instructions the Kaba c lever is shortened to actuator the 1460 programming device is shortened to programmer and the Kaba evolo Manager software is shortened to KEM C...

Страница 7: ...electrostatic discharge ESD Contact by persons or objects can cause an electrostatic discharge that may damage or destroy the product To avoid the risk of electrostatic discharge note the handling gu...

Страница 8: ...th waste for recycling 2 4 Disposal of the actuator Do not dispose of the actuator in household waste Dispose of electronic devices and used batteries in accordance with the Act on Disposal of Waste E...

Страница 9: ...ramming cable product number 1355 42 Kaba 1460 Programmer Kaba media Kaba evolo Manager software Kaba s module Mifare for external power supply 12 24 V AC DC 300mA 3 3 Preparatory measures 3 3 1 Door...

Страница 10: ...for 17mm Europrofile and 22mm round profile cylinders Furniture without cylinder holes can also be employed when using single cylinders In the standard version the cylinder standoff on both sides of t...

Страница 11: ...midity 0 95 rH non condensing Climate Not suitable for heavily corrosive atmospheres chlorine ammonia Rooms Not to be used in environments where there is a risk of explosion Standards Fire protection...

Страница 12: ...6 Internal furniture with e module 7 M5 x 50mm fixing screws two 8 Battery protection foil 9 Battery circuit board 10 Type AA lithium batteries two 11 M6 fixing screw for lever handle outside 12 M6 fi...

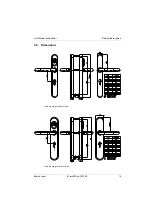
Страница 13: ...Installation instructions Product description Kaba c lever k2evo702en 2012 05 13 3 6 Dimensions Scale drawing for slim version Scale drawing for wide version...

Страница 14: ...place can be damaged To avoid damage remove the lock before starting to drill Preparing the door 1 Remove the existing furniture Positioning the drill jig 2 Position the drill jig with guide pin for c...

Страница 15: ...furniture Positioning the drilling template 2 Insert the appropriate spindle into the lock 3 Position the drilling template over the spindle 8mm and align it exactly parallel to the forend 4 Mark the...

Страница 16: ...quare spindle of the coupling unit anti clockwise for right hand doors and clockwise for left hand doors as far as the limit stop when inserting the direction pin Inserting the coupling unit 2 Select...

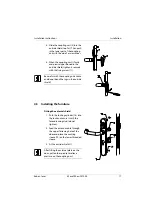
Страница 17: ...ighten it securely with the fixing screw 11 Be careful with the coupling unit cable and do not bend the lugs in the outside shield Fitting the external shield 1 Push the locking cylinder 16 into the l...

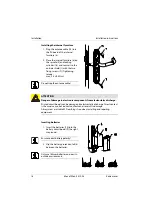
Страница 18: ...antenna cable ATTENTION Danger of damage to electronic components from electrostatic discharge Printed circuit boards can be damaged by electrostatic discharge Direct contact is the usual cause but in...

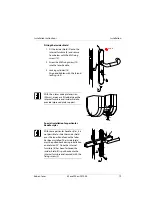
Страница 19: ...ver wide plate version 54mm a spacer is fitted between the internal furniture and inside shield to provide improved plate support Special installation for particular handle styles With some particular...

Страница 20: ...programming window 1 x long 1 x green Authorised medium 1 x short 1 x green Unauthorised medium 4 x short 4 x red Master A B unauthorised 1 x long 1 x red Delete subgroup with authorised master 2 x s...

Страница 21: ...this particular actuator this so called residual memory time is 30 seconds Rechargeable batteries must not be used as they do not have sufficient capacity ATTENTION Opening the coupling unit absolves...

Страница 22: ...tely When using these handle styles the inside shield must be withdrawn as far as possible and rotated 90 3 Take out the batteries 10 and replace them with new ones Ensure correct battery polarity 4 C...

Страница 23: ...ns are an exact fit in the upper sleeves and that the lower sleeves remain free 1 Carefully remove the antenna and battery cables from the e module 24 2 Undo the M3 PC board screw 25 3 Carefully tilt...

Страница 24: ...lo system description 6 2 Cleaning The facing of the actuator may be damaged by the use of inappropriate cleaning agents or methods Use a soft damp cloth to clean the facing Only disinfection agents t...

Страница 25: ...on is otherwise ensured by moving the inner handle Unlocking from the outside If opened in an emergency using the battery emergency device the lever handle on the outside of the Kaba c lever furniture...

Страница 26: ...ttings that are stored in the electronic module Initialisation is carried out by connecting the two initialisation points using tweezers Successful initialisation is indicated by an acoustic double be...

Страница 27: ...x long 1 x short 1 x long E module time data is missing Check the programming Repeated acoustic signal as system identifies user 2 8 x short 1 x green Battery low alarm Change batteries Single acousti...

Страница 28: ...28 k2evo702en 2012 05 Kaba c lever Maintenance and troubleshooting Installation instructions...

Отзывы: