11
Setting the date and time
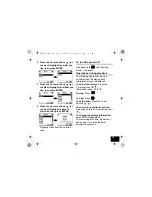
1 Press the Cursor buttons ( /
)
to select (highlight) “Clock Set”,
then press ENTER.
2 Press the Cursor buttons ( /
)
to select (highlight) “Date &
Time”, then press ENTER.
3 Press the Cursor buttons ( /
)
to select (highlight) “Set Date &
Time”, then press ENTER.
4 Press the Cursor buttons ( /
)
to adjust, and press ( /
) to
move between the displayed
items.
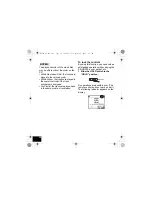
• “AM” and “PM” change
automatically.
• To set the date and time, make
sure to press ENTER after setting
the minute. The internal clock starts
counting the time from “0” second
of the set time.
You can also select either 12-hour /24-
hour system and date display type
(MM/DD/YY, DD/MM/YY, or YY/MM/
DD). For details, refer to the
Instruction Manual.
HD500_QG-B02.book Page 11 Thursday, September 29, 2005 6:17 PM


