112
Others
Use peripheral devices according to the requirements on the
environment of use for the respective devices.
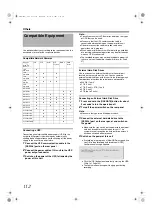
Compatible Network Cameras
Connecting a UPS
Connecting an uninterruptible power supply (UPS) to the
hard disk will protect it from damage by automatically
shutting down all operations prior to switching off the power
supply in the event of a power failure.
1
Connect the UPS communication cable to the
[SERIAL] port on the rear panel
2
Connect the power cable of this unit to the UPS
power output connector
3
Switch on the power of the UPS, followed by the
power of this unit
Note :
●
Consult your nearest JVC dealer for details on the types
of UPS that can be used.
●
Make sure that the UPS communication cable is
connected before switching on the power of this unit.
●
Do not disconnect the communication cable when
operations are in progress.
●
When a power failure occurs while formatting a hard disk
or archiving, subsequent operation may be affected even
when an UPS is connected.
●
The recorded images may not be played back properly if
they are not archived before the power failure. (
External Hard Disk Drives
You can connect an external hard disk to the serial port
located on the rear side of this unit. You can combine
external hard disk drives with this unit in the following ways.
Combinations other than those below are not possible.
●
500 GB (1 unit)
●
1 TB (1 unit)
●
1 TB (1 unit) + 2 TB (1 unit)
●
2 TB (1 unit)
●
2 TB (up to 2 units)
Connecting an External Hard Disk Drive
1
Press and hold the [OPERATE] button for about
2 seconds to turn the operation off
2
Turn off the power switch on the rear panel
Note :
●
Make sure that you turn off the power switch.
3
Connect the external hard disk drive to the
[SERIAL] port on the rear panel, and switch on
the power
●
Make sure that you switch on the power to the external
hard disk drive before switching on this unit. The
system may not recognize the external drive unless it
has been switched on beforehand.
4
Switch on the power of this unit
●
If recording is in progress, a [New HDD was found. Are
you OK to stop recording and format new HDD?]
confirmation message appears.
●
Click the [OK] button to automatically start up the HDD
Utility. (
●
The confirmation message will only appear during
recording.
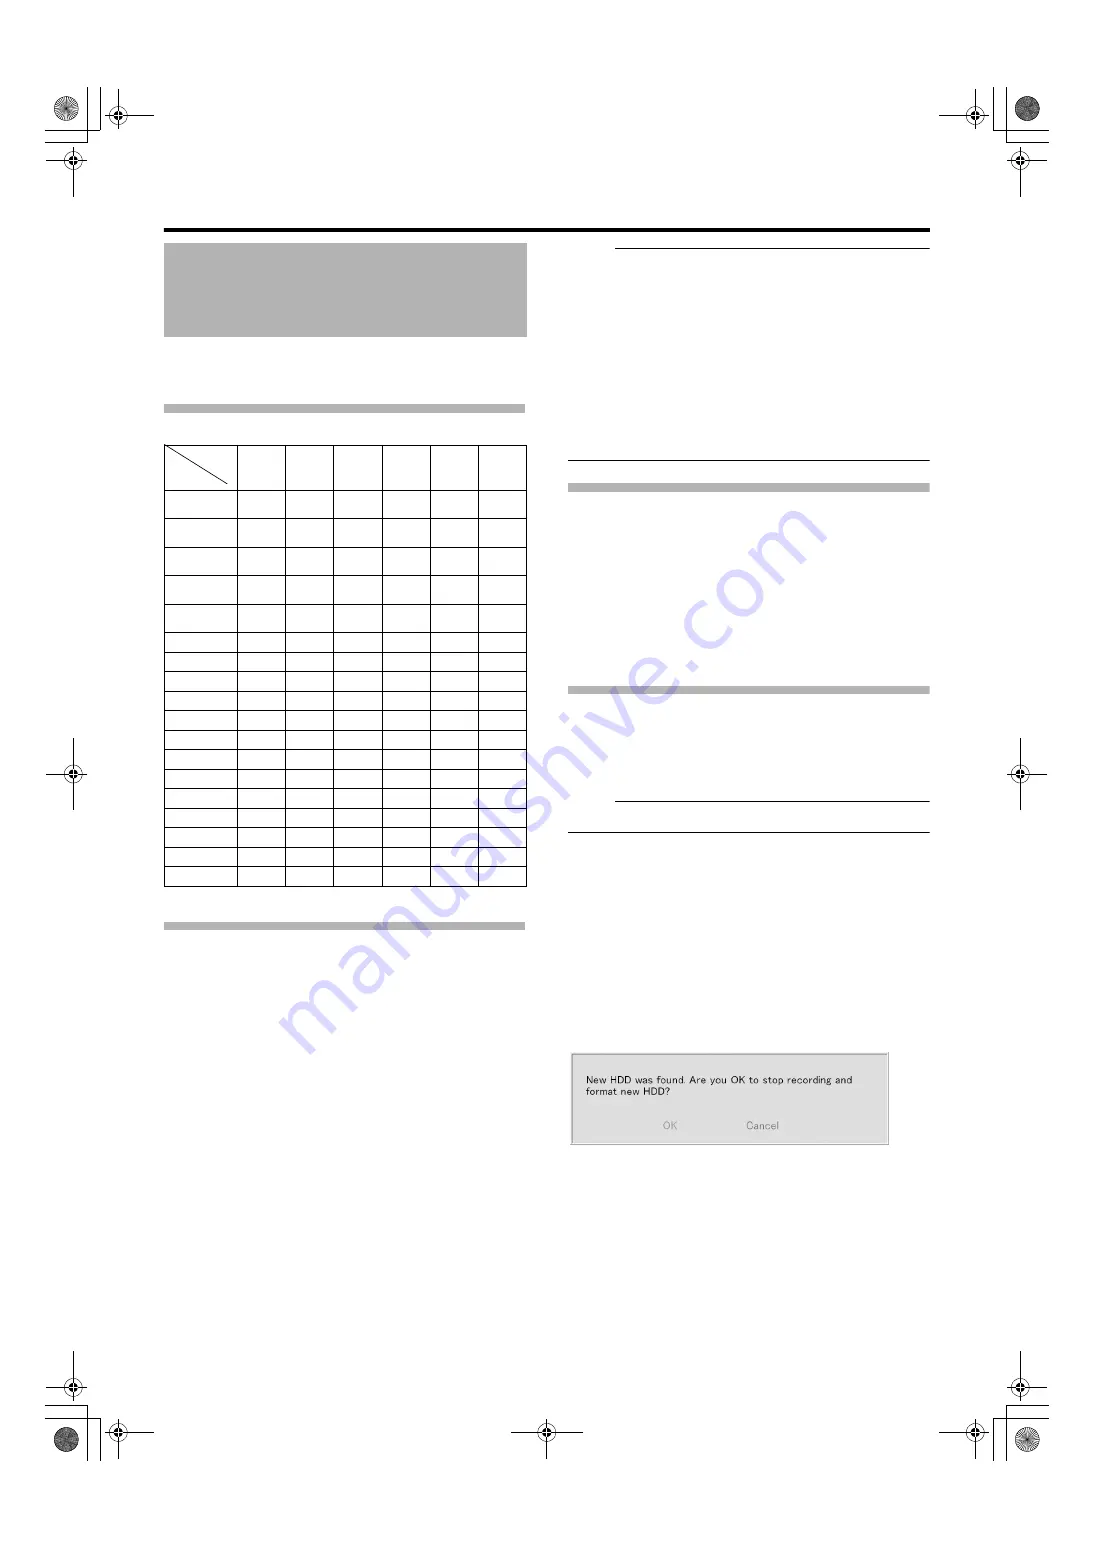
Compatible Equipment
Function
JPG
PTZ
Audio
PTZ
Joystick
MPG4
VMD
Event
Network
Camera
JVC
VN-C20
●
JVC
VN-C655
●
●
●
JVC
VN-C625
●
●
●
JVC
VN-E4
●
●
●
●
JVC
VN-C215
●
AXIS 206
●
AXIS 207
●
●
●
AXIS 211
●
●
●
●
AXIS 212
●
●
●
●
●
●
AXIS 213
●
●
●
●
●
●
AXIS 214
●
●
●
●
●
●
AXIS 216
●
●
●
●
AXIS 225
●
●
●
Verint S1700
●
●
●
Verint S1704
●
●
●
Verint S1708
●
●
●
Verint S1900
●
Verint S2700E
●
VR-N1600_J.book Page 112 Wednesday, August 8, 2007 3:32 PM
Содержание VR-N1600E
Страница 2: ...IMPORTANT SAFEGUARDS I VR N1600_J book Page I Wednesday August 8 2007 3 32 PM ...
Страница 3: ...SAFETY PRECAUTIONS for USA II VR N1600_J book Page II Wednesday August 8 2007 3 32 PM ...
Страница 4: ...SAFETY PRECAUTIONS for Europe III VR N1600_J book Page III Wednesday August 8 2007 3 32 PM ...
Страница 5: ...IV VR N1600_J book Page IV Wednesday August 8 2007 3 32 PM ...
Страница 6: ...SICHERHEITSVORKEHRUNGEN for Germany V VR N1600_J book Page V Wednesday August 8 2007 3 32 PM ...
Страница 7: ...VI VR N1600_J book Page VI Wednesday August 8 2007 3 32 PM ...
Страница 8: ...SICHERHEITSVORKEHRUNGEN for Germany VII VR N1600_J book Page VII Wednesday August 8 2007 3 32 PM ...
Страница 9: ...VIII E 1600E E 1600E E E VR N1600_J book Page VIII Wednesday August 8 2007 3 32 PM ...

