Master Page: Right
_001EN_SHEET_M3D7S-Sheet_p8-16.fm
Page 9
— 9 —
6
Load the provided CD-ROM in the PC. Install [USB Mass Storage Class driver]. (
墌
pg. 5)
7
Use the USB cable to connect the camcorder to the PC.
Device driver is installed.
8
Confirm the [Removable Disk] icon is displayed in [My Computer].
Installing [USB Video Streaming driver]
1
Use the USB cable to connect the camcorder to the PC. (
墌
pg. 9)
2
Select [Start] – [Settings] – [Control Panel]. Double click the [System] icon.
3
Windows
®
98/98SE/Me:
Select the [Device Manager] tab.
Windows
®
2000/XP:
Select the [Hardware] tab and click [Device Manager].
4
Delete [GR-DVP9*] in [Other devices].
* The model name depends on the connected camcorder.
5
Disconnect the USB cable from the camcorder. Restart the PC.
6
Load the provided CD-ROM in the PC. Install [USB Video Streaming driver]. (
墌
pg. 5)
●
Windows
®
XP:
Refer to “Installing USB Video Streaming driver for Windows
®
XP users” (
墌
pg. 8) for
installation.
7
Use the USB cable to connect the camcorder to the PC.
Device driver is installed.
●
Windows
®
2000:
When a warning message dialog box on digital signature appears, click [OK] to
continue installation.
8
Confirm the following devices are displayed in [Device Manager] by performing steps
2
–
3
.
●
[JVC PIX-MCV Video Capture] in [Imaging Devices]
●
[JVC PIX-MCV Audio Capture] in [Sound, video and game controllers]
●
[JVC Composite PIX-MCV Device] and [JVC Communication PIX-MCV Video Driver] in [Universal
Serial Bus Controllers]
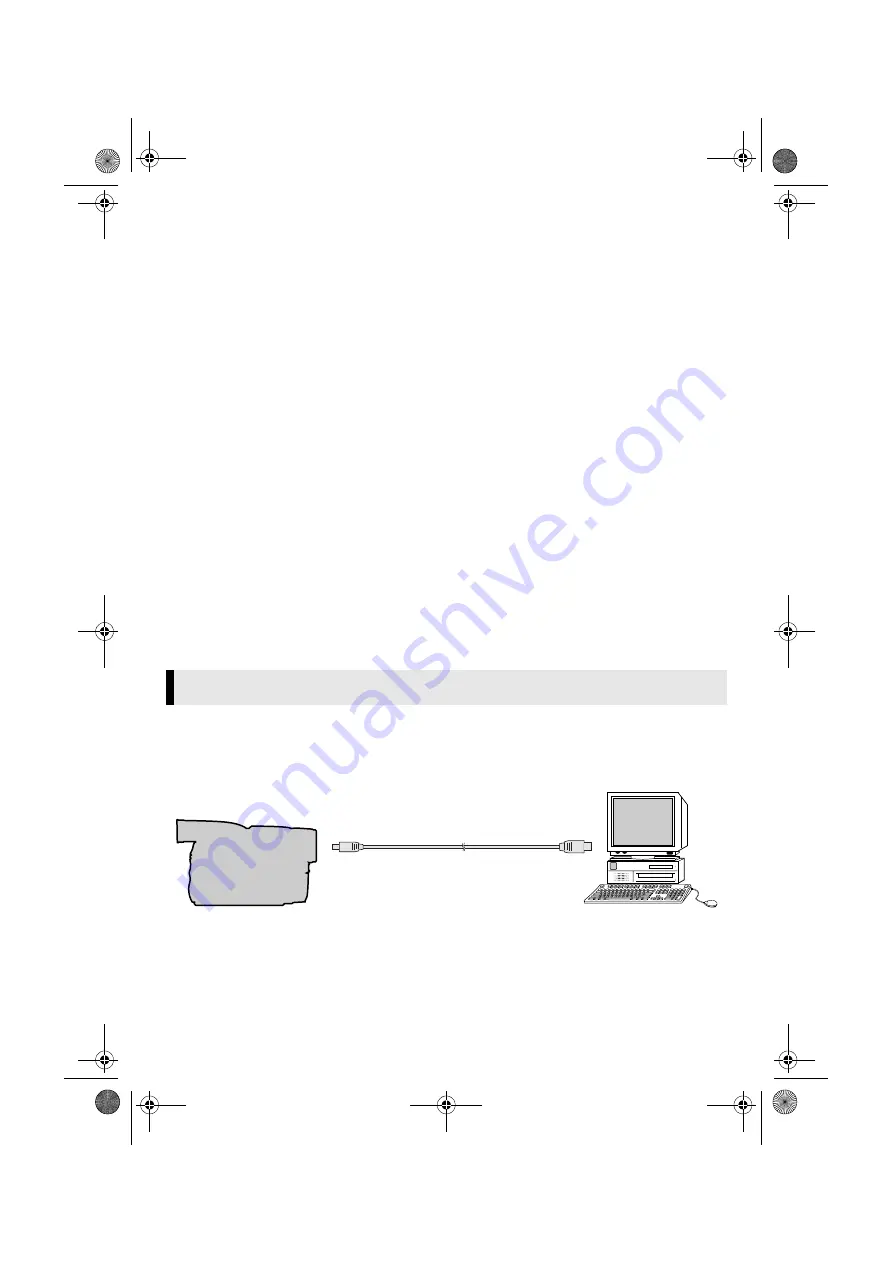
Connecting the USB cable
Connect the USB cable to copy still image and video clip files in a memory card to the PC or to use
ImageMixer in capturing video.
1
To assure safety, make sure all units are turned off before making any connections.
2
Use the USB cable to connect the camcorder to the PC.
●
We recommend that you use the AC Adapter.
Connections (Windows
®
)
To USB connector
PC
To USB connector
USB cable
Camcorder
CONTINUED ON NEXT PAGE
_001EN_SHEET_M3D7S-Sheet_p8-16.fm Page 9 Friday, December 13, 2002 12:15 PM


