13
EN
Auto Synchronization
This feature can display the time based on the
DVB signal information.
If you wish to set the time manually, select “Off”
as follows and then perform the “Date” and “Time”
options.
1
Press
MENU
. Press
◀
or
▶
to select “Setup”,
then press
▼
or
ENTER
and press
▲
or
▼
to
select “Time Setup”, press
▶
or
ENTER
.
2
Press
▲
or
▼
to select “Time”, then press
▶
or
ENTER
.
Press
▲
or
▼
to select “Auto Synchronization”,
then press
◀
or
▶
to select “Off”.
Auto Synchronization
Time
Picture
Audio
TV
Setup
Lock
On
Off
Off
Date
Time
Power On Timer
Timer
Power On Channel
Power Off Timer
Timer
Select
Back
MENU
2012/04/26
11:12:34
00:00:00
00:00:00
3
Press
▲
or
▼
to select “Date” or “Time”, then
press
◀
or
▶
,
0-9
to enter the correct time.
4
Press
RETURN
to exit the menu.
Power On/Off Timer
This feature allows you to programme the TV to
turn on or off automatically at a set time.
1
Press
MENU
. Press
◀
or
▶
to select “Setup”
press
ENTER
, then press
▲
or
▼
to select
“Time Setup”, then press
▶
or
ENTER
.
2
Press
▲
or
▼
to select “Time”, then press
▶
or
ENTER
.
Press
▲
or
▼
to select “Power On Timer” or
“Power Off Timer”, then press
◀
or
▶
to select
“Off”, “On” or “Once”.
If you set the “Power On Timer”, you can
also set the “Power On Channel”.
•
3
Press
RETURN
to exit the menu.
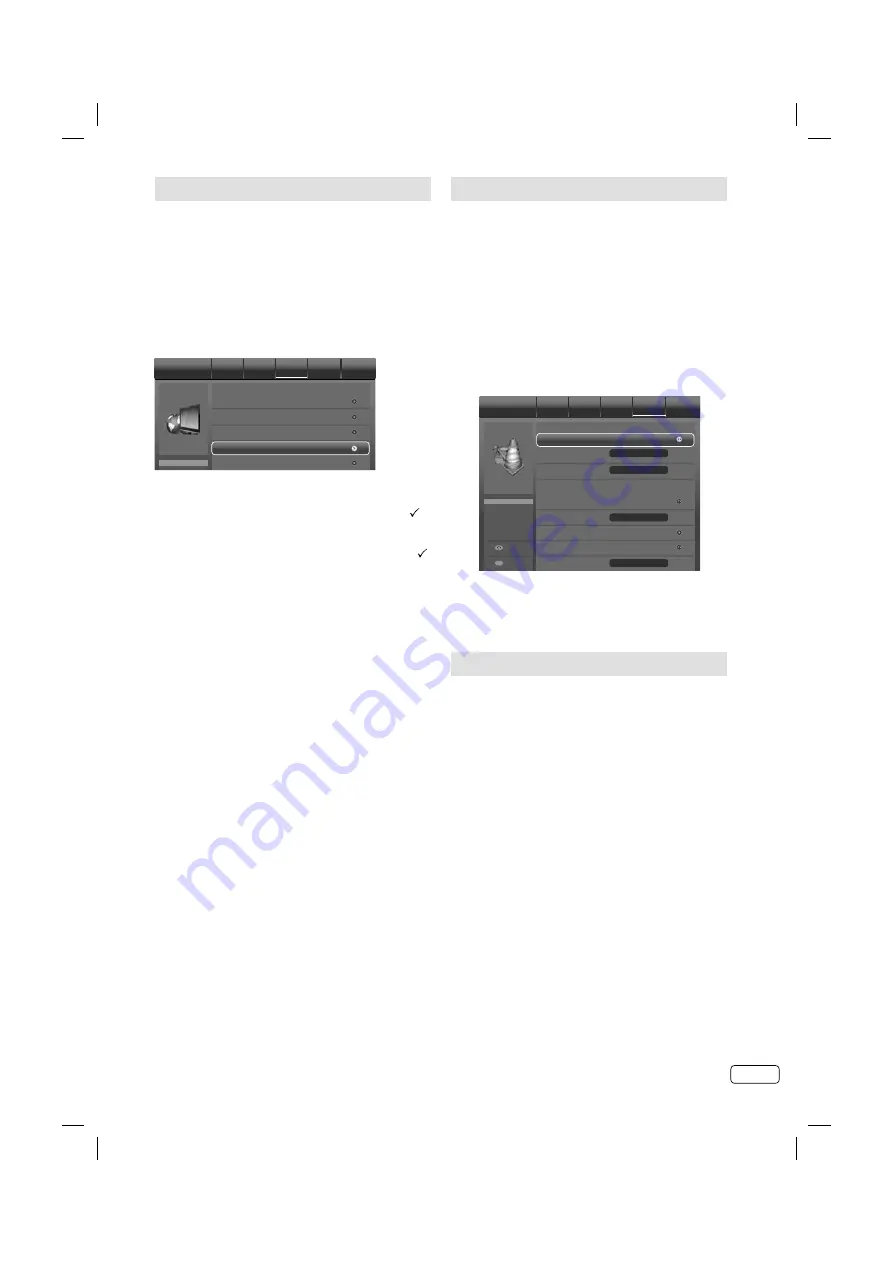
Channel Setup
The Automatic station presetting stores the
stations in a specific order. However, this order
can be changed if you wish.
1
Press
MENU
. Press
◀
or
▶
to select “TV”,
then press
▼
or
ENTER
.
2
Press
▲
or
▼
to select “Channels”, then press
▶
or
ENTER
.
3
Select desired option, then press
▶
or
ENTER
.
Channel Scan
Channels
Picture
Audio
TV
Setup
Lock
Analogue Manual Scan
Digital Manual Scan
Channel Skip
Channel Sort
Description about the each setting option:
Channel Skip:
Press
▲
or
▼
to select the channel
that you want to skip, then press
ENTER
. The
mark will appear.
Channel Sort:
Press
▲
or
▼
to select the channel
that you want to move, then press
ENTER
. The
mark will appear.
Press
▲
or
▼
to select the position that you want
to move the channel to, then press
ENTER
.
Channel Edit:
Press
▲
or
▼
to select the channel
that you want to edit, then press
ENTER
.
Following options are displayed.
-
Channel Number:
Press
0-9
buttons to enter
the desired memory position number, then press
ENTER
.
-
Channel Name:
Press
ENTER
to enter edit
mode, then press
▲
/
▼
to select desired letter,
or
◀
to erase the letter, then press
ENTER
repeatly.
-
Frequency (only for Analogue TV):
You
can also directly enter the frequency value with
Number buttons (0-9)
, then press
ENTER
.
-
Color System (only for Analogue TV):
Color
System has already been preset to Auto. Do not
change anything here. Any changes can cause
picture or sound disruption.
-
Sound system (only for Analogue TV):
Correct sound system is already installed. Any
changes can cause sound disruption.
Analogue Channel Fine Tune (only for Analogue TV):
Already correctly and optimally installed. Do not
change anything here. Any changes can cause
picture or sound disruption. The video can also be
affected.
Clean Channel List :
Press
◀
to select “OK” and
ENTER
to delete all Channel.
J3NW2151A_EN.indd 13
J3NW2151A_EN.indd 13
3/4/13 2:51:37 PM
3/4/13 2:51:37 PM


