


16
BASIC OPERATIONS (cont.)
Time Code (DV Deck)
During recording,
a time code is
recorded on the
tape. This time
code is used to
confirm the
position on the
tape when playing
or editing a tape.
To perform
Random Assemble
Editing (
墌
pg. 40),
time code is
necessary.
NOTES:
The presence of a blank (unrecorded) portion in the
middle of a tape can result in misoperation.
A "blank portion" of a tape is a section where nothing is
recorded on the tape. If you start making a recording in a
blank portion of a tape, the time codes will start from
"0:00:00" again. If identical time codes are recorded in two
different places on a tape, Random Assemble Editing and
other similar functions might not operate properly.
In the following circumstances, you should play the tape
and confirm where a scene ends, and then begin recording
from there:
●
When starting to record in the middle of a tape on which
a recording has already been made.
●
When you have made a recording on a tape, then played
that recording back in order to check it, and now wish to
continue recording.
●
When you have lost power or the batteries have died
while you were recording with a camcorder.
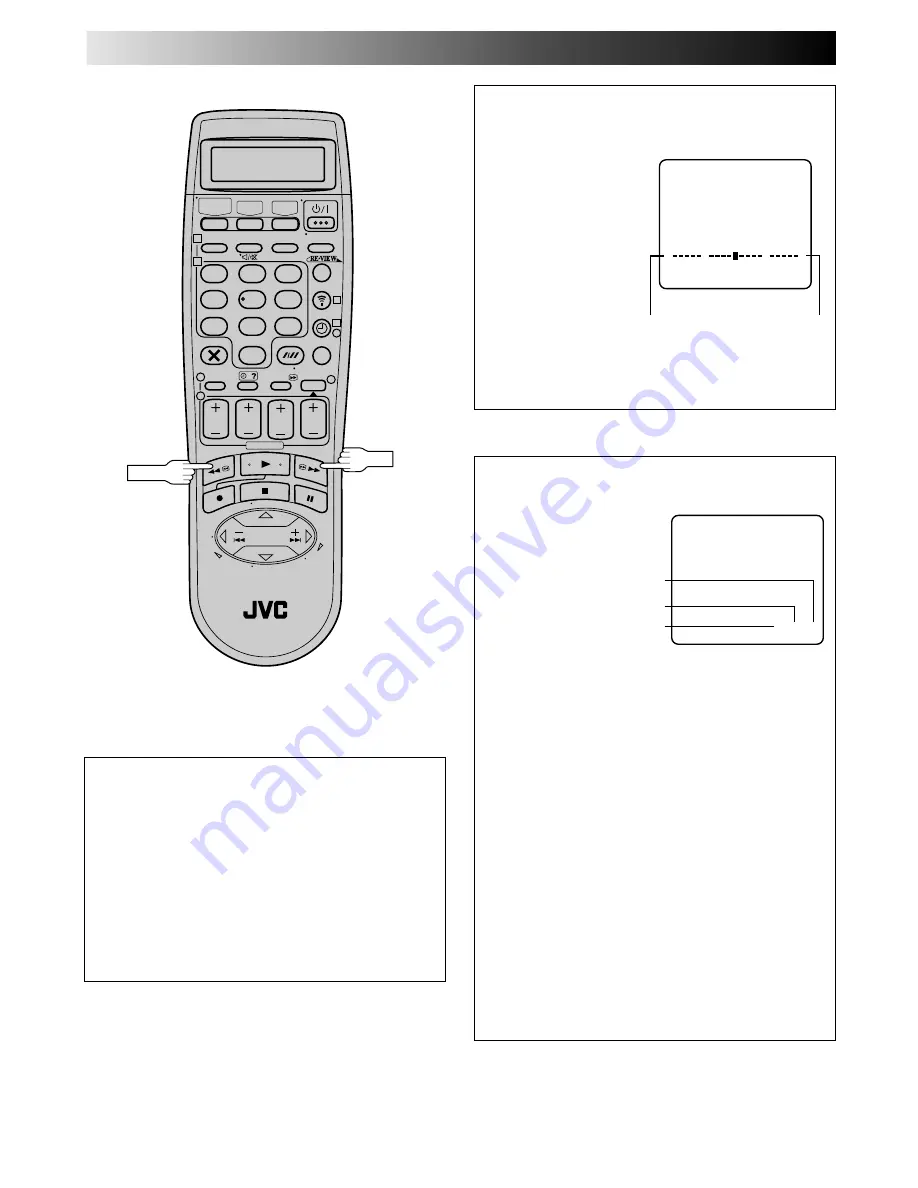
Tape Position Indicator
(VHS Deck)
The tape position indicator
appears on screen when,
from the Stop mode, you
press
FF
,
REW
or perform an
Index Search. The position
of "
5
" in relation to "0"
(beginning) or "+" (end)
shows you where you are
on the tape.
"O.S.D." (
墌
pg. 55) must
be set to "ON", or the
indicator will not appear.
NOTE:
Depending on the type of tape used, there may be times
when the indication is not correct.
3
1:23:45
REMAIN 2:35
0
+
+
+
Beginning
End
1
2
3
4
5
6
7
8
9
1
2
1
2
3
0
3
4
4
REW
Clean the video heads using a dry cleaning
cassette (TCL-2U for the VHS deck/
M-DV12CLAU for the DV deck) when:
●
"USE CLEANING CASSETTE" appears on the screen (only
with "O.S.D." set to "ON" (
墌
pg. 55)).
OR
VHS Deck
●
Rough, poor picture appears while a tape is played back.
●
The picture is unclear or no picture appears.
DV Deck
●
No picture during playback.
●
Blocks of noise appear during playback.
FF
Hours
Seconds
Minutes
0 : 00 : 00


