


- 10 -
To select
Continue
use or button. By pressing
or button start the
A.P.S.
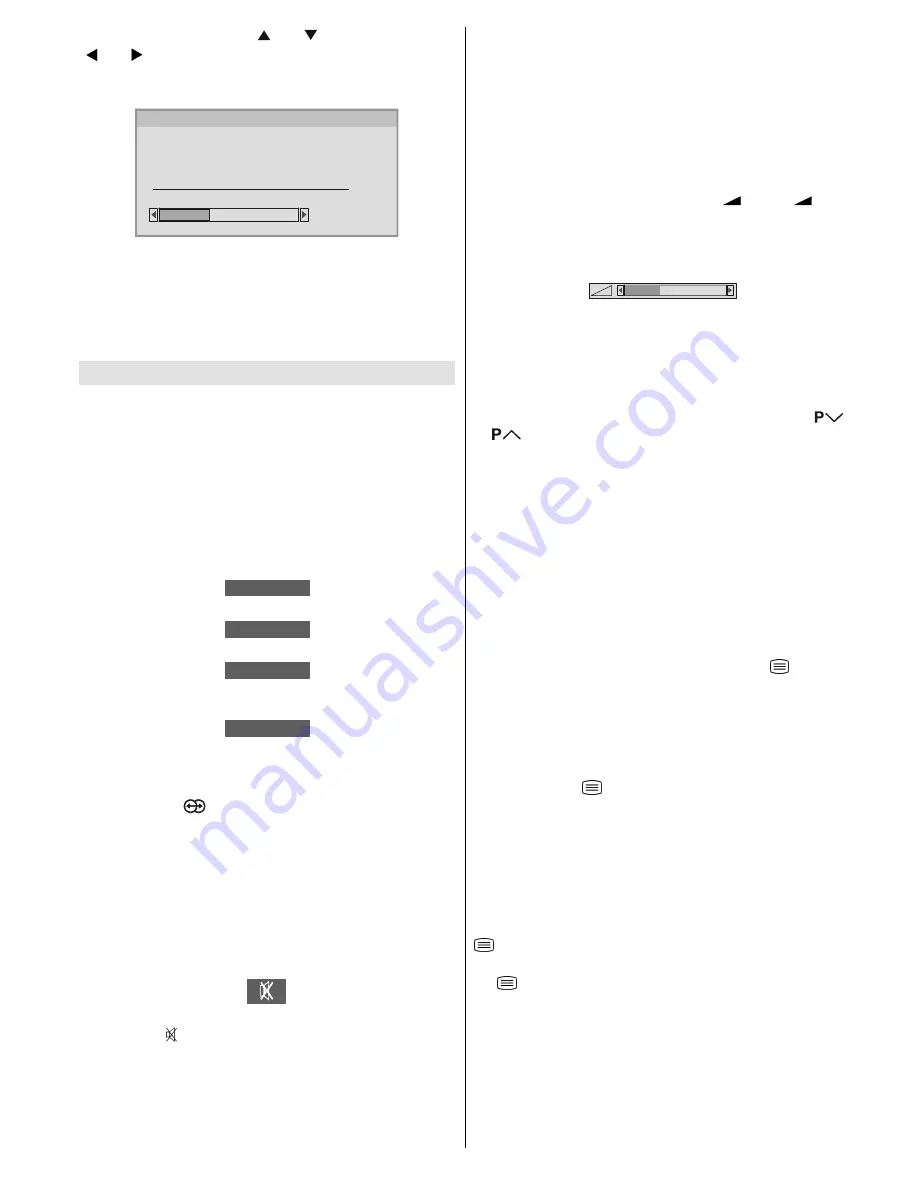
When you start
A.P.S.
the following
window
will appear on
the screen.
35&+$11(/1$0(
&&
$36,65811,1*
3/($6(:$,7
$36
After APS is finalized, a programme list will appear on the
screen. In the programme list you will see the programme
numbers and names assigned to the programmes.
If you do not accept the locations and / or the programme
names of programmes, you can change them in Programme
menu.
Other Features
TV Status
Programme Number
,
Programme Name
(or
EXT
), (they
are displayed on the upper left of the screen). The
sound indi-
cator
is displayed with them too. They are displayed after
programme change for 3 seconds.
Sound Indicator
The alternatives of the indicator are Mono, Stereo, Dual I and
Dual II. This indicator is displayed under the programme num-
ber indicator on the screen.
0212
In Mono broadcast or in forced-mono (for stereo broadcast).
67(5(2
In Stereo broadcast.
'8$/ ,
²
If dual broadcast detected. Dual I is selected in default and
also can be selected after Dual II by Remote Control.
'8$/ ,,
²
If Dual II is selected by Remote Control.
Hyper Sound
By pressing the
button on your remote control, Pseudo/
Spatial effect can be turned on or off. In Mono transmission
the left and right channels will be added at left channel and
dummy stereo effect will be introduced to end-user.
In stereo transmission it yields a phase difference between
left and right channels.
Mute Indicator
It is placed in the upper middle of the screen when enabled,
and it stays there until it is disabled.
To cancel mute, there are two alternatives; the first one is by
pressing the button, this volume is set to the preceding
value, and the second one is increasing or decreasing the
volume level.
No-Signal Detection (TV mode)
If no valid signal is detected, it takes 5 minutes to switch to
the Stand-By mode unless any signal detected or any Re-
mote Control command is accessed.
After a Remote Control command (if No-Signal Timer is active)
the timer stops and if no signal detected again the timer is
initialized to 5 minutes and starts 3 seconds later again to
count down.
It is not valid in EXT modes.
Volume Bar
It is displayed in the lower middle of the screen. When a vol-
ume command is received (pressing
+
or
-
by
Remote Control or Control panel at the right side of the TV)
and no menu is active, it stays on the screen for 3 seconds,
after the last volume command or until another command is
received in between.
EXT Modes
By pressing the
AV
button you can switch your TV to EXT
modes (except being in Teletext). Pressing this button con-
secutively will switch the TV in one of the optional EXT modes:
EXT1, EXT2, EXT2 S
and
EXT3
.
In order to quit the EXT mode press any digit buttons or
/
.
Zoom Modes
Zoom mode can be changed by pressing the
ZOOM
button.
You can change the screen size according to the picture as-
pect ratio. Select the optimum one from the following
ZOOM
modes.
AUTO, 4:3, 16:9
Picture
You can change
Picture Mode
settings by pressing
PIC-
TURE
button when no menu appears.
VCR / DVD Control Buttons and VCR / / DVD
Switch
The buttons can be used to operate a JVC brand VCR or DVD
player. Pressing the button having the same appearance as
the original remote control button of a device makes the func-
tion work in the same way as the original remote control.
1.
Set the VCR /
/ DVD Switch to the VCR or DVD posi-
tion.
VCR:
When you are operating the VCR, set the switch to the VCR
position.
DVD:
When you are operating the DVD player, set the switch to the
DVD position.
(Text):
When you are viewing Teletext programmes, set the switch to
the (Text) position.
2.
Press the VCR / DVD Control Button to control your VCR or
DVD player.
Note:
If your device is not made by JVC, these buttons cannot be
used.
Even if your device is made by JVC, some of these buttons
or any one of the buttons may not work, depending on the
device.
A01-ENG&AK49-C1512UK-2929-RF-CLED-PLLCH-(AV-29QT4SU)-10041580-50086700.p65
18.05.2006, 10:05
10
Содержание InteriArt AV-29QT4SU
Страница 17: ... No YA085C 1 17 SECTION 5 TROUBLESHOOTING This service manual does not describe TROUBLESHOOTING ...
Страница 32: ... 13 Peripheral Equipments ...
Страница 56: ...2 20 No YA085C No YA085C 2 19 FRONT PATTERN DIAGRAMS MAIN PWB PATTERN SOLDER SIDE ...
Страница 57: ... No YA085C 2 21 2 22 No YA085C FRONT MAIN PWB PATTERN PARTS SIDE ...


