


January 25, 2002 9:48 am
Page 7
— 7 —
Master Page: Right
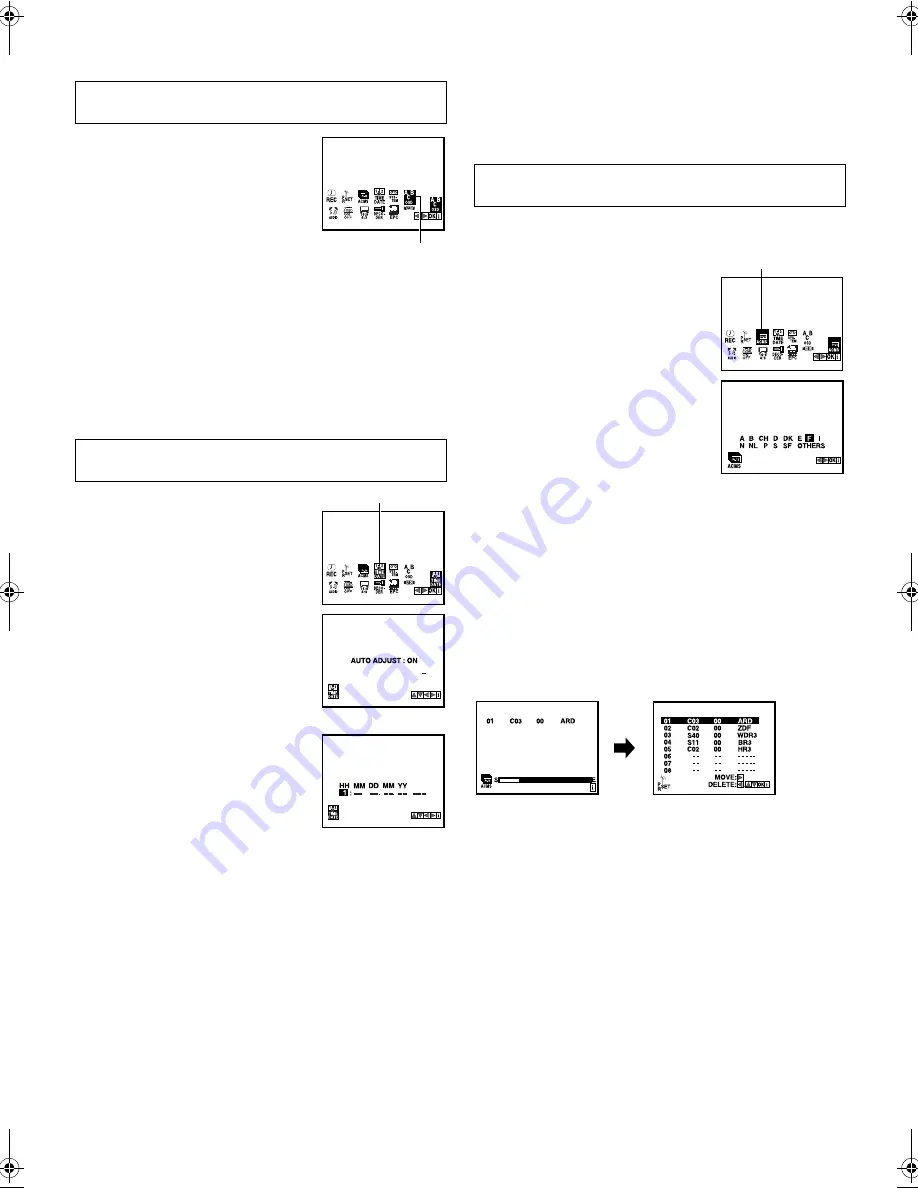
Language Set
You can change the language setting manually as required.
A
Access Main Menu screen
Press
MENU
. Press
w
e
to select the icon
“ABC OSD”, then press
OK
.
B
Select language
Press
rt
to select the desired language.
C
Return to normal screen
Press
MENU
.
Clock Set
Perform clock setting only if the clock has not been set correctly
by the Plug&Play setting.
A
Access Main Menu screen, then Clock
Set screen
Press
MENU
. Press
w
e
to select the icon
“TIME DATE”, then press
OK
.
B
Set “AUTO ADJUST” mode.
Set to “ON” or “OFF” by pressing
rt
,
then press
OK
. Normally, set “AUTO
ADJUST” to “ON”.
NOTE:
Auto Adjust may not function properly
depending on the reception condition.
C
Set time, date and year
Press
rt
until the desired setting appears,
then press
e
.
OR
Press the appropriate
number keys
for each
setting.
●
Input “0” before any single number
entries.
D
Start clock
Press
MENU
.
Tuner Set
Perform the following steps only if the tuner has not been set
correctly by Plug&Play, or if you have moved to a different area, or
if a new station starts broadcasting in your area.
The recorder needs to memorise all necessary stations in channel
positions in order to record TV programmes. Auto Channel Set
automatically assigns all receivable stations in your area.
Auto Channel Set
A
Access Main Menu screen, then Auto
Channel Set screen
Press
MENU
. Press
w
e
to select the icon
“ACMS”, then press
OK
. The Country Set
screen appears.
B
Select your country
Press
w
e
to select your country.
C
Perform Auto Channel Set
Press
OK
.
●
When Auto Channel Set is completed, the Confirmation screen
appears.
D
Return to normal screen
Press
MENU
.
NOTES:
●
Depending on reception conditions, the stations may not be
stored in order, and the station names may not be stored
correctly.
●
To delete stations with poor reception condition, refer to
“Deleting a channel” (
墌
8).
Turn on the recorder and the TV, and set your TV to its AV mode
or video channel.
ENGLISH
: English
DEUTSCH
: German
FRANCAIS
: French
ITALIANO
: Italian
ESPAÑOL
: Spanish
DUTCH
: Dutch
Turn on the recorder and the TV, and set your TV to its AV mode
or video channel.
ABC OSD
TIME DATE
HH: Hour
MM: Minute
DD: Day
MM: Month
YY:
Year
Turn on the recorder and the TV, and set your TV to its AV mode
or video channel.
A
: Austria
B
: Belgium
CH
: Switzerland
D
: Germany
DK
: Denmark
E
: Spain
F
: France
I
: Italy
N
: Norway
NL
: Netherlands
P
: Portugal
S
: Sweden
SF
: Finland
OTHERS : Other countries
ACMS
HR-J590_593_290_293EU-001EN.fm Page 7 Friday, January 25, 2002 9:48 AM


