19
Setting the time style (Time Style) (
A
Select [LCD/VF] menu
B
B
Select the time display style.
[Setting values: 12hour (12 hour display), 24hour (24 hour
display)]
C
Press the center of the set lever.
Date/Time Display in Each Operation
Mode
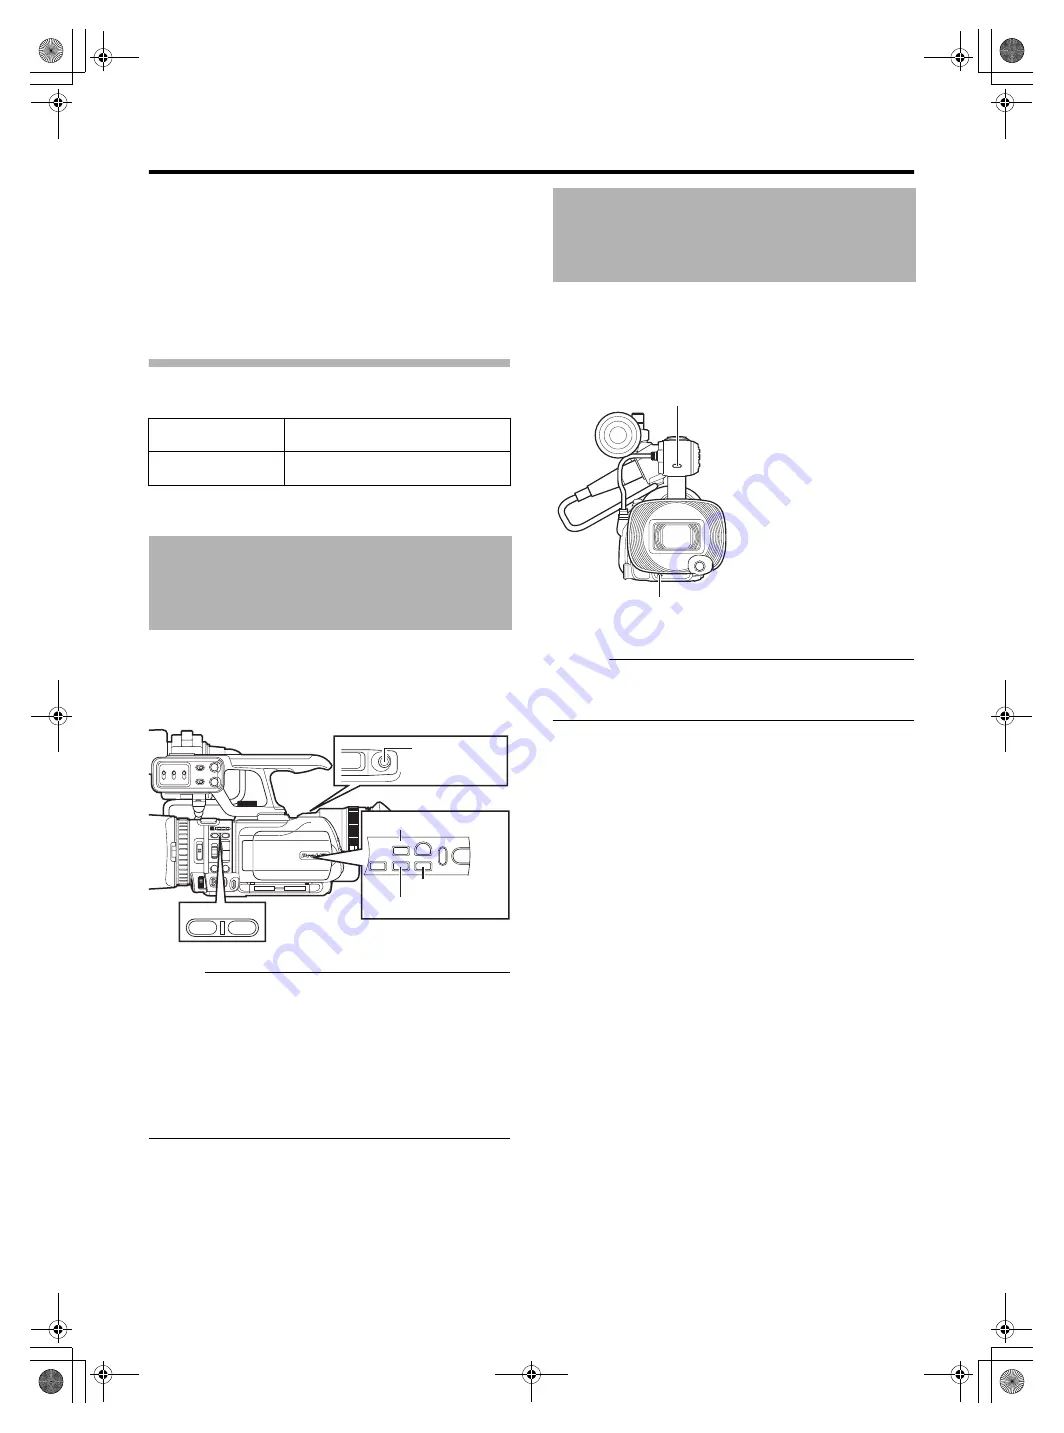
This camera recorder comes with two user buttons
[USER1,USER2], as well as some buttons with the user
button feature, namely [LOLUX/
5], and [REC/6].
A specific function can be assigned to each button according
to your preference.
Memo :
●
Assign functions to the respective user buttons using
[USER1]/[USER2]/[LOLUX/
[REC/6] of [Switch Set] in the [Camera Function] menu.
(
●
The [REC/6] button is set to
by default, and can be
used to start/stop recording. The
function can only be
assigned to the [REC/6] button.
●
When the menu screen is displayed, the [USER1] and
[USER2] buttons function as the menu operation buttons.
[Basic Operations in Menu Screen])
You can select whether to enable the illumination of the tally
lamp.
Set using [Tally] in the [Others] menu. (
When this is set to
, the tally lamp lights up in the recording
mode.
Memo :
●
When the audio unit is attached, the tally lamp on this
camera recorder (lower tally lamp in the above diagram)
does not function.
During Camera mode
Date/time of the built-in clock is
displayed.
During Media mode
Shooting date/time of the clip being
played back is displayed.
Assigning Functions to the
[USER] Buttons
CH-2 INPUT
CH-1
3
45
2
1
23
0
CH-2
AUDIO INPUT
AUTO MANUAL
AUTO MANUAL
USER1
A
B
FOCUS
ZOOM
ON
ND
FILTER
OFF
USER2
AF/MF
FULL AUTO
AUDIO
SELECT
INPUT1
INPUT2
- LINE -
- MIC -
MIC+48V
INPUT1
INPUT2
GAIN
L-
M-
H-
B-
A-
PRST-
WHT.BAL
IRI
S
A/M
U
S
ER1
U
S
ER2
C.REVIEW/4
ZEBRA/5
S
LOT
S
EL
DI
S
PLAY
LOLUX/3
REC / 6
W
[REC/6] Button
Tally Settings
AWB
Tally Lamp
Tally Lamp
GY-HM150U.book Page 19 Monday, September 5, 2011 1:48 AM


