EN
15
GETTING STARTED
MasterPage: Start_Right
1
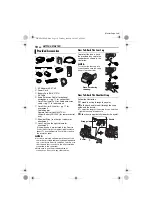
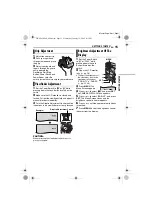
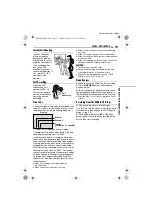
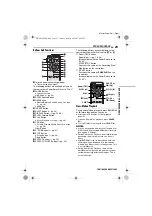
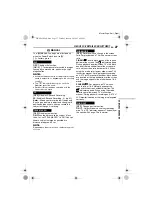
Adjust the velcro strip.
2
Pass your right hand
through the loop and grasp
the grip.
3
Adjust your thumb and
fingers through the grip to
easily operate the
Recording Start/Stop
Button, Power Switch and
Power Zoom Lever. Be
sure to fasten the velcro strip to your preference.
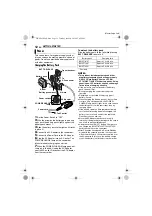
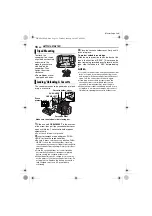
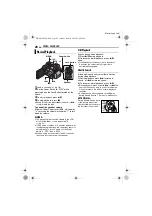
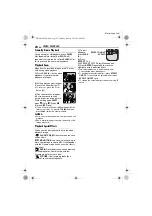
1
Set the Power Switch to “
A
” or “
M
” while
pressing down the Lock Button located on the
switch.
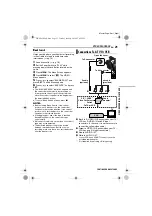
2
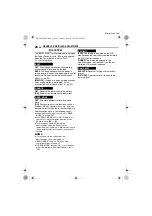
Make sure the LCD monitor is closed and
locked. Pull out the viewfinder fully and adjust it
manually for best viewability.
3
Turn the Dioptre Adjustment Control until the
indications in the viewfinder are clearly focused.
CAUTION:
When retracting the viewfinder, take care not to
pinch your fingers.
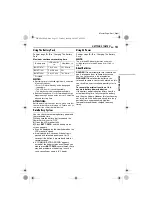
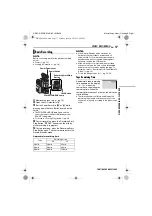
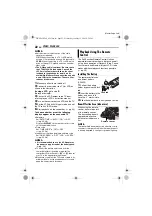
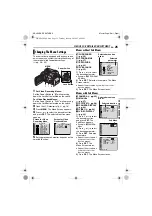
1
Set the Power Switch
to “
M
” or “PLAY” while
pressing down the Lock
Button located on the
switch.
2
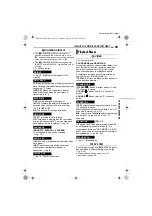
Open the LCD monitor
fully. (
●
To adjust the brightness of
the viewfinder, pull out the
viewfinder fully and set
“PRIORITY” to “FINDER”
(
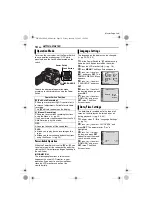
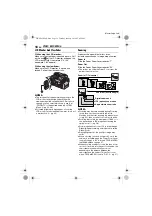
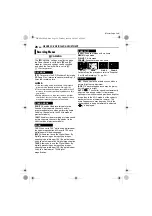
3
Press
MENU
. The
Menu Screen appears.
4
Press or to select “
n
”, and press
SET
.
The CAMERA DISPLAY Menu appears.
5
Press or to select “BRIGHT”, and press
SET
. The Menu Screen closes and the
brightness control indicator appears.
6
Press
<
or
>
until the appropriate brightness
is reached.
7
Press
MENU
to clear the brightness control
indicator from the display.
Grip Adjustment
Viewfinder Adjustment
PAUSE
Dioptre Adjustment Control
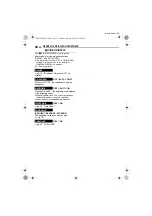
Example:
Brightness Adjustment Of The
Display
BRIGHT
MENU
SET
<
>
GR-DF420PAL_04Start.fm Page 15 Wednesday, January 19, 2005 4:13 PM


