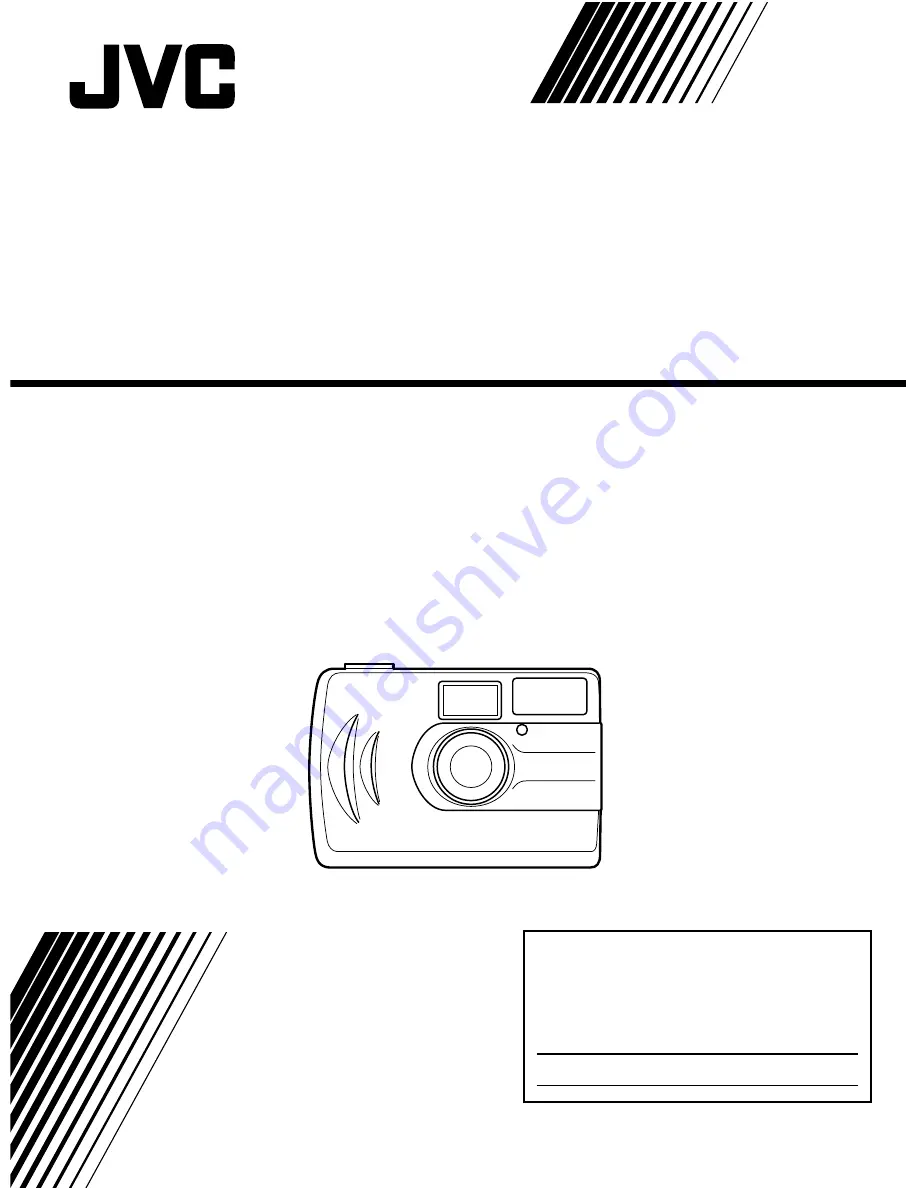
background image

J5500-107A

GC-A33

BEDIENUNGSANLEITUNG

DUAL MODE DIGITAL CAMERA
DUAL-MODUS-DIGITALKAMERA
APPAREIL PHOTO NUMERIQUE DOUBLE MODE
CÁMARA DIGITAL DE MODO DUAL
DUAL MODE DIGITAL CAMERA
DIGITALKAMERA MED TVÅ LÄGEN

MANUAL DE INSTRUCCIONES

MANUEL D’INSTRUCTIONS

INSTRUCTIONS

BRUKSANVISNING

GEBRUIKSAANWIJZING

For Customer Use:
Enter below the Model No. and Serial No.
which is located on the bottom of cabinet.
Retain this information for future reference.

Model No.

Serial No.

Содержание GC-A33

Страница 1: ...RA DIGITAL DE MODO DUAL DUAL MODE DIGITAL CAMERA DIGITALKAMERA MED TVÅ LÄGEN MANUAL DE INSTRUCCIONES MANUEL D INSTRUCTIONS INSTRUCTIONS BRUKSANVISNING GEBRUIKSAANWIJZING For Customer Use Enter below the Model No and Serial No which is located on the bottom of cabinet Retain this information for future reference Model No Serial No ...

Страница 2: ...hen it is unattended unless it is specifically stated that it is designed for unattended operation or has a standby mode Switch off using the switch on the equipment and make sure that your family know how to do this Special arrangements may need to be made for infirm or handicapped people DON T use equipment such as personal stereos or radios so that you are distracted from the requirements of ro...

Страница 3: ...r installation If this equipment does cause harmful interference to radio or television reception which can be determined by turning the equipment off and on the user is encouraged to try to correct the interference by one or more of the following measures Reorient or relocate the receiving antenna Increase the separation between the equipment and receiver Connect the equipment into an outlet on a...

Страница 4: ...cient magnitude to constitute a risk of electric shock to persons The exclamation point within an equilateral triangle is intended to alert the user to the presence of important operating and maintenance servicing instructions in the literature accompanying the appliance TO REDUCE THE RISK OF ELECTRIC SHOCK DO NOT REMOVE COVER OR BACK NO USER SERVICEABLE PARTS INSIDE REFER SERVICING TO QUALIFIED S...

Страница 5: ... avez d autres questions interrogez votre revendeur JVC INSTRUCTIONS EN FRANÇAIS Page 42 58 Gracias por adquirir este producto JVC Antes de utilizar la unidad lea cuidadosamente estas instrucciones para obtener el máximo rendimiento Si tiene cualquier duda póngase en contacto con su distribuidor de productos JVC INSTRUCCIONES EN ESPAÑOL Página 60 76 Dank u voor uw aankoop van dit JVC produkt Voor ...

Страница 6: ...aces where humidity is extremely low below 35 or extremely high above 80 in direct sunlight in a closed car in summer near a heater 4 To protect the unit DO NOT allow it to become wet drop the unit or strike it against hard objects subject it to shock or excessive vibration during transportation keep the lens directed at extremely bright objects for long periods carry it by holding the lens Be sur...

Страница 7: ...ot use conventional disc cleaners or cleaning spray Do not bend the CD ROM or touch its mirror surface Do not store your CD ROM in a dusty hot or humid environment Keep it away from direct sunlight Before Using the Camera Take some pictures on a trial basis before you actually start in order to make sure the picture s is are taken properly We cannot bear any responsibility for an inability to shoo...

Страница 8: ...ptions in Delete Mode 14 Adjusting the Settings in Record Mode 15 Setting Picture Quality 15 Setting the Self Timer 15 Setting the Auto Flash Mode 16 Setting the Exposure Value 16 Deleting Pictures from Memory 17 To delete a picture from Memory 17 To delete all pictures from Memory 17 Downloading Pictures into your PC 18 Connecting to your Computer 18 Camera Driver and Application Installation 18 ...

Страница 9: ...WAIN compliant devices like your camera to your computer included in the software CD ROM Image Editing Software Allows you to quickly and easily touch up any photo captured with your camera Helps enhance your pictures before emailing or printing them included in the software CD ROM A built in non expiring flash and an auto flash sensor automatically detects whether the flash should be engaged It h...

Страница 10: ...button Strap holder Status light indicator USB port EV Exposure Value Forward button Flash Backward button Tripod socket Viewfinder window Built in flash Lens Viewfinder Power button Mode Menu button LCD panel Battery door Self Timer indicator ...

Страница 11: ...side of the battery door 3 Close the battery door and turn on the camera After using the camera for some time and the battery power becomes low only the lower portion of the Battery Power icon will appear shaded This indicates that the batteries are weak and need to be replaced Note 䡲 Insert the batteries in the correct positive and negative polarities 䡲 Remove the batteries if the camera is not u...

Страница 12: ...hange back to Record mode by pressing the Mode Menu button You have to press and then quickly release this button 4 Using the Viewfinder focus on the object you want to capture 5 Press the Shutter button to take the picture To attach the strap to your camera 1 Insert the small loop at the end of the strap into one of the holes of the camera s strap holder 2 Push inward until the loop comes out of ...

Страница 13: ...e the on off status of camera The indicator blinks when flash is being charged as auto flash feature been activated Note Always wait for the light to stop blinking before you proceed Auto Power Off The camera is equipped with an automatic power off function It switches off automati cally when there are no operations performed for about 2 minutes To restore full power press the Power button on the ...

Страница 14: ...o take a picture of yourself and there is no one to help you With the Self Timer on you can give yourself enough time to make your favorite pose before taking your own picture Flash No Flash Auto Flash You can set the flash off or auto depending on the lighting conditions of your environment Exposure Value EV Allows your pictures with exposure increased or decreased For more information on this ca...

Страница 15: ... low compression Low compression produces higher quality images but less number of pictures can be taken Higher compression produces acceptable quality images and allows more pictures to be taken Normal Quality 120 images Fine Quality 60 images To select the picture quality 1 Make sure that the camera is in Record mode Then press the Mode Menu button for over 2 seconds to enter the camera options ...

Страница 16: ...the flash is charged and ready Note 䡲 Do not fire the flash at a person at short range 䡲 Auto Flash is always reset to OFF when the camera is turned on 䡲 Auto Flash will be disabled automatically when connected on USB because the large charge current will cause damage to your USB interface 䡲 Do not use the Auto Flash feature while battery power is low It will cause the camera to be kept in chargin...

Страница 17: ...assigned to the latest picture 3 Press the Shutter button 4 If icon starts blinking on the LCD Panel press the Shutter button to confirm or press any other button to cancel 5 Press the Mode Menu button to switch back to Record mode To delete all pictures from memory 1 Make sure that you are in Delete mode To enter Delete mode press the Mode Menu button twice instantly and release the button The De...

Страница 18: ...r To install camera driver and application software 1 Insert the software CD ROM disc into your CD ROM drive 2 The setup program will begin Simply follow the on screen instructions to complete both the TWAIN driver Dual Mode USB Camera and the image application software MGI PhotoSuite installation 3 Restart the computer Note The TWAIN driver will only become effective after the system is rebooted ...

Страница 19: ...nloaded images 8 1 Save selected pictures directly to your hard drive a Click the Save Photos to Disk Directory to bring up the Save Files to Directory windows b Under Save In select the directory in which you wish to save the pictures c Type in a three letter prefix followed by a number This will be the filename for the first image Filenames for all subsequent images in this batch will be consecu...

Страница 20: ...isconnect the USB cable from the camera and PC Note 䡲 No PC Camera WebCam Application Software is included in the CD ROM Please use a commercially available videoconferencing program such as Microsoft Netmeeting To use the camera for videoconference via the Internet or LAN connection you also need a networking device such as a modem or TA Terminal Adapter as well as speakers and a microphone 䡲 For...

Страница 21: ...ium Battery Power Low Battery Power Delete Mode Delete Current Picture Delete All Pictures Full Battery Power Medium Battery Power Low Battery Power Current Picture OK Confirmation Record Mode Record Mode Full Battery Power Medium Battery Power Low Battery Power No Flash Auto Flash Self Timer Off Self Timer On Fine Quality Mode Normal Quality Mode EV Compensation Picture Remaining LCD panel Icons ...

Страница 22: ...hod JPEG Base LCD Indicator Flash Auto Off Self Timer Delete Picture No Battery Record PC Mode Quality LED Indicator Self Timer LED Red in Front Ready LED Green in Rear USB Frame Rate 15fps VGA Mode 30fps CIF QCIF Note The performance of USB frame rate is relevant to the configuration of the PC Auto Power Off 2 minutes after no operation Disable when using USB Communication USB Power Supply 2 AA S...

Страница 23: ...SVENSKA NEDERLANDS ESPAÑOL FRANÇAIS DEUTSCH ENGLISH 23 EN MEMO ...

Страница 24: ...GC A33 2001 VICTOR COMPANY OF JAPAN LIMITED VICTOR COMPANY OF JAPAN LIMITED Dual Mode Digital Camera Printed in China J5500 107A ...

Отзывы: