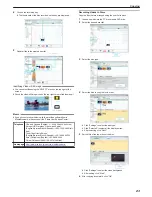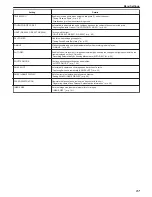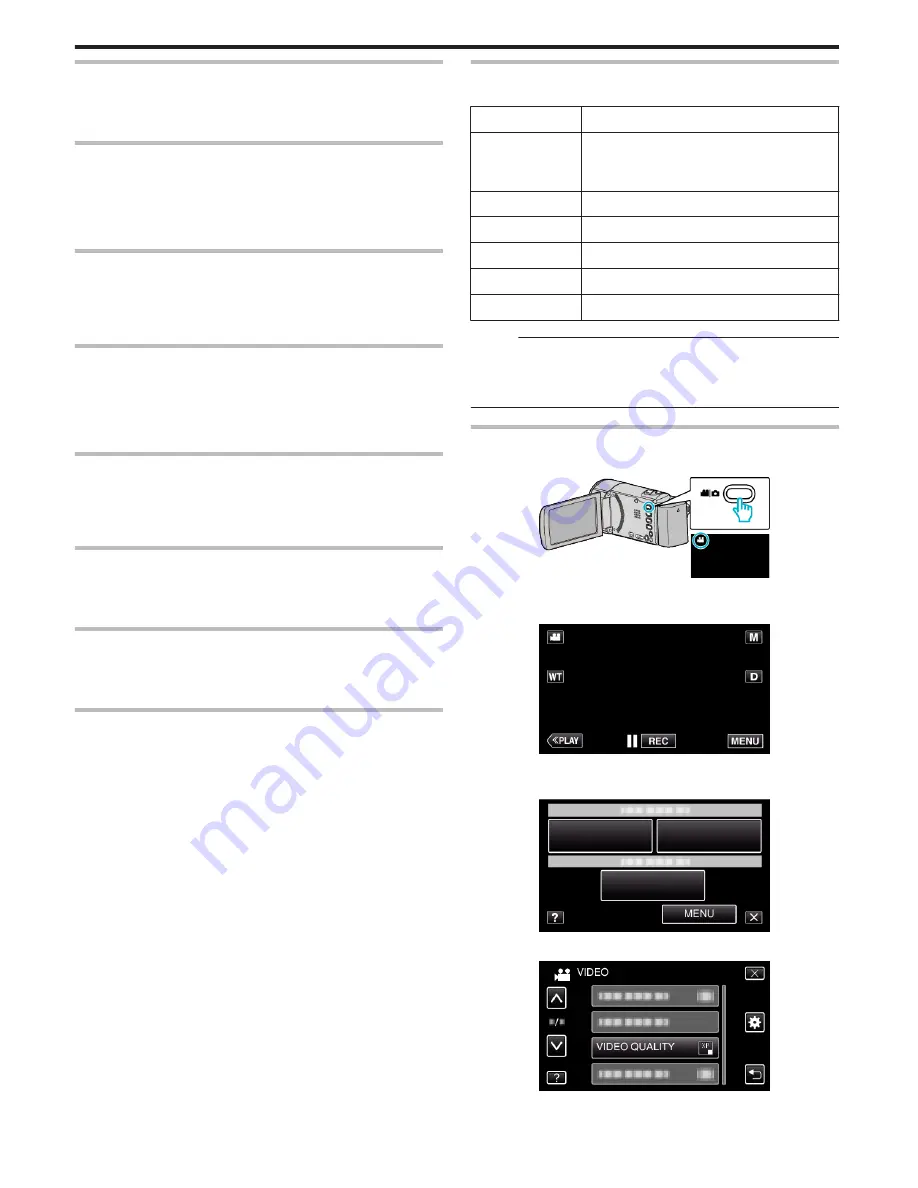
ANIMATION EFFECT
Records videos with animation effects.
Operating Details
“Recording with Animation Effects” (
A
p. 39)
TIME-LAPSE RECORDING
Enables the changes of a scene that occur slowly over a long period to be
shown within a short time by taking frames of it at a certain interval.
This is useful for making observations such as the opening of a flower bud.
Operating Details
“Recording at Intervals (TIME-LAPSE RECORDING)” (
A
p. 51)
AUTO REC
Starts recording automatically by sensing the changes in subject’s
movement (brightness) within the red frame displayed on the LCD monitor.
Operating Details
“Recording Automatically by Sensing Movements (AUTO REC)” (
A
p. 52)
DATE/TIME RECORDING
You can record videos together with the date and time.
Set this when you want to save the file with date and time display.
(The date and time cannot be deleted after recording.)
Operating Details
“Recording Videos with Date and Time” (
A
p. 55)
FACE SUB-WINDOW
Magnifies and displays a registered face in a sub-window.
Operating Details
“Recording while Displaying a Magnified View of a Selected Face (FACE
SUB-WINDOW)” (
A
p. 45)
SMILE SHOT
Automatically captures a still image upon detection of a smile.
Operating Details
“Capturing Smiles Automatically (SMILE SHOT)” (
A
p. 43)
SMILE%/NAME DISPLAY
Sets the items to display when faces are detected.
Operating Details
“Setting SMILE%/NAME DISPLAY” (
A
p. 48)
FACE REGISTRATION
Registers the faces of people who are often shot with this unit.
Operating Details
“Registering Human Face Personal Authentication Information” (
A
p. 46)
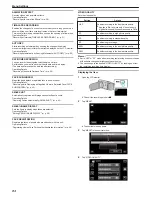
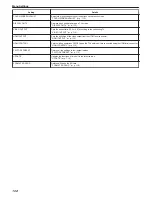
VIDEO QUALITY
Sets the video quality.
Setting
Details
UXP
Enables recording in the best picture quality.
0
Applies to Blu-ray discs only. Videos taken in
high-definition quality cannot be saved to DVDs.
XP
Enables recording in high picture quality.
SP
Enables recording in standard quality.
EP
Enables long recordings.
SSW
Enables recording in the best picture quality.
SEW
Enables recording in the best picture quality.
Memo :
0
Set to “UXP” or “XP” mode when recording fast-moving scenes or scenes
with extreme changes of brightness to avoid noise.
0
You can change to the desired “VIDEO QUALITY” by tapping on it from
the remaining recording time display.
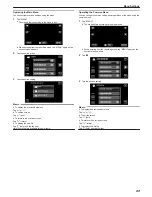
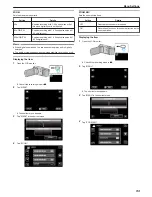
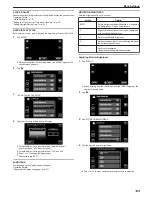
Displaying the Item
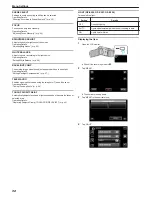
1
Open the LCD monitor.
.
0
Check if the recording mode is
A
.
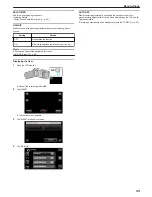
2
Tap “MENU”.
.
0
The shortcut menu appears.
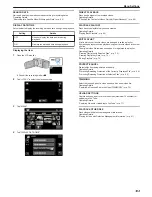
3
Tap “MENU” in the shortcut menu.
.
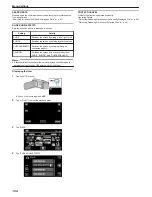
4
Tap “VIDEO QUALITY”.
.
Menu Settings
94


