Filename [DR-MH30EU_05DVD Operation.fm]
Masterpage:Left+
36
EN
BASIC OPERATIONS ON DVD DECK
Page 36
Thursday, 3 June 2004 10:46
This function restricts playback of DVD VIDEO discs which contain
violent (and other) scenes according to the level set by the user.
For example, if a movie which includes violent scenes supports the
parental lock feature, such scenes which you do not want to let
children view can be cut or replaced by other scenes.
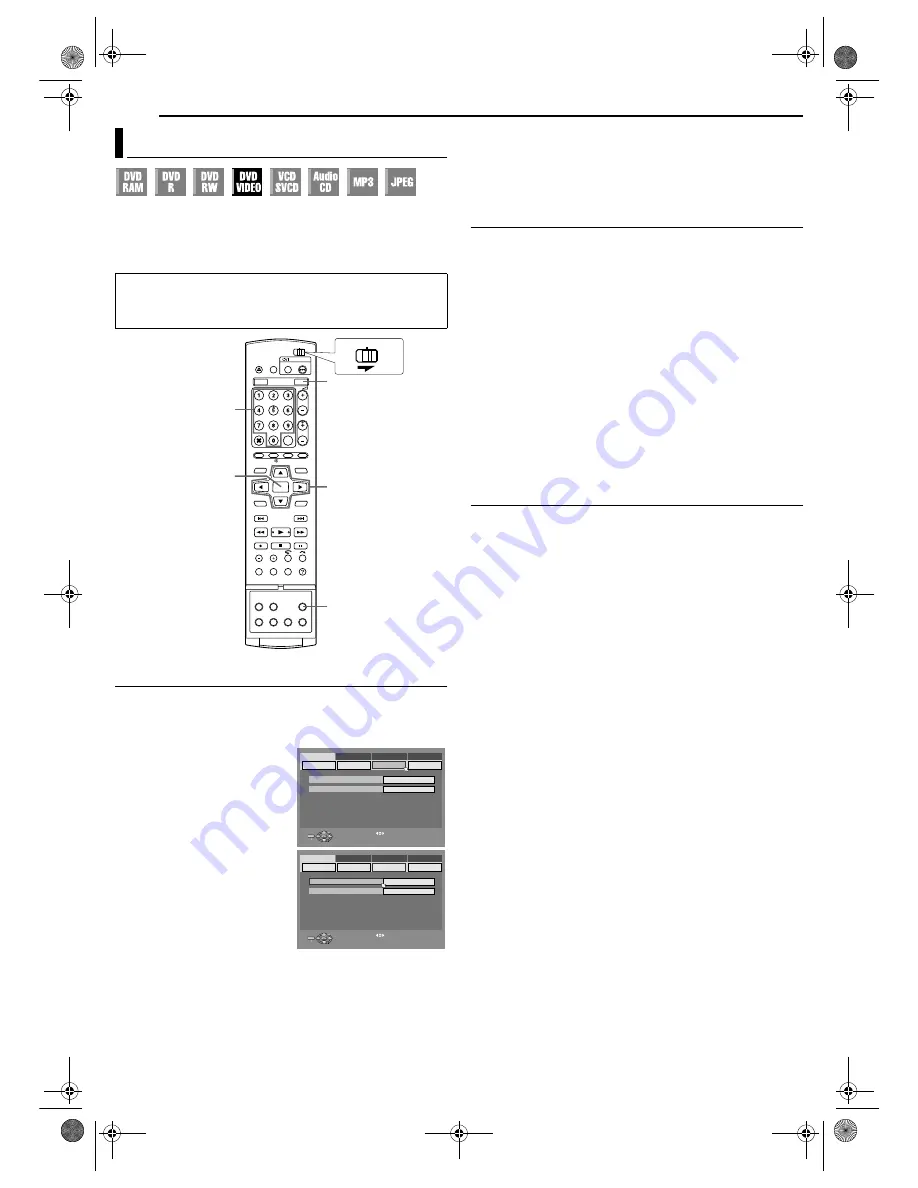
To Set Parental Lock For The First Time
While stopped
1
Press
SET UP
to access the Main Menu screen.
2
Press
w e
to select “DVD VIDEO SET UP”, then press
ENTER
.
3
Press
w e
to select
“PARENTAL LOCK”, then press
ENTER
.
4
Press
rt
to select
“PARENTAL LEVEL”, then press
ENTER
.
5
Press
rt
to select the desired
level, then press
ENTER
.
●
The smaller the value of level is,
the more restrictive the Parental
Lock level becomes.
●
Select “NONE” to cancel the
restriction.
6
Press the
number keys
to enter your desired four-digit number,
then press
ENTER
.
●
If you made a mistake, enter a correct number again.
7
Press
rt
to select “COUNTRY CODE”, then press
ENTER
.
8
Press
rt
to select your country code, then press
ENTER
.
●
If you do not need to change your country code, jump to
10
.
●
See “Country/Area Code List for Parental Lock” (
墌
pg. 85)
9
Press the
number keys
to enter the same password as in
step
6
above, then press
ENTER
.
10
Press
SET UP
twice to complete the setting.
NOTE:
Remember your password, or make a note of it.
To Change The Settings
You can change the Parental Lock settings later.
1
Perform steps
1
to
3
of “To Set Parental Lock For The First
Time” to access the “PARENTAL LOCK” screen before continuing.
To change the level
2
Press
rt
to select “PARENTAL LEVEL”, then press
ENTER
.
3
Press
rt
to select the desired level, then press
ENTER
.
To change the country code
4
Press
rt
to select “COUNTRY CODE”, then press
ENTER
.
5
Press
rt
to select your country code, then press
ENTER
.
●
See “Country/Area Code List for Parental Lock” (
墌
pg. 85).
6
Press the
number keys
to enter the same password as in
step
6
of “To Set Parental Lock For The First Time”, then press
ENTER
.
7
Press
SET UP
twice to complete the setting.
NOTE:
If you forget your password, enter “8888” in step
6
.
To Temporarily Release Parental Lock
When you set the Parental Lock level strictly, some discs may not
be played back at all. When you insert such a disc and try to play it
back, the confirmation screen appears on the TV screen, asking
you whether you want Parental Lock to be temporarily released or
not.
1
Load a disc.
●
If the disc is rated higher than the selected level, the confirmation
screen appears.
2
Press
w e
to select “YES”, then press
ENTER
.
●
If you select “NO”, you cannot play back that disc.
3
Press the
number keys
to enter the same password as in
step
6
of “To Set Parental Lock For The First Time”, then press
ENTER
.
●
When you enter the correct password, the Parental Lock is released
and the unit starts playback.
●
If you enter a wrong password, “ENTRY ERROR” appears on the TV
screen. Enter the correct password.
●
If you have successively entered wrong password three times,
“ENTRY ERROR CAN NOT CHANGE PASSWORD” appears on the
TV screen. In such a case, press
ENTER
. The disc will stop. Then
play back the disc again, and try the procedure again from step
1
.
NOTE:
If you forget your password, enter “8888” in step
3
.
Parental Lock
●
Turn on the unit.
●
Turn on the TV and select the AV mode.
●
Slide the
TV/CABLE/SAT/DVD
switch to
DVD
.
●
Press
DVD
so that the DVD lamp lights up on the unit.
ENTER
0-9
DVD
SET UP
rtwe
CABLE/DBS
DVD
TV
COUNTRY CODE
PARENTAL LEVEL
US
NONE
PRESS [SET UP] TO EXIT
ENTER
SELECT
EXIT
SET UP
SELECT WITH [ ] THEN PRESS [ENTER]
LANGUAGE SET
AUDIO OUTPUT
PARENTAL LOCK
DISC PLAY SET UP
INITIAL SET UP
HDD/DVD SET UP
FUNCTION SET UP
DVD VIDEO SET UP
COUNTRY CODE
PARENTAL LEVEL
US
NONE
PRESS [SET UP] TO EXIT
ENTER
SELECT
EXIT
SET UP
SELECT WITH [ ] THEN PRESS [ENTER]
LANGUAGE SET
AUDIO OUTPUT
PARENTAL LOCK
DISC PLAY SET UP
INITIAL SET UP
HDD/DVD SET UP
FUNCTION SET UP
DVD VIDEO SET UP
DR-MH30EU_00.book Page 36 Thursday, June 3, 2004 11:00 AM


