background image

28

THIS LIMITED WARRANTY IS VALID ONLY IN THE FIFTY (50) UNITED STATES, THE DISTRICT OF COLUMBIA AND
IN COMMONWEALTH OF PUERTO RICO.

WHAT WE WILL DO:

If this product is found to be defective, JVC will repair or replace defective parts at no charge to the original owner.
Such repair and replacement services shall be rendered by JVC during normal business hours at JVC authorized service
centers. Parts used for replacement are warranted only for the remainder of the Warranty Period. All products and parts
thereof may be brought to a JVC authorized service center on a carry-in basis except for Television sets having a screen
size 25 inches and above which are covered on an in-home basis.

WHAT YOU MUST DO FOR WARRANTY SERVICE:

Return your product to a JVC authorized service center with a copy of your bill of sale. For your nearest JVC authorized
service center, please call toll free: (800) 537-5722.

If service is not available locally, box the product carefully, preferably in the original carton, and ship, insured, with
a copy of your bill of sale plus a letter of explanation of the problem to the nearest JVC Factory Service Center, the
name and location of which will be given to you by the toll-free number.

If you have any questions concerning your JVC Product, please contact our Customer Relations Department.

WHAT IS NOT COVERED:

This limited warranty provided by JVC does not cover:
1. Products which have been subject to abuse, accident, alteration, modification, tampering, negligence, misuse, faulty

installation, lack of reasonable care, or if repaired or serviced by anyone other than a service facility authorized by
JVC to render such service, or if affixed to any attachment not provided with the products, or if the model number
or serial number has been altered, tampered with, defaced or removed;

2. Initial installation and installation and removal for repair;
3. Operational adjustments covered in the Owner's Manual, normal maintenance, video and audio head cleaning;
4. Damage that occurs in shipment, due to act of God, and cosmetic damage;
5. Signal reception problems and failures due to line power surge;
6. Video Pick-up Tubes/CCD Image Sensor, Cartridge, Stylus (Needle) are covered for 90 days from the date of purchase;
7. Accessories
8. Batteries (except that Rechargeable Batteries are covered for 90 days from the date of purchase);

There are no express warranties except as listed above.

THE DURATION OF ANY IMPLIED WARRANTIES, INCLUDING THE IMPLIED WARRANTY OF MERCHANTABILITY, IS
LIMITED TO THE DURATION OF THE EXPRESS WARRANTY HEREIN.

JVC SHALL NOT BE LIABLE FOR THE LOSS OF USE OF THE PRODUCT, INCONVENIENCE, LOSS OR ANY OTHER
DAMAGES, WHETHER DIRECT, INCIDENTAL OR CONSEQUENTIAL (INCLUDING, WITHOUT LIMITATION, DAMAGE
TO TAPES, RECORDS OR DISCS) RESULTING FROM THE USE OF THIS PRODUCT, OR ARISING OUT OF ANY BREACH
OF THIS WARRANTY. ALL EXPRESS AND IMPLIED WARRANTIES, INCLUDING THE WARRANTIES OF MERCHANT-
ABILITY AND FITNESS FOR PARTICULAR PURPOSE, ARE LIMITED TO THE WARRANTY PERIOD SET FORTH ABOVE.

Some states do not allow the exclusion of incidental or consequential damages or limitations on how long an
implied warranty lasts, so these limitations or exclusions may not apply to you. This warranty gives you specific
legal rights and you may also have other rights which vary from state to state.

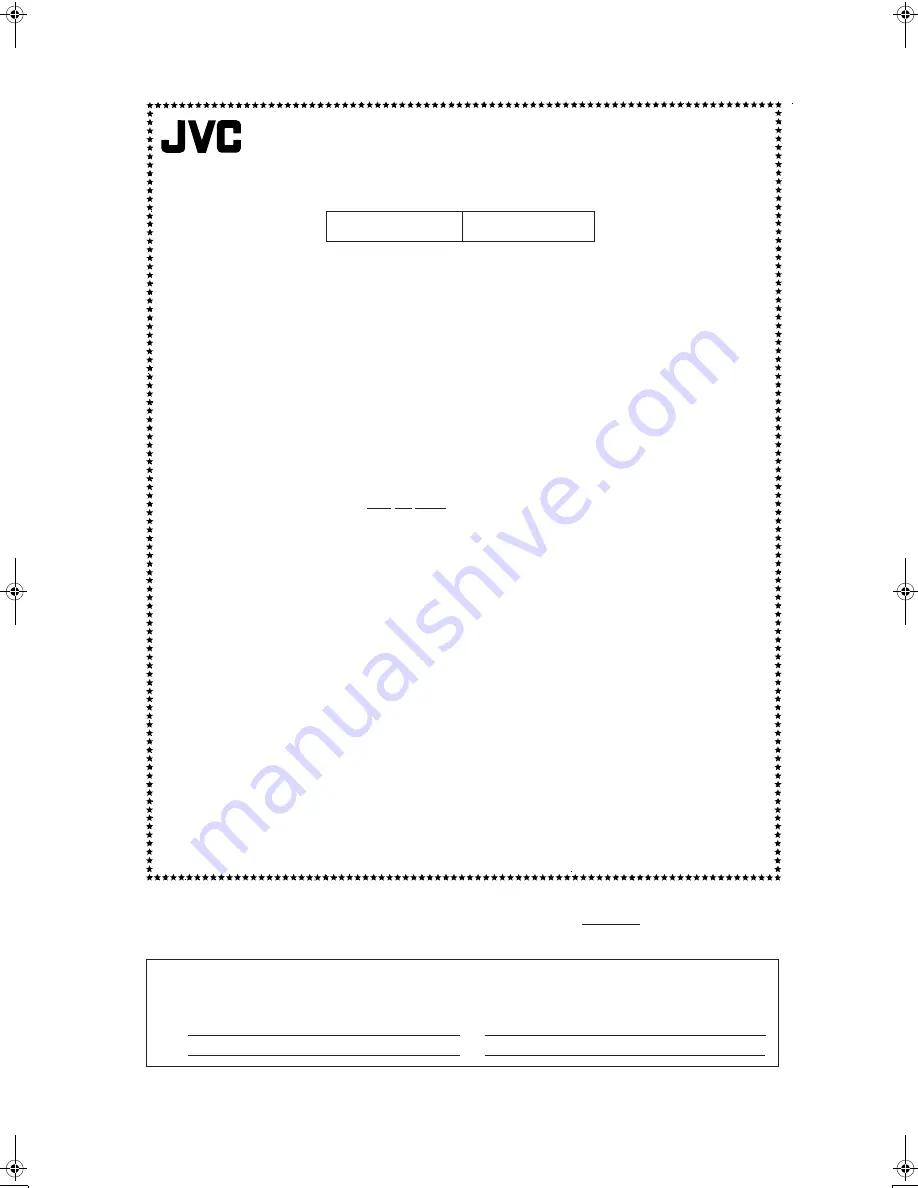
LIMITED WARRANTY

JVC COMPANY OF AMERICA warrants this product and all parts thereof, except as set forth below ONLY TO THE
ORIGINAL PURCHASER AT RETAIL to be FREE FROM DEFECTIVE MATERIALS AND WORKMANSHIP from the date
of original retail purchase for the period as shown below. ("The Warranty Period")

PARTS

LABOR

1

  YR

1

  YR

JVC COMPANY OF AMERICA

DIVISION OF JVC AMERICAS CORP.

1700 Valley Road

Wayne, NJ 07470

REFURBISHED PRODUCTS CARRY A SEPARATE WARRANTY, THIS WARRANTY DOES NOT APPLY. FOR DETAILS OF
REFURBISHED PRODUCT WARRANTY, PLEASE REFER TO THE REFURBISHED PRODUCT WARRANTY INFORMATION
PACKAGED WITH EACH REFURBISHED PRODUCT.

For customer use:

Enter below the Model No. which is located either on the rear, bottom or side of the cabinet. Retain this information
for future reference.

Model No. :

Serial No. :

Purchase data :

Name of dealer :

AUDIO-1

MX-KA6(J).book  Page 28  Wednesday, February 19, 2003  9:42 AM

Содержание CA-MXKA6

Страница 1: ...formation for future reference Model No Serial No LVT1014 001A J COMPACT COMPONENT SYSTEM MX KA6 Consists of CA MXKA6 and SP MXKA6 FM MODE FM AM AUX SLEEP STANDBY ON CD1 CD2 CD3 SOUND MODE ACTIVE BASS EX SOUND TURBO FADE MUTING VOLUME PROGRAM RANDOM REPEAT TAPE A B TAPE CD RM SMXKA6J REMOTE CONTROL CA MXKA6 SP MXKA6 SP MXKA6 INSTRUCTIONS ...

Страница 2: ...the receiver is connected Consult the dealer or an experienced radio TV technician for help The lightning flash with arrowhead symbol within an equilateral triangle is intended to alert the user to the presence of uninsulated dangerous voltage within the product s enclosure that may be of suffi cient magnitude to constitute a risk of electric shock to persons The exclamation point within an equila...

Страница 3: ... the apparatus 3 When discarding batteries environmental problems must be considered and local rules or laws governing the dis posal of these batteries must be followed strictly 4 Do not expose this apparatus to rain moisture dripping or splashing and that no objects filled with liquids such as vases shall be placed on the apparatus Caution POWER switch Disconnect the main plug to shut the power o...

Страница 4: ...leep Timer You can connect various external units such as an MD recorder The CD Player can play back a CD R and CD RW How This Manual Is Organized Basic information that is the same for many different functions e g setting the volume is given in the section Basic Operations and not repeated under each function The names of buttons controls and display messages are written in all capital letters e ...

Страница 5: ...g the Number with the Remote Control Numeric Keys 8 Using the Tuner 9 Tuning In a Station 9 Presetting Stations 10 To Change the FM Reception Mode 10 Using the CD Player 11 To Load CDs 12 To Unload CDs 12 Basics of Using the CD Player Normal Play 13 Programming the Playing Order of the Tracks 14 Random Play 15 Repeating Tracks 15 Tray Lock Function 15 Using the Cassette Deck Listening to a Tape 16...

Страница 6: ...TION Handle batteries properly To avoid battery leakage or explosion Remove batteries when the Remote Control will not be used for a long time When you need to replace the batteries replace both batteries at the same time with new ones Do not use an old battery with a new one Do not use different types of batteries together Using the Remote Control The Remote Control makes it easy to use many of t...

Страница 7: ...hm Antenna Cable not Supplied If reception is poor connect the outside antenna Before attaching a 75 ohm coaxial lead the kind with a round wire going to an outdoor antenna disconnect the supplied FM Wire Antenna Extend the supplied FM Wire Antenna horizontally Strip vinyl shield from cut line twist wire core FM wire antenna supplied Outdoor FM antenna cable not supplied ...

Страница 8: ...ed and black cords of the right side speaker to the red and black terminals marked RIGHT on the System Connect the red and black cords of the left side speaker to the red and black terminals marked LEFT on the System 3 Close each of the terminals CAUTIONS A TV may display irregular colors if located near the speakers If this happens set the speakers away from the TV Use speakers with the correct i...

Страница 9: ... auto DEMO display function press the CANCEL button on the Unit during DEMO display COMPU Play JVC s COMPU PLAY feature lets you control the most frequently used System functions with a single touch With One Touch Operation you can play a CD a tape turn on the radio or listen to an external equipment with a single press of the play button for that function One Touch Operation turns the power on fo...

Страница 10: ...ounterclockwise to decrease the volume Press the VOLUME button on the Remote Control to increase the volume or press the VOLUME button on the Remote Control to decrease the volume You can set the volume level to MIN 1 31 or MAX CAUTION DO NOT turn on the System and or start playing any source without first setting the VOLUME control to minimum as a sudden blast of sound could damage your hearing s...

Страница 11: ... the Sound Mode SOUND MODE You can select one of 3 SEA Sound Effect Amplifier modes You can use this effect only for playback On the Unit To get the effect press one of the Sound Mode buttons ROCK POP or CLASSIC The selected Sound Mode name ROCK POP or CLASSIC appears on the display The SOUND MODE indicator also lights up on the display To cancel the effect press the currently selected mode button...

Страница 12: ...il you find the station you want OR Auto Tuning Using the Unit only If you hold down the 22 or button on the Unit for 1 second or more and then release it the frequency changes down or up automatically until a station is found OR Preset Tuning Possible only after presetting sta tions Preset tuning using the Unit Select the preset number you want using the 4 or button Example Press the button until...

Страница 13: ...cy display 6 Repeat above steps 2 to 5 for each station you want to store in memory with a preset number To change the preset stations repeat the same steps as above In step 4 you can select the preset number using the nu meric keys on the Remote Control See Entering the Number with the Remote Control on page 8 CAUTION Even if the System is unplugged or if the power failure occurs the preset stati...

Страница 14: ...ROGRAM RANDOM Program indicator Normal Play Can continuously play all the tracks on all the CDs Program Play Can play all the programmed tracks on all the CDs in the programmed order Random Play Can play all the tracks on all the CDs in ran dom order Repeat Play Can repeat all the tracks on all the CDs the tracks on one of the CDs or just one of tracks on one CD Disc Number indicator Lights all th...

Страница 15: ...nd the disc may be damaged or the unit may be damaged when the tray is opened or it may be difficult to remove the disc from the unit When you use an 8 cm 3 CD place it on the inner circle of the tray You can load CDs while listening to the other source or while listening to the CD being played back When power is turned off with the tray opened the tray is auto matically closed If the CD cannot be...

Страница 16: ...back While playing back a CD e g CD1 you can remove or change the other CDs e g CD2 and CD3 by pressing the CD Open Close 0 button After removing or changing press the same button to close the tray To Select a Track During playback using the 4 or button Briefly press the 4 or button to select the track you want to play By pressing the button you can skip to the next track or skip back to the previ...

Страница 17: ...rogrammed contents while the CD player is stopped press the 4 or button on the Remote Control To delete all the tracks in the program while the CD Player is stopped press the 7 button To Modify the Program while the CD Player is stopped press the CANCEL button the last track in the program is deleted To add new tracks to the end of the program repeat above steps 3 and 4 If you try to program a tra...

Страница 18: ...1DISC REPEAT 1 Blank display back to the beginning To stop playing press the 7 button Changing the source to the other e g Tuner will also stop playing To exit Repeat mode press the REPEAT button until the Re peat indicator on the display goes out Repeat mode remains in effect during the following Play Mode changing Tray Lock Function In order to safely keep the CD in the CD Player the tray can be...

Страница 19: ...deck press the TAPE A B button Each time you press the button Deck A or Deck B is alternately selected 4 Press the TAPE 3 button The Tape indicator 3 blinks on the display and the tape is played back The Cassette Deck automatically stops when one side of the tape has finished playing To stop playing press the 7 button To remove the tape stop the tape and press the 0 EJECT part to open the Cassette...

Страница 20: ...cording you can adjust the sound you are actually listening to without affecting the recording level Two small tabs on the back of the cassette tape one for side A and one for side B can be removed to prevent accidental erasure or recording To record on a cassette with the tabs removed you must cover the holes with adhesive tape first Type I tape can be used for recording At the start and end of c...

Страница 21: ...hat you want to make recording and then press the 7 button If you want to record specific tracks only you need to pro gram the tracks beforehand See page 14 If you want to record one CD only you need to load one CD only 2 Insert a blank or erasable tape into the Deck B and wind past the tape leader 3 Press the CD REC START button on the Unit CD REC appears on the display and the REC indicator ligh...

Страница 22: ...e page 6 1 Set the volume level to the minimum posi tion 2 Press the AUX button AUX IN appears on the display 3 Start playing the external equipment 4 Adjust the volume level to the level you want listen to 5 Apply the following sound effects if you wish ACTIVE BASS EX See page 8 SOUND TURBO See page 8 Sound Mode See page 8 To exit AUX mode select other source e g Tuner For operation of the extern...

Страница 23: ...nking press the CLOCK TIMER button repeatedly until clock set ting display appears on the display In the clock setting display the hour digits of the current clock blink on the dis play If the clock is already set the display changes as follows each time you press the CLOCK TIMER button TIMER ON TIME REC ON TIME Clock setting display Canceled back to the beginning 2 Press the 4 or button to set th...

Страница 24: ...ppears on the display and the hour digits blink 3 Setting the ON time Example AM 10 15 1 Press the or 4 button to set the hour you want the System to come on then press the SET button The minute digits of the ON time blink on the display Pressing the button moves the time forwards and press ing the 4 button moves it backwards Holding down the button moves the time rapidly 2 Press the or 4 button t...

Страница 25: ...the timer ON time comes and the System automatically turns on The music source you have set is played The Timer indicator blinks and DAILY indicator lights during timer operation When the timer OFF time comes OFF blinks on the display just before the OFF time and the System automatically turns off Then the Timer indicator and DAILY indicator remain lit on the display If the System is already on wh...

Страница 26: ...K successively appear on the display The REC indicator stops blinking and remains lit 6 Press the STANDBY ON button to turn off the System if necessary To confirm change the timer setting repeat the setting pro cedure from the beginning When the timer ON time comes When the timer ON time comes the System automatically turns on The station you have set is played The Timer indica tor blinks during t...

Страница 27: ...or goes out on the display Turning off the System also cancels the SLEEP Timer When the SLEEP button is used without setting the clock CLOCK ADJUST appears on the display You need to set the clock beforehand Timer Priority Since each timer can be set independently you may wonder what happens if the settings overlap Here are the priorities for each timer The REC Timer always has priority This means...

Страница 28: ...pe octagonal etc can damage the System Remove the CD from its case by holding it at the edges while pressing the case s center hole lightly Do not touch the shiny surface of the CD or bend the CD Put the CD back in its case after use to prevent warping Be careful not to scratch the surface of the CD when placing it back in the case Avoid exposure to direct sunlight tem perature extremes and moistu...

Страница 29: ...a Extend FM Wire Antenna to the best reception position The disc tray does not open The AC power cord is not plugged in Tray is locked Plug the AC power cord Unlock the tray See page 15 The CD skips The CD is dirty or scratched Clean or replace the CD See page 25 The CD does not play The CD is upside down Put the CD in with the label side up The cassette holder cannot be opened During tape playing...

Страница 30: ...orized servicer or visit our website at www JVC com Remember to retain your Bill of Sale for Warranty Service Do not service the television yourself Caution To prevent electrical shock do not open the cabinet There are no user serviceable parts inside Please refer to qualified service personnel for repairs Accessories To purchase accessories for your JVC product please call toll free 1 800 882 234...

Страница 31: ...ing 4 Damage that occurs in shipment due to act of God and cosmetic damage 5 Signal reception problems and failures due to line power surge 6 Video Pick up Tubes CCD Image Sensor Cartridge Stylus Needle are covered for 90 days from the date of purchase 7 Accessories 8 Batteries except that Rechargeable Batteries are covered for 90 days from the date of purchase There are no express warranties exce...

Страница 32: ... 87 5 MHz 108 0 MHz AM Tuner Tuning Range 530 kHz 1 710 kHz Unit Dimensions 267 mm 305 mm 433 mm W H D 10 9 16 12 1 16 17 1 16 Mass Approx 8 7 kg 19 2 lbs Speaker Specifications each unit SP MXKA6 Type 3 way bass reflex type Speaker Unit Woofer 16 cm 6 5 16 cone 1 Mid 5cm 2 cone 1 Tweeter 2 cm 13 16 dome 1 Power Handling Capacity 150 W Impedance 6 Ω Frequency Range 45 Hz 22 000 Hz Sound pressure l...

Отзывы: