17
En
g
li
s
h
Using the Cassette Deck (Recording)
Recording onto a cassette from any of the sound sources is simple.
Just place a tape in Deck B, have the source ready, make one or
two settings, and you’re ready to record. For each source, the pro-
cedure is a little bit different so we explain each separately. But
first, here are a few things to make your recordings better.
Things To Know Before You Start Recording
❏
It may be unlawful to record or play back copyrighted
material without the consent of the copyright owner.
❏
The recording level, which is the volume at which the new tape
is being made, is automatically set correctly, so it is not affected
by the VOLUME Control on the System. Also, it is not affected
by adjusting the sound effects. Thus, during recording, you can
adjust the sound you are actually listening to without affecting
the recording level.
❏
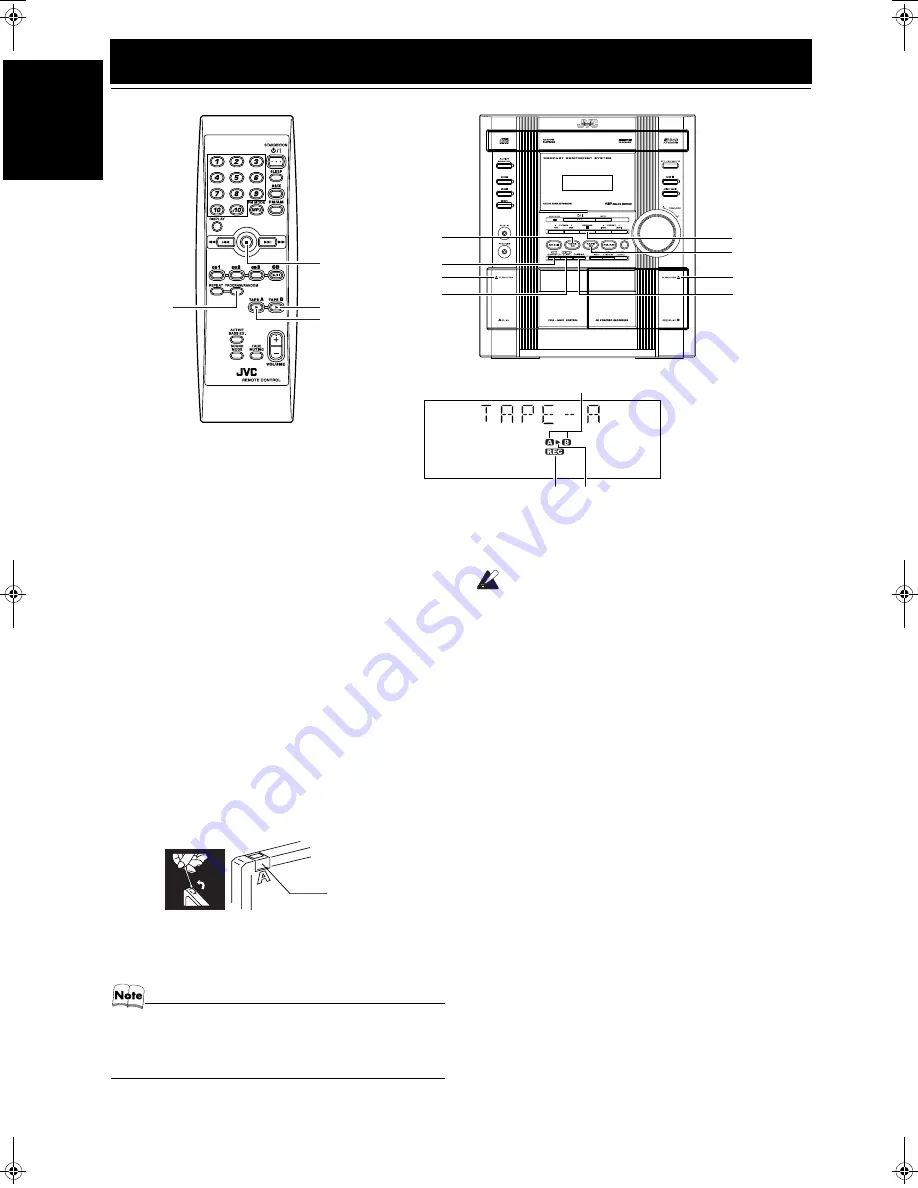
Two small tabs on the back of the cassette tape, one for side A
and one for side B, can be removed to prevent accidental erasure
or recording.
❏
To record on a cassette with the tabs removed, you must cover
the holes with adhesive tape first.
❏
Type I tape can be used for recording.
• At the start and end of cassette tapes, there is leader tape
which cannot be recorded onto. Thus, when recording
CDs, radio broadcasts, etc., wind on the leader tape first
to ensure getting the beginning of the recording.
CAUTION:
• If a recording you make has excessive noise or
static, the Unit may have been too close to a TV
which was on during the recording. Either turn
off the TV or increase the distance between the
TV and the Unit.
* When the System is in use, the display shows other items as well.
For simplicity, we show here only the items described in this section.
TAPE A
3
7
7
Deck indicators
3
: Tape indicator
0
PUSH OPEN
(Deck B)
0
PUSH OPEN
(Deck A)
TAPE A
3
REC indicator
REC START/STOP
CD REC START
DUBBING
TAPE B
3
TAPE B
3
PROGRAM
/RANDOM
Adhesive tape
LVT1346-001A_E.book Page 17 Wednesday, May 4, 2005 11:38 AM


