Page 5
g.
Specify if you would like to provide remote access to your internal and DMZ
zones. If you select Yes, configure the settings for remote access. Enter the
remote client IP pool range and remote user accounts.
h.
Click
Next
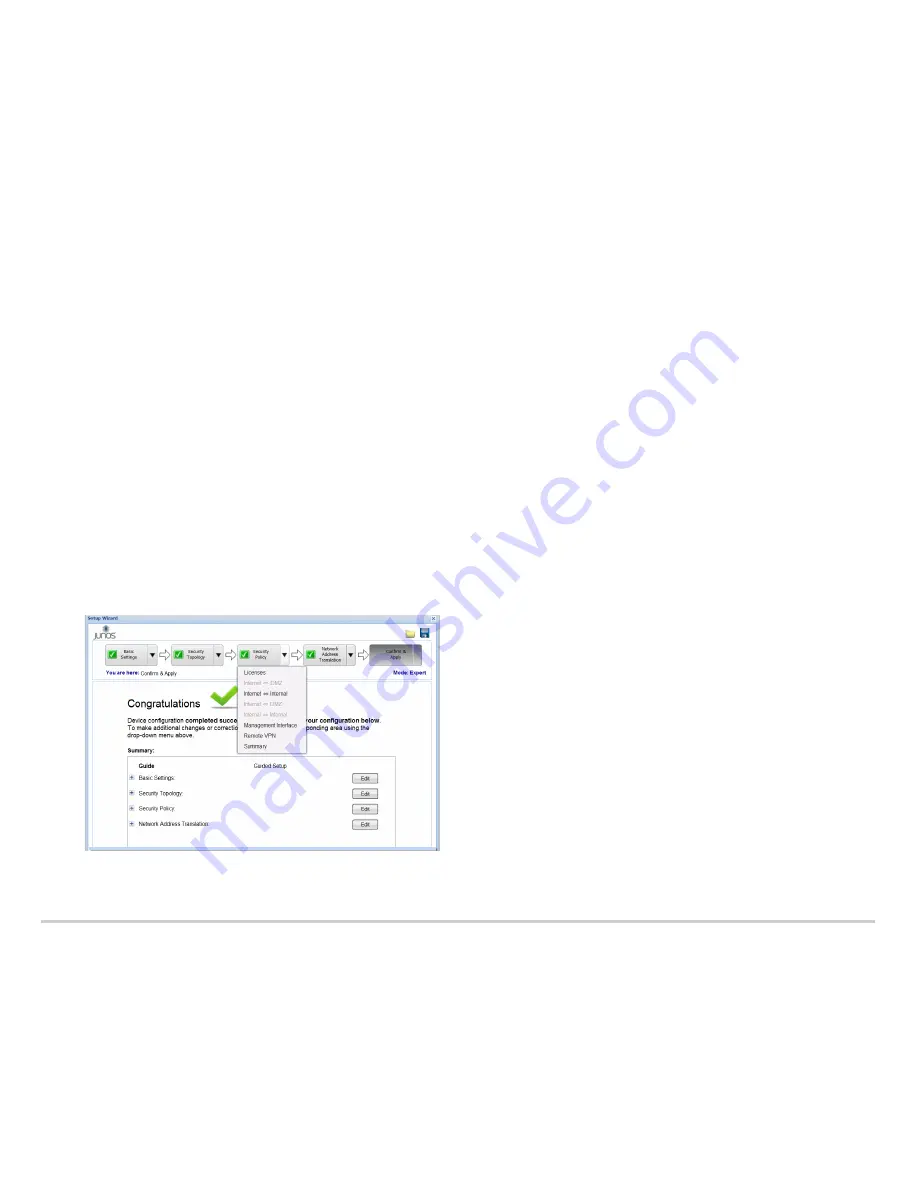
on the Summary page. The Network Address Translation Overview
page appears.
6.
Configure NAT:
The Network Address Translation section allows you to enable source NAT and
destination NAT.
NOTE:
The wizard recommends destination NAT rules based on the enabled zone
services in the DMZ or internal topology.
a.
From the Network Address Translation Overview page, click
Next
. The Internal
Source NAT page appears.
b.
Select the internal zones for which the source NAT must be added. Click
Next
.
c.
Add the internal destination NAT and click
Next
.
NOTE:
The internal destination NAT configuration option is available only for
the Expert level.
d.
Add the destination NAT for the DMZ and click
Next
. The Summary page
appears.
NOTE:
To make any changes, click the
Edit
button or navigate to the
corresponding section from the drop-down menu at the top of the page.
e.
Click
Next
. The Confirm & Apply
page appears.
Task 8: Apply the Basic Configuration
To apply the configuration settings for the services gateway:
1.
Review and ensure that the configuration settings are correct, and click
Next
. The
Commit Configuration page appears.
2.
Click
Apply Settings
to apply the configuration changes to the services gateway.
NOTE:
Check the connectivity to the services gateway, because you might lose
connectivity if you have changed the management zone IP. Click the URL for
reconnection instructions for information on how to reconnect to the device.
3.
Click
Done
to complete the setup.
After successful completion of the setup, you are redirected to the J-Web interface.
IMPORTANT:
After you complete the initial setup configuration, you can relaunch the
J-Web Setup wizard by clicking
Tasks > Run Setup Wizard
. You can either edit an
existing configuration or create a new configuration. Note that If you elect to create a new
configuration, then all the current configuration in the services gateway will be deleted.
NOTE:
To make any changes to the interface configuration, see the
Getting Started
Guide for the Branch SRX Series
at
http://www.juniper.net/techpubs/en_US/release-independent/junos/information-products/
pathway-pages/srx-series/product/index.html.
Task 9: Verify the Configuration
Access http://www.juniper.net to ensure that you are connected to the Internet. This
connectivity ensures that you can pass traffic through the services gateway.
NOTE:
If the http://www.juniper.net page does not load, verify your configuration settings,
and ensure that you have applied the configuration.
After you complete these steps, you can pass traffic from any trust port to the untrust
port.


