34
①
③
②
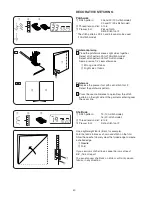
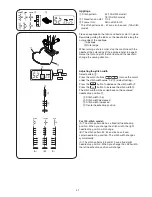
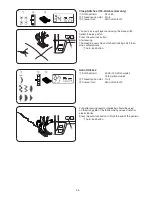
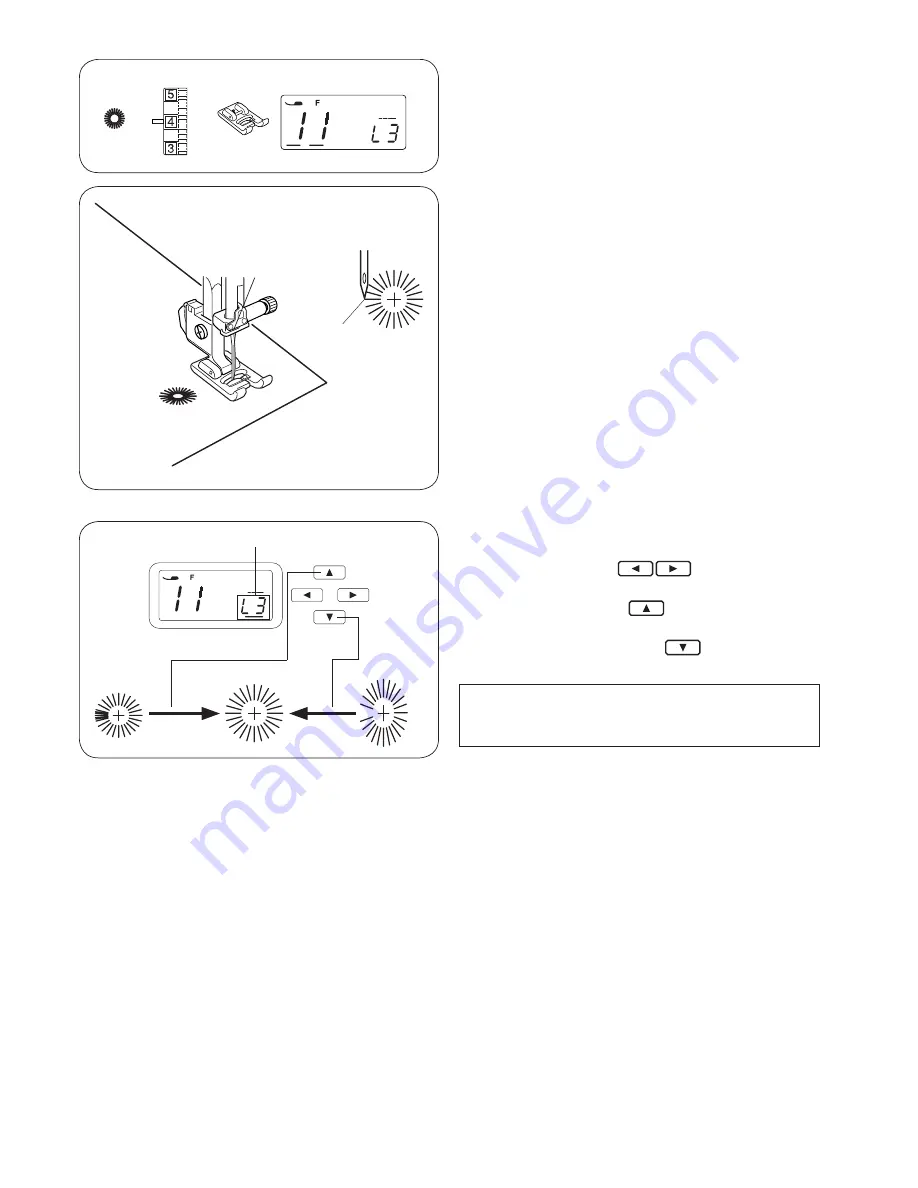
The eyelet is used for belt holes etc.
Starting to sew
Lower the needle at the starting point and lower the
presser foot. Start the machine.
The machine will stop automatically when completed.
①
Starting point
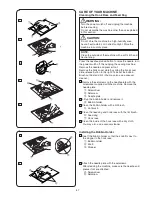
Open the eyelet with an awl, eyelet punch or pointed
scissors (an awl, eyelet punch or pointed scissors are not
provided with the machine).
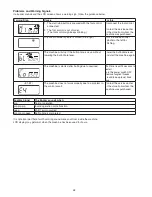
Adjusting the shape of an eyelet
Correct the shape of the eyelet as follows:
Press the cursor buttons to move the cursor
under the value “L3” (default setting)
①
.
If the eylet overlaps, press button to make the darn
even. (L4–L5)
If the eylet gap opens, press the button to make
the darn even. (L1–L2)
NOTE:
The shape can be adjusted within L1 to L5 (default
setting is L3).
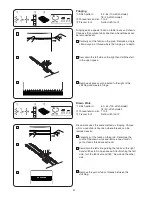
00 01 02 03 04 05 06 07 08 09
10 11 12 13 14 15 16 17 18 19
20 21 22 23 24 25 26 27 28 29
30 31 32 33 34 35 36 37 38 39 40 41 42 43
F
F F F F F F A F F F F A F
F F F F F F F F F F F F F F
F F F F F F F F F F F F F F
F F F F F F F F F F F F F F
F F F F F F F F F F F F F F
60 61 62 63 64 65 66 67 68 69 70 71
58 59
44
50 51 52 53 54 55 56 57
45 46 47 48 49
90 91 92 93 94 95 96 97 98 99
86 87 88 89
72 73 74
70 81 82 83 84 85
75 76 77 78 79
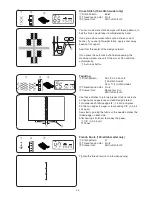
Eyelet (100-stitch model only)
①
Stitch pattern:
11
②
Thread tension dial: 1 to 4
③
Presser foot:
Satin stitch foot F
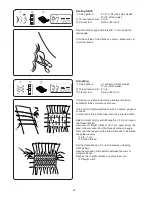
①
①
Содержание HZL-L series
Страница 52: ...50 Stitch Chart 100 stitch model ...
Страница 53: ...51 20 stitch model ...
Страница 55: ......


