background image

8

© Josef Kihlberg AB 2007

Troubleshooting

Always disconnect the tool from the air supply, empty the 
magazine and read the 

Safety precautions

 section before 

you begin troubleshooting. Normally it is not necessary to 
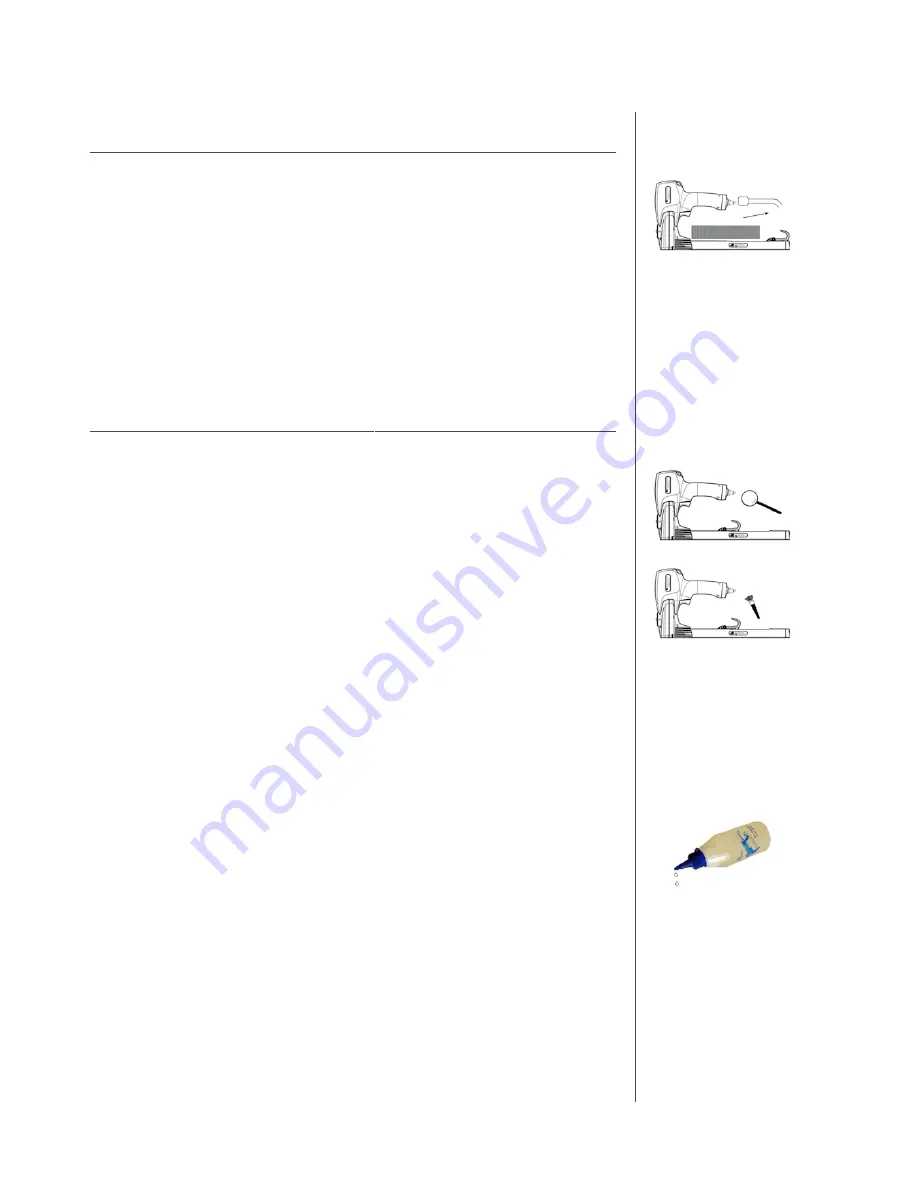
dismantle any parts in order to remove a defective staple 

from the front nozzle plate. Grip the staple with a pair of flat-

nosed pliers at the exit from the front nozzle plate. Carefully 
pull out the staple.

All safety devices must be inspected daily to ensure that 
they are working properly. Make especially sure that:

the trigger and safety yoke move freely without binding;
all screws and nuts are securely tightened.

This tool does not require special servicing. It only needs 

regular cleaning with a non-aggressive cleaning agent. Do 
not remove any parts for cleaning purposes.

Apply a small amount of lubricating oil to the nipple of the 

tool every day or approximately 10 drops once a week to 
maximize the life and utility of the tool. For high-frequency 
stapling, we recommend oil-mist lubrication. Please contact 
our agent for advice. Oil recommendation. 

Part no.:

1 litre  

184314 

0.2 litre 

733007 

Sliding parts have been lubricated with multipurpose 

grease at the factory. We recommend using multipurpose 
grease on moving parts after they have been cleaned or 
replaced.


Maintenance

EN

Содержание a.560PN

Страница 1: ... Installation 3 Tool use 4 5 Safety precautions 6 7 Troubleshooting and maintenance 8 Technical specification 9 Spare parts drawing 10 11 Spare parts kits accessories 12 Applications 13 Warranty terms serial numbers 14 CE Conformity Declaration 15 ...

Страница 2: ... is correct Never exceed 8 bar Low air pressure helps to keep down maintenance costs Make sure that the minimum internal diameter of the air hose is 6 mm 1 4 and that of the nipple is a minimum of 5 mm 6 32 This will prevent incorrect operation due to a significant drop in pressure The tool and the hose must be fitted with a connection nipple that automatically bleeds the tool when it is disconnec...

Страница 3: ...t by adjusting the depth of stapling for deep clinching as shown in the upper picture Then in order to adjust to required leg length 1 Slacken the locking screw A underneath with a 2 5 mm Allen key 2 Set to the required staple leg length 3 Tighten the locking screw The depth of the stapling claws is easily adjusted using the setting knob Depress the knob and turn it to the required position Shallo...

Страница 4: ...r back until it latches in the magazine 2 Insert two sticks of staples into the magazine 3 Lift the finger grip up to release the latch Move the pusher forward until it is touching the rearmost staple stick Stapling cardboard 4 Hold the tool against the cardboard A Then pull the trigger B The tool automatically returns to the first position Then move the tool and pull the trigger to fire the next ...

Страница 5: ...perform daily tool inspection Please read these safety precautions carefully to prevent injury to yourself and others Refer to the later sections for additional information To prevent eye injuries the operator and others in the work area should wear eye protection Ear protection and other personal protection equipment should also be worn as required Never use oxygen combustible gases CO2 steam or ...

Страница 6: ...ples or not Always re move your finger from the trigger when not driving staples Avoid personal injury Never hold your hand or any other part of your body under the tool Always place yourself in a firmly balanced position when using the tool Connect the tool to the compressed air system before the fastener unit is loaded The maximum permitted air pressure for the tool is 8 bar 116 psi The maximum ...

Страница 7: ... safety yoke move freely without binding all screws and nuts are securely tightened This tool does not require special servicing It only needs regular cleaning with a non aggressive cleaning agent Do not remove any parts for cleaning purposes Apply a small amount of lubricating oil to the nipple of the tool every day or approximately 10 drops once a week to maximize the life and utility of the too...

Страница 8: ... consumption per driving operation 0 95 l at 6 bar operating pressure Characteristic noise emission level as per EN 12549 A weighted single event emission sound pressure level at work station LPA 1s 84dB A weighted sound energy level LJA 89dB The vibration level is below the limit as stated in the Declaration of Conformity EN 792 13 measured according to ISO 8662 11 ...

Страница 9: ...0 Josef Kihlberg AB 2007 Spare parts drawing To achieve optimal performance and safety only use original spare parts All repairs must be carried out by an authorised JK workshop EN Josef Kihlberg AB 2007 ...

Страница 10: ...30 164295 1 Driver blade a560 31 150420 1 Bushing 32 163321 1 Penetration eccentric 33 946696 1 Screw 34 162991 1 Rear nozzle plate a560 35 110306 1 Lable magazines 37 946769 3 Screw 38 170174 1 Magazine lid a560 c561 39 174074 1 Feeder spring 40 161354 1 Pusher a560 c561 41 951020 2 Retainer 42 165122 1 Finger grip 43 145166 1 Shaft 44 150414 1 Roller 45 946518 1 Screw 46 155157 1 Rear body 47 94...

Страница 11: ... 142000 142136 733007 184943 Spare parts kits 143109 O ring kit 143110 Repair kit EN Accessories 142000 Staple remover 142136 Packing staple remover 733007 Oil mist lubrication 0 2 litre dosage spout 184943 JK silicon compound ...

Страница 12: ...13 Josef Kihlberg AB 2007 Applications EN Optimising your stapling Packaging programme www carton closing com packaging Stapling handbook www staplinghandbook com ...

Страница 13: ... altered in any way by any party other than Josef Kihlberg The vendor may choose whether to repair or exchange the tool Exchanged components or complete Josef Kihl berg tools become the property of the vendor as a result of the exchange The warranty does not cover damage caused by accidents incorrect installation or improper use The warranty does not cover any incidental or conse quential costs or...

Страница 14: ... Josef Kihlberg Box 126 544 22 HJO SWEDEN hereby declares that all versions of the following kinds of tools a 560PN a 560PN22 c 561PN c 561PN22 have been manufactured in compliance with the following harmonised standards EN ISO 12100 parts 1 2 EN 792 13 And in compliance with the European Council Directives 98 37 EC Hjo 20 Sept 2006 Jonas Zachrisson Head of Development ...

Отзывы: