9
Start Up
ACTUATORS WITHOUT SERVO AMPLIFIERS
A. POSITION LIMIT SWITCH ADJUSTMENT
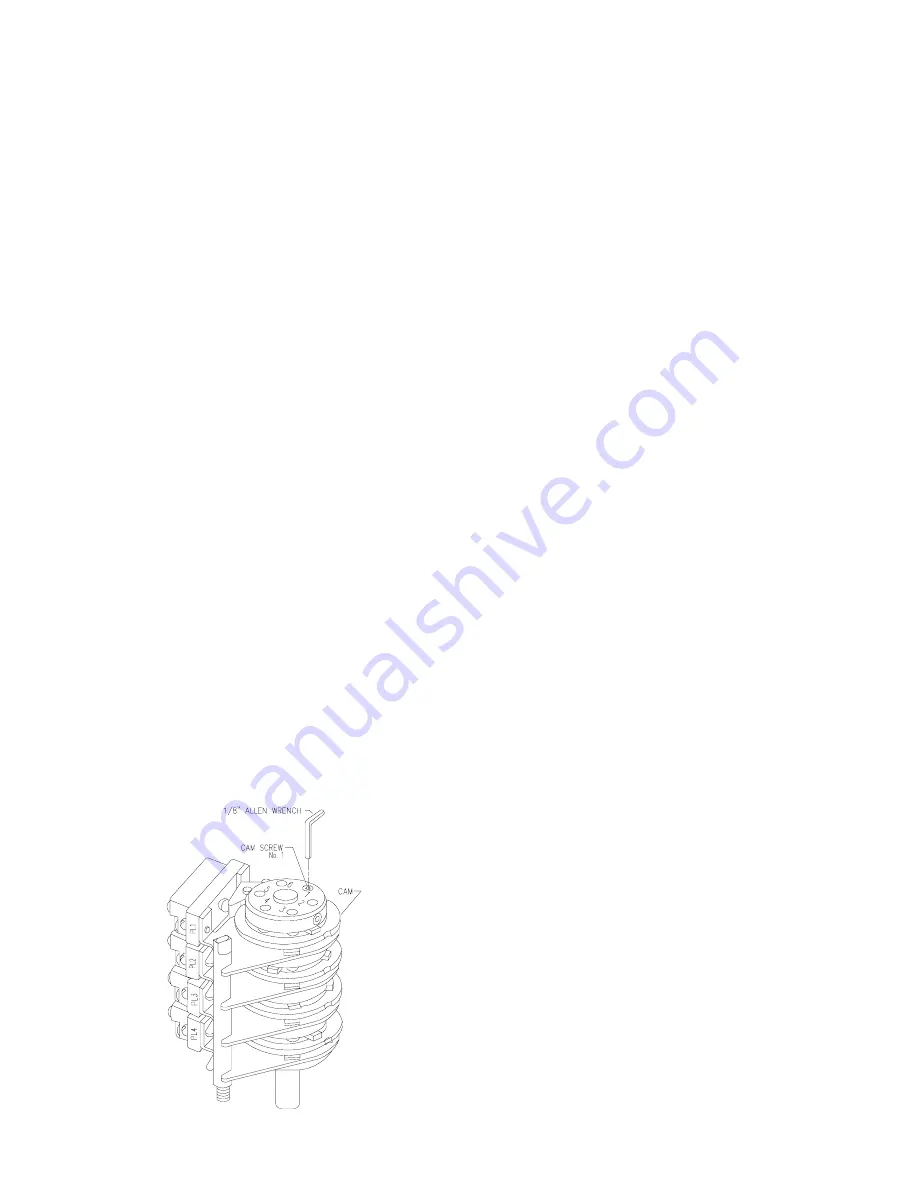
(Ref. Fig. 1)
NOTE:
The actuator is shipped in its mid-travel position.
1. Referring to your wiring diagram, apply motor power and
drive the actuator in the CW output shaft direction
(looking at the shaft), until PL1 trips and stops the
actuator. This is the CW limit switch setting and starting
point for final switch adjustment.
2. Move the controlled equipment to the same starting
point and couple the actuator output shaft to the driven
shaft.
3. Apply motor power to rotate the output shaft CCW about
5 degrees, allowing PL1 switch to reset.
4. Apply motor power to rotate the output shaft CW until
PL1 trips, turning off the motor. If the driven device is not
at the desired position:
a. Remove motor power.
b. Using an 1/8 inch, long shaft allen wrench,
loosen Cam Screw #1 about 1/4 turn.
c. Rotate Cam #1 CCW to allow the actuator to run
further in the CW direction or rotate the cam CW
to turn the actuator off sooner. (Cam #1 will turn
off the motor for CW output shaft rotation, when
the switch roller lever moves to the high side of
the cam with the cam rotating CW.)
d. Position the Cam as desired and while holding in
place, tighten screw #1 with moderate force to
adequately clamp the cam in place.
DO NOT OVER TIGHTEN.
5. Apply motor power to drive the actuator to the desired
CCW position or until PL2 trips and stops the motor. If
the driven device is not at the desired position:
a. Remove motor power.
b. Loosen Cam Screw #2 about a turn.
c. Rotate Cam #2 CW to increase the actuators
total travel range or CCW to decrease the travel
range.
d. Hold the cam in place and tighten screw #2.
6. Electrically operate the actuator to its CW limit and back
to the CCW limit to check switch settings. Readjust Cam
#1 or #2 as needed.
7. Switches 3 through 6 (optional) are adjusted by loosening
their respective cam screws and rotating the cam. They
may be set anywhere within the range of PL1 or PL2.
8. If the unit is equipped with a feedback device and
switches PL1 or PL2 were readjusted, proceed with the
proper feedback alignment prior to any further adjust-
ments or operation of the actuator.
B. 1000 OHM POTENTIOMETER ADJUSTMENT
1. Run the actuator to the center of travel. Loosen the three
panhead screws, securing the potentiometer body, and
rotate it to its center of travel (500 ohm) position. An
ohmmeter will be required for this adjustment. Tighten
the three screws.
2. Run the actuator to the zero or minimum travel limit.
With the actuator running, monitor the potentiometer
with an ohmmeter to ensure the potentiometer
deadband is not crossed.
3. If your system requires a low resistance starting point,
loosen the three screws and rotate the potentiometer
body for the required starting resistance. This is usually
20 to 50 ohms (measured from the potentiometer wiper
arm to the zero end of the potentiometer).
C. 4 to 20mA TRANSMITTER OPTION
ADJUSTMENT
The ST-4130 (1000 ohm-input, 4 to 20 mA output) two wire
transmitter modulates the current on a direct current supply
proportional to the input resistance. It is powered by a 12.0
to 36.0 Vdc regulated power supply line which is modulated
from 4 to 20 mA proportional to the resistance of the input.


