


KP-241 PG2 – Installation Instructions
7
General indications
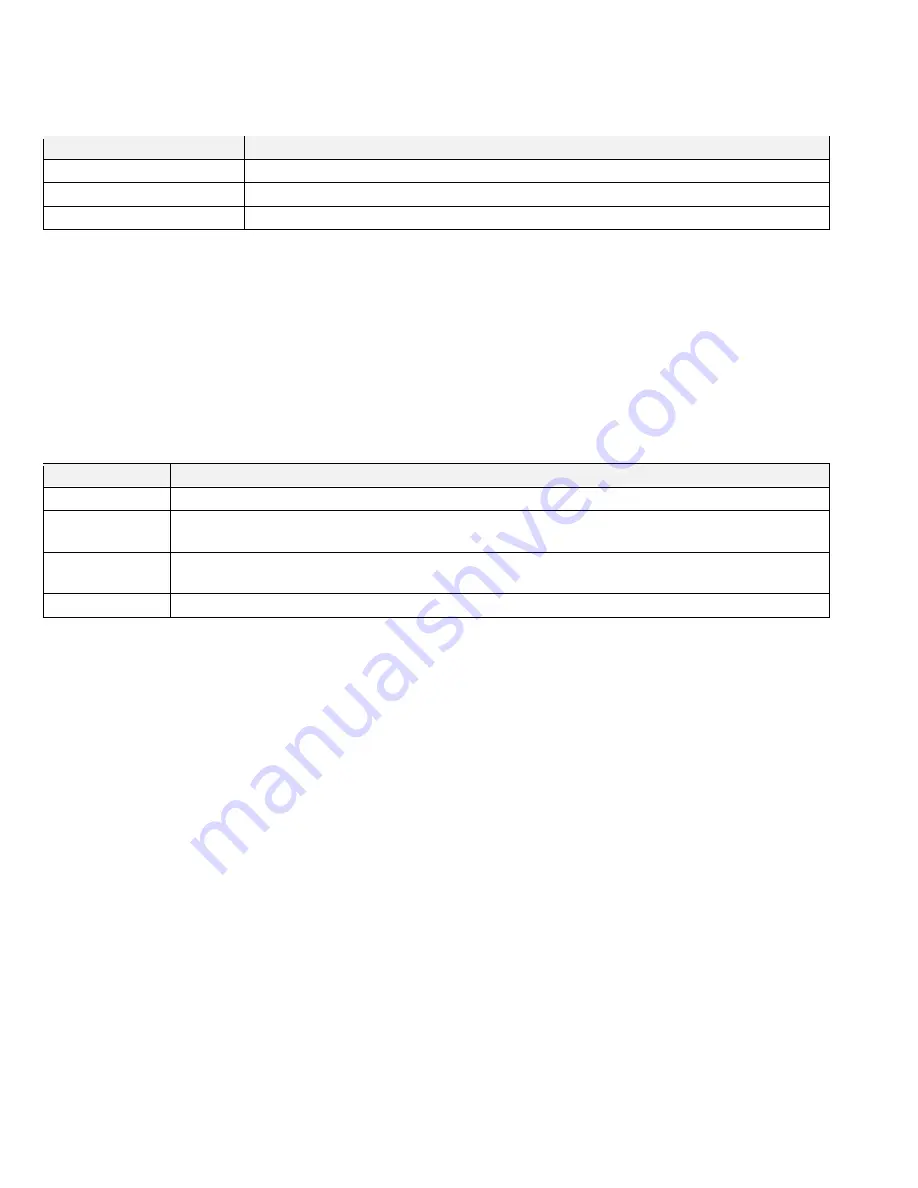
The following table describes the meaning of LED indications that occur during general use of the keypad:
Table 4: General LED indications
LED
Indication
Red
The command transmits successfully to control panel. This occurs after every input.
Green with success tune
Operation successful
Red with failure tune
Operation failed
Arming indications
If the system is not ready to arm, or has a trouble or an alarm condition, the Status button flashes for a few seconds. See the
Status
requests
section for information on how to retrieve status information from the control panel.
Status requests
Press the Status button to request the status of your system
The LED blinks red once to indicate the status request, and then the Arm Away, Arm Home, or Disarm button lights for a few
seconds to indicate the arming status.
Table 5: Status request LED indications
LED
Indication
Green
Ready for arming
Red
Not ready for arming.
This can mean that one or more zones are not secured. Secure or bypass the zone to arm the system.
Yellow
Trouble or active alarm.
Review and clear the trouble to arm the system.
Yellow blinking
Low battery
Controlling configured electrical appliances
The keypad allows remote control of electrical appliances connected to the control panel’s PGM output.
1
Press the PGM activation button.
2
To turn on the device, press the Arm Away button.
3
To turn off the device, press the Disarm button.
4
To toggle the device status, press the Arm Home button.
Replacing the battery
Please refer to
Figure 2: Inserting the battery
.
Caution! There is a risk of explosion if the battery is replaced by an incorrect type. Contact your installer to identify the correct
battery type.
1
Slide out the battery compartment cover.
2
Remove the old battery and insert the new battery. Ensure correct polarity.
3
Close the cover.
Warning! Dispose of used batteries according to the manufacturer's instructions and according to local rules and regulations.
Working with partitions
Partitioning allows you to have up to three controllable areas; each partition can be armed and disarmed independently, by the
same or different users, and regardless of the status of the other two partitions. To use the Partitioning feature, enable partitioning
in the panel.
To arm or disarm a partition, press the Partition 1, 2, or 3 button before arming or disarming the system.
When you press the Status button, the arm status of each partition displays with the corresponding partition button.
When using partitions, the authorization of the proximity tags is different to the authorization of the user codes.


