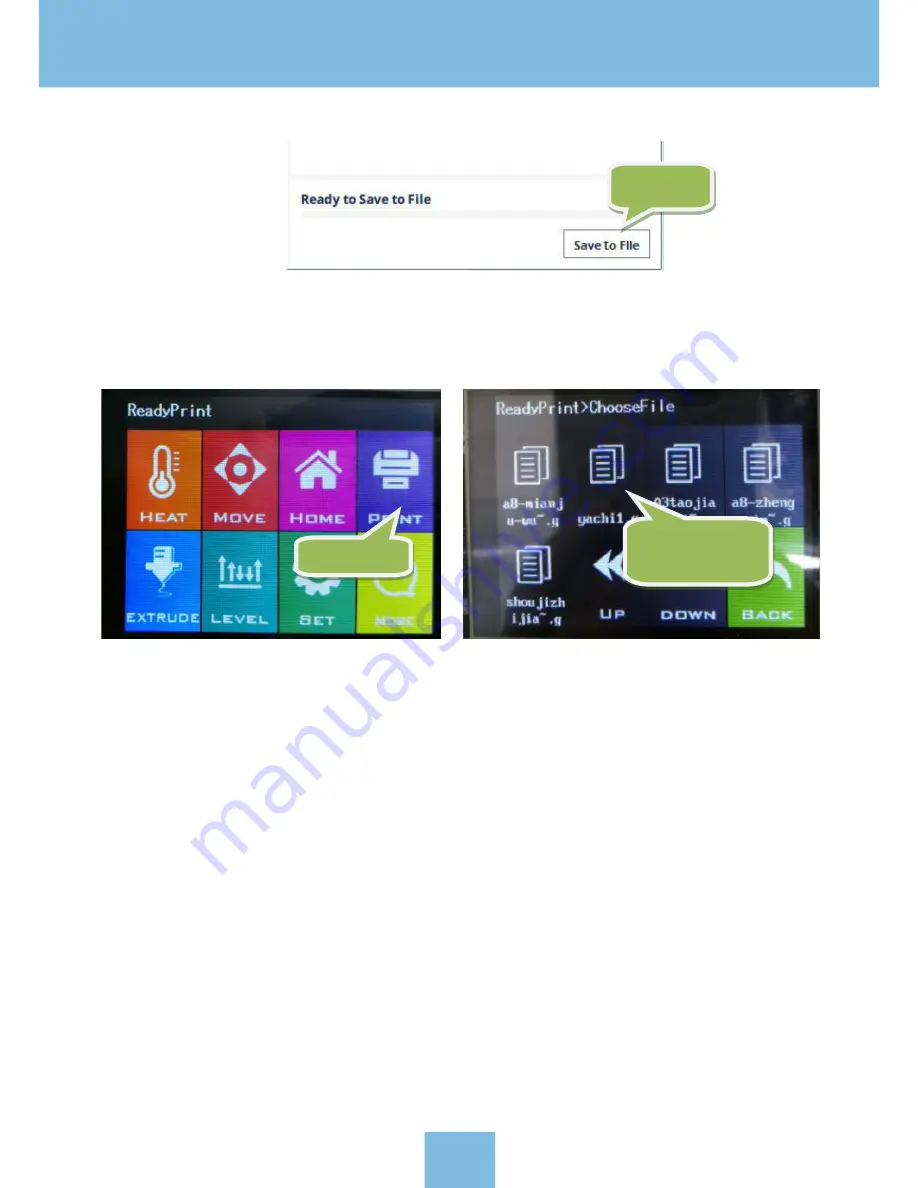
the file onto the USB stick, with an appropriate file name.
3) Insert the USB stick into the USB port on the A5, and then click "PRINT" on the Main Menu , and then select the 3D
Gcode file. Click "START" and the A5 will being to preheat the nozzle and printing platform. When the temperature of
then nozzle reaches the temperature set in the slicer software, the 3D printing of the model will begin.
Note: When printing, if the first layer does not adhere to the platform, please stop printing and re-level
the printing platform and the nozzle, to set the correct gap.
4.6 Filament replacement notes
1) While printing a model, if the filament is close to running out, please follow these steps for reloading filament:
a: Click “Option” at the printing menu, and then click the “Pause” icon on the A5 screen. The X axis will then go to the
home position.
b: Next, click the “More” icon and select “CHANGE” , then click “OUT” to eject the filament out and remove the spool
after the filament is ejected.
c: Install a new roll of filament, then click the “IN” icon until feeding is completed. Once the filament reaches the
nozzle, as small amount of plastic should start to extrude from the nozzle, in order to ensure the nozzle is primed for
printing. If this does not occur, extrude plastic manually until the nozzle is primed.
d: Click the “Back” button twice to enter into the model printing mode, then click the “RESUME” button to resume
printing.
2) When replacing filament, please ensure the nozzle has been preheated to operating temperature first, before
performing the filament change.
Please do not pull it out violently, otherwise it will cause severe damage to the
nozzle and extruder assembly.
Click “Print”
Select the file you
wish to print.
Save the file
16
Содержание A5
Страница 1: ...USER GUIDE ...
Страница 9: ...2 Choose the language you prefer English as an example 8 ...


