background image

Chapter II   Operation Instructions 

2.1 


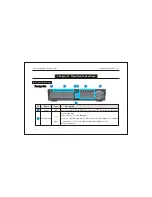
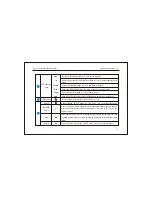
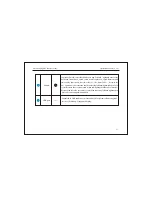
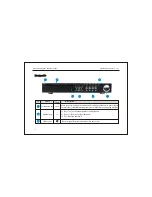
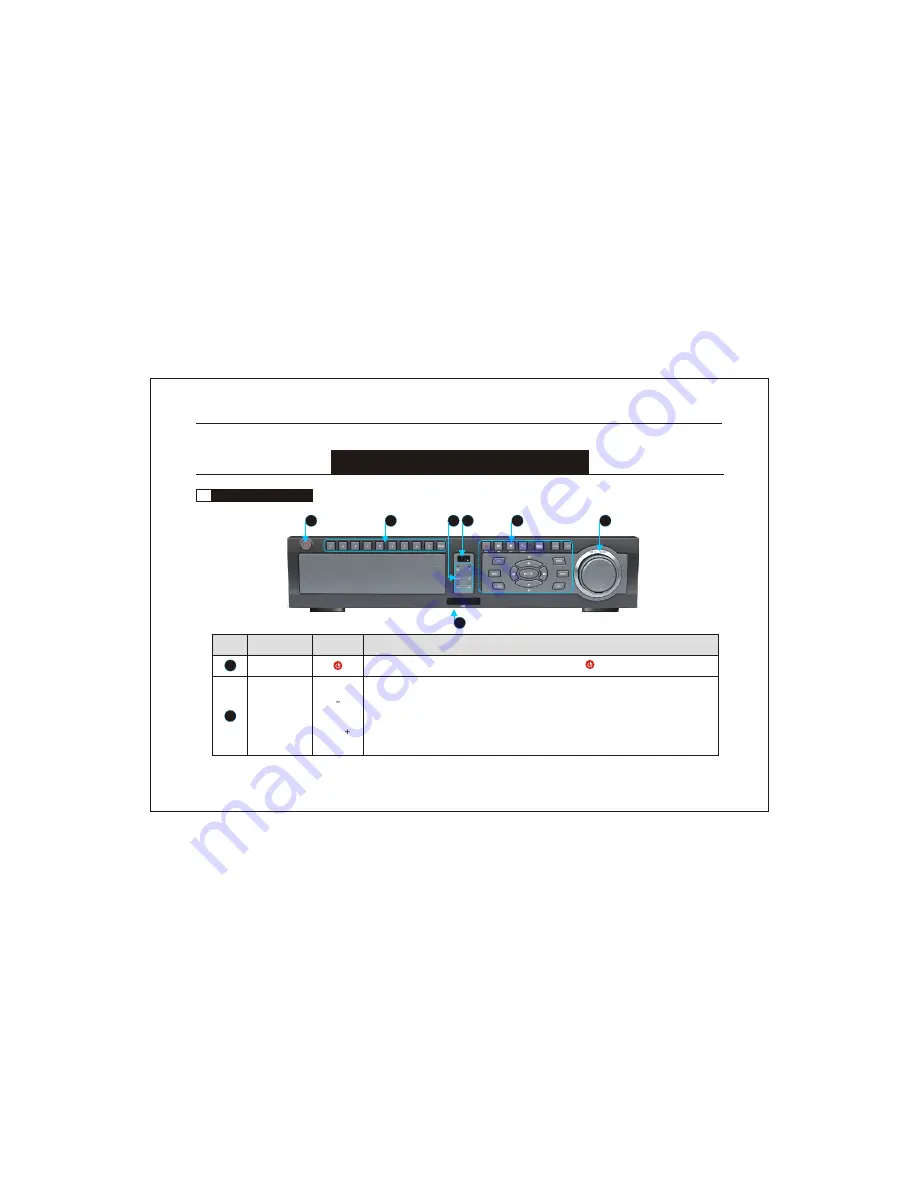
Description of front panel 

1

Description 

Name

No.

Power

Network Digital Video Recorder                                                                                               Operation Manual ( V1.0 )

8

2

1

2

3

4

5

6

7

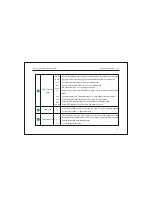
Number keys

Press it to  turn on/off the DVR. The same as the "    " key in the remote control.

a) input numbers.

b) keystroke 1~9 : select channels.

c) [0/10+]: input the number "0". Press it twice to select channel 10. Combined 

    number keys 1~9 to select the channels from channel 11 to 16.

d) input password.

1

9

0/10

Icon

Front panel 

A:

Front panel 

A:

Содержание SS-HDR-82

Страница 1: ...pre recordH 264 HDMI VGA...

Страница 2: ...t under high humidity circumstance This DVR cannot be installed at the places with much dust and avoid potential mechanical vibration or impact Install this DVR under good air circulation conditions D...

Страница 3: ...DVR can be restarted only after being checked by qualified servicemen If the DVR is not in use for a long period of time please disconnect the power supply and pull the power line plug out from the po...

Страница 4: ...atures 2 1 Description of front panel 2 2 Description of rear panel 2 3 Connection figure of rear panel 2 4 Description of alarm port in the rear panel 2 5 Remote control operation 2 6 Mouse operation...

Страница 5: ...rm 3 7 PTZ setup 3 8 Network setup 3 9 Alarm setup 3 10 Disk management 3 11 User setup 32 31 34 35 36 37 38 39 40 40 40 33 43 44 Chapter IV Basic Operations 4 1 Turn on DVR 4 2 Live screen 4 3 Softwa...

Страница 6: ...57 51 4 5 System information 4 6 Log list 4 7 Recording preparation 4 8 Recording operation 4 9 Search playback and backup 4 10 Audio setup 4 11 SEQ 4 12 Spot output 4 13 User login 4 14 PC Client sof...

Страница 7: ...intellectualization and stability This equipment supports various networks including Ethernet and Internet to realize remote audio video synchronization With easy operation it can be applied to the se...

Страница 8: ...output Support Remote Control and Control Keyboards operation Convenient precise video searching Control PTZ and speed dome through RS485 Specially designed dedicated file system for video to increas...

Страница 9: ...0 8 2 1 2 3 4 5 6 7 Number keys Press it to turn on off the DVR The same as the key in the remote control a input numbers b keystroke 1 9 select channels c 0 10 input the number 0 Press it twice tose...

Страница 10: ...and return to searchmenu invideo recording mode press it to stop recording in PTZ mode press it toview preset image Press it to enter search menu In PTZ mode press it to set preset image Record LED i...

Страница 11: ...back mode press it to turn back to live mode In live preview mode press this key to switch full screen images by sequence Press it to pop up audio setup menu Press it to pop up the main menu SPOT outp...

Страница 12: ...ightward once tofast backward forward at 2 speed rotate it twice toplay at 4 speed Rotate it third time to play at 8 speed four times for 16 five times for32 six times for 64 In menu mode rotate the s...

Страница 13: ...e to pop up a tool menu on the top right of the screen press it again to enter into system information menu press it three times to popup log list menu a Keys 1 9 used to input numbers and password b...

Страница 14: ...mode Channel sequence LED indicator light It is on in channel sequence mode PTZ control LED indicator light It is on in PTZ control mode Network LED indicator light It is on in network connection mod...

Страница 15: ...mode press it to display sixteen split screen Press it to enter search menu for backup Press it to pop up audio setup menu In playback mode press once to fast forward rewind at 2x speed press it twice...

Страница 16: ...emote control In playback mode rotate the shuttle outer ring Leftward rightward once to fast backward forward at 2xpeed rotate it twice to play at 4x speed Rotate it third time to play at 8xspeed four...

Страница 17: ...Network Digital Video Recorder Operation Manual V1 0 2 2 Description of rear panel 16 11 12 13 11 12 13 Rear panel Aof 4 channel Rear panel Aof 8 channel Y Y Pr Pr Pb Pb...

Страница 18: ...the camera and speed dome Connected with the video input of the monitor Port No Description 17 11 12 13 Rear panel Aof 16 channel SPOT Connected with spot output device to view the live image indepen...

Страница 19: ...hot plug AC 220V or 110V 18 YPbPr Loop output Standard BNC port connected with the monotor etc RS485 devide into Aand B it can control PTZ via the mouse remote control and network Client Connected wi...

Страница 20: ...Rear panel B of 8 channel 12 11 Network Digital Video Recorder Operation Manual V1 0 19 Rear panel B of 4 channel 12 11 Pr Pb Pr Pb...

Страница 21: ...ort connected with the camera and speed dome Connected with the video input of the monitor SPOT Connected with spot output device to view the live image independently Port No Description Power DC powe...

Страница 22: ...hone RS485 devide into Aand B it can control PTZ via the mouse remote control and network Client Connected with alarm inout and output It is Remote IR Receiver Port connected with External Remote Cont...

Страница 23: ...t camera1 camera16 video output SPOT output Video input 2 3 Connection figure of rear panel Loop output alarm port PTZ VGA output YPbPr output 1920 1080 HDMI output 1920 1080 CH9 CH11 CH7 CH5 CH9 CH11...

Страница 24: ...channel 16 channel alarm input alarm input alarm input alarm output alarm output alarm output Description 1 1 16 is alarm input NC NO COM Alarm relay output NC is normal close NO is normal open COM is...

Страница 25: ...ht in the front panel is on and the icon on the top right of the monitor screen turns to blue The DVR can be controlled by the remote control Note If you don t want to use the remote control you could...

Страница 26: ...o play Press it to play press it again to pause Press it to stop playing press it once to pop up a tool menu on the top right of the screen press it again to enter into system information menu press i...

Страница 27: ...y quad screen Press it to set preview point in PTZ mode The monitor display eight split screen Press it to preview in PTZ mode The monitor display sixteen split screen Press it to decrease the data in...

Страница 28: ...t of the rear panel 1 Select or cancel in the item 2 Input password in user log in interface 3 Click the close icon on the top right of the screen to exit from the main menu 4 In split screen mode cli...

Страница 29: ...se press the left right key on the front panel or remote control to change theparameter valuein the sub menu Press key in the remote control or in the front panelto move the cursor or move by the mous...

Страница 30: ...DISP POS display position of time and date top middle bottom middle no display are optional 4 Border DISP to select the color of borders green black white off are optional 5 Video format to select the...

Страница 31: ...e channel will pop up in the live screen 9 Transparency set the transparency of the menu The larger value the higher transparency 10 HD output select HDMI output device VGA 1280 1024 YPbPr and HDMI ar...

Страница 32: ...of picture central point 8 Image Vdelay used to adjust the vertical posit ion of picture central point 9 SPOT time set the time interval of spot output for the correspond channel i e the display time...

Страница 33: ...used to set the quantities of images that recorded in one second 25fps PAL and 30 fps NTSC is real time recording 4 Audio used to turn on or turn off the audio record 5 is page turning icon 09 HIGH 2...

Страница 34: ...type of relevant time range The time could be set from 00 00 to 24 00 Record type could be time alarm motion alarm motion Note The start time must be earlier than the end time or it will report error...

Страница 35: ...ptional from 1 10 The bigger number the higher sensitivity 3 Detect area setup drag the mouse to set the detection area as light blue square When motion occurs the area turn to red CAMERA 01 006 015 3...

Страница 36: ...esponding to the current channel PTZ 4 Protocol set communication protocol corresponding to the current channel PTZ 3 7 PTZ setup Note the above parameters of each channel must be consistent with the...

Страница 37: ...ess of the router 4 DVR port Transfer date stream such as video and audio frequency 5 DNS1 DNS2 If IP allocation is DHCP DDNS the DVR will get an IP fron DNS server automatically It could be modified...

Страница 38: ...y They include three alarm modes 1 Video loss alarm Loss 2 Video motion detection alarm Motion 3 Sensor input alarm Sensor Setup way Press key on the remote control or click with the mouse to display...

Страница 39: ...ideo will be replaced in turn when the hard disk is full If not record will stop When you record again the system will prompt open overwrite function orformat the hard disk 2 Disk name select disk If...

Страница 40: ..._ _ _ _ _ _ 3 11 User setup Password is needed to log in by admin Input the password by click the numbers in the menu or press the numbers in the remote control the front panel is used to clear the f...

Страница 41: ...em connection is correct input output equipments are connected well and the power supply is on before turning on DVR Please make sure video format PAL or NTSC of video input and the monitor format mee...

Страница 42: ...s recording by sensor alarm Image lost in the process of record It is recording by time DVR is waiting for video event triggered in auto recording mode Image lost in the process of waiting for record...

Страница 43: ...utput is closed Click it to enter into audio setup menu Hard disk is normal Click it to pop up info menu Hard disk is full Click it to pop up info menu No hard disk Click it to pop up info menu Networ...

Страница 44: ...econds Click it to pop up a menu for turning off the power or not 4 3 Software update Copy the new version software to the root directory of USB pendrive the file name is fireusb Turn off the DVR Inse...

Страница 45: ...eakdown and don t pull out USB pendrive or update will be unsuccessful Make sure U disk works in good condition so as to avoid abnormal performance in the process of update 4 4 PTZ control Network Dig...

Страница 46: ...PTZ control PTZ control parameters of each channel can be modified in the system menu Press PTZ key again or press ESC key or click the icon to exit from PTZ control mode In PTZ control mode the follo...

Страница 47: ...TA then press 9ch split key on remote control or click icon by mouse 4 5 System information Network Digital Video Recorder Operation Manual V1 0 1 074 099 000 000 2009 08 19 11 40 00 2009 09 07 10 20...

Страница 48: ...information of power on off and recording etc Set the time segment then click Search it will display the information Make sure all the equipment is power on before recording Make sure that there is vi...

Страница 49: ...playback at the same time Network Digital Video Recorder Operation Manual V1 0 Firstly confirm that recording mode of each channel in schedule setup and time segment setup Start recording Press the ke...

Страница 50: ...ed it will turn back to the search menu automatically 5 Before backup please calculate the capacity of the video first Click the icon to calculate the video you need to backup If the video capacity is...

Страница 51: ...nu 8 On the bottom of screen it will display the playback mode Network Digital Video Recorder Operation Manual V1 0 Right click the mouse in playback mode to pop up mouse tools Click or press ESC key...

Страница 52: ...rk Digital Video Recorder Operation Manual V1 0 ENTER ENTER Note No audio output when multiple split playback at the same time CH01 CH02 CH03 CH04 CH05 CH06 CH07 CH08 CH13 CH14 CH15 CH16 CH09 CH10 CH1...

Страница 53: ...wing operation Enter Camera setup menu Move the cursor on SPOT TIME then you could set the time by pressing key or left right click with the mouse It could be set as 0 second or 5 30 seconds If output...

Страница 54: ...anual V1 0 Press the LOCK key on remote control or click the icon on the topright screen with mouse the icon will turn to red It means the system is locked Then you need to press LOCK ESC key in the r...

Страница 55: ...left of screen And select Enter to make it power off When power off the Power LED light will turn green If you want to restart DVR press the in the front panel remote control for 3 second and it will...

Страница 56: ...0Vp p 75 BNC 4 1 0Vp p 75 BNC 8 1 0Vp p 75 BNC 16 1 0Vp p 75 BNC 1 YPbPr output resolution 1920 1080i50 1920 1080i60 Alarm input Alarm output Alarm mode Sensor alarm motion detection video loss HDD f...

Страница 57: ...face supports a hard disk with maximum capacity 2000G SATAHDD DC 12V 5A Power B Weight A Weight B About 8kg with package About 4 8kg with package 435mm L 415mm W 103mm H 435mm L 320mm W 65mm H Dimensi...

Страница 58: ...it can t be done For the reason of safty we can t delete a partofvideo file in HDD Ifyou want to delete them please try to format HDD 4 Why alarm is not workable Default cause 1 The schedule setup is...

Страница 59: ...ease contact the customer service department for latest program and supplimentary informaton Any disputes or doubts in products description are subject to our final explanation 6 Why there are no vide...

Отзывы: