(not provided) and into the wall. It may be necessary to enlarge the holes in the plates larger to accept these
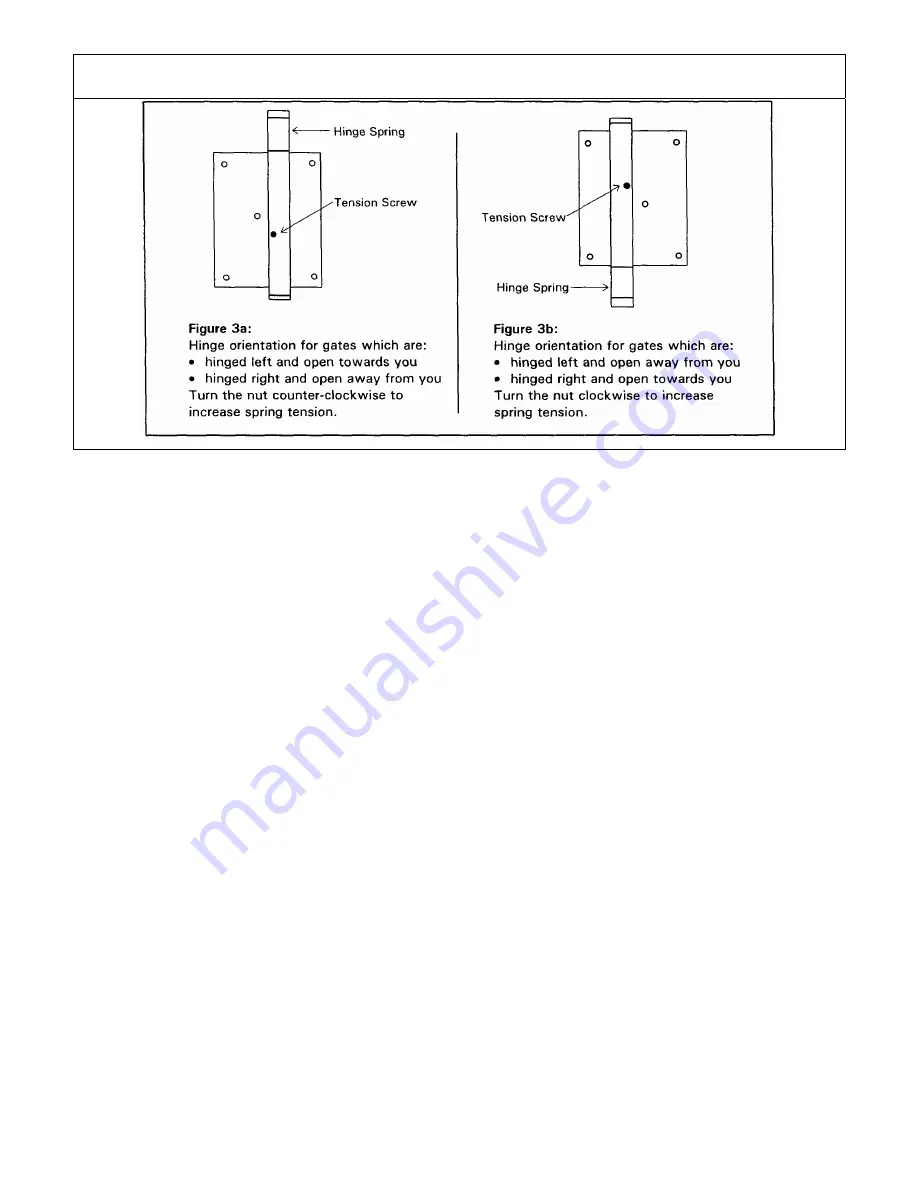
bolts. You will replace the tension screw in Step 6
3. Next, assemble the latch. This can be confusing since the latch works for all gate swings - in or out, left or right.
Precede step by step, using Figure 4 on the next page as a guide.
a.) Place the spindle into a handle as far as it will go and attach it using the set screw.
b.) Slide a nylon bushing onto the spindle with the flat side against the handle.
c.) Place the spacer block into the front plate. The loop will extend out the bottom, while the top of the
spacer block will fit into the square notch on the top of the front plate.
d.) Put the spindle through the large holes in the front plate and the spacer block. The Jerith logo should
face out. The bushing fits into the large hole in the front plate.
e.) Point the lever in the opposite direction of the handle and put the lever’s square hole onto the spindle.
Push the lever in completely, so that the bottom tip extends below the front plate.
f.) Take the spring and push it through the small opening between the top of the spacer block and the top
of the lever, with the ends of the spring facing out. Be sure to position the spring beyond the stop on the
top of the lever.
g.) Push the two 1 3/4” machine screws all the way through the front plates. Put the entire assembly on
the side of the gate.
h.) Place the back plate on the other side of the gate and tighten the 1 3/4” screws to attach the back to
the front. The spindle goes through the hole in the back plate.
i.) Slide the other bushing onto the spindle with the flat end facing out so it fits snugly into the large hole in
the back plate. Push the other handle onto the spindle and tighten the set screw.
4. Position the latch at a convenient height (or as required by local codes), drill 1/8” pilot holes, and use the four
#6 x ½” painted screws to fasten the latch squarely in place on the side of the gate.


