background image

17

VM9026

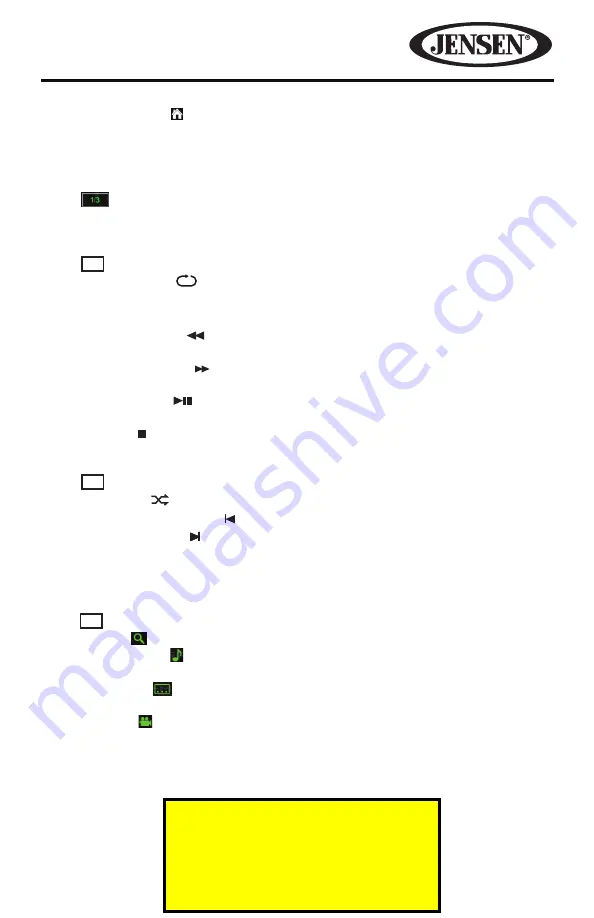
1.  MAIN MENU


( ) 

Touch to view the MAIN MENU and select a new playback 

source 

2.  MODE: 

Indicates that unit is in DVD-V viewing mode.

3.  TRACK (T) and CHAPTER (C):

  Touch to select and manually set a Track or 

Chapter directly using the on-screen display.

4. 

 MENU SELECT:

  Touch to select one of the three DVD/VCD Menu Control 

bars (1/3, 2/3 or 3/3).

DVD/VCD Menu Control Bar 1/3

5.   1/3 :  

Touch to select one of the three DVD/VCD Menu Control Bars.

6.  REPEAT PLAY (

): 

Touch to alter repeat mode in the following sequence:

• 

DVD: Repeat Chapter, Repeat Title, Repeat Off, Repeat All.

• 

VCD (PBC Off): Repeat Single, Repeat Off, Repeat All.

7.  FAST REVERSE ( ):

 Touch to fast reverse “x2” to “x4”, “x8”, and “x16” times 

the normal playback speed of the DVD/VCD. 

8.  FAST FORWARD ( ):

 Touch to fast forward “x2” to “x4”, “x8”, and “x16”times 

the normal playback speed of the DVD/VCD.

9.  PLAY/PAUSE ( ): 

Touch to begin playback. Press the icon again to pause 

playback. 

10.  STOP ( ): 

Touch to stop DVD/VCD playback.

DVD/VCD Menu Control Bar 2/3

11. 2/3 :  

Touch to select one of the three DVD/VCD Menu Control Bars.

12. SHUFFLE (   ): 

Touch to play chapters in random order during disc playback.

13. PREVIOUS CHAPTER ( ): 

Touch to move to previous chapter.

14. NEXT CHAPTER ( ): 

Touch to advance to the next chapter on the DVD/VCD.

15. TITLE:

 Touch to select a different title for playback.

16. DISC MENU:

 Touch to display the DVD/VCD root menu.

DVD/VCD Menu Control Bar 3/3

17. 3/3 :  

Touch to select one of the three DVD/VCD Menu Control Bars. 

18. ZOOM ( ):

 Touch to zoom in or out during playback.

19. LANGUAGE ( ): 

Touch during playback to select to select the audio 

language.

20. SUBTITLE ( ): 

Touch during playback to select the subtitle language if the 

disc is recorded in multiple languages.

21. ANGLE ( ): 

Touch to view angles if the DVD contains scenes shot from 

different angles. 

22. REPEAT SELECTION (A-B): 

Touch to repeat a specific portion from point A 

to point B of the DVD disc.

For Sales Information Please Contact 

RoadTrucker Inc 

(www.RoadTrucker.com) 

8312 Sidbury Rd. 

Wilmington, NC 28411 

(800) 507-0482 / (910) 686-4281

Содержание VM9026

Страница 1: ...VM9026 Operating Instructions For Sales Information Please Contact RoadTrucker Inc www RoadTrucker com 8312 Sidbury Rd Wilmington NC 28411 800 507 0482 910 686 4281...

Страница 2: ...ment Features 2 Controls and Indicators 4 Operating Instructions 5 Setup Menu 7 Radio Tuner Operation 13 DVD VCD Video Operation 16 CD Audio Operation 22 Playing MP3 WMA Operation 26 Viewing JPEG File...

Страница 3: ...Europe S America 30 Station Presets 18 FM 12 AM Auto Stereo Mono Local Distance Auto Store Preview Scan iPod iPhone Input iPod iPhone via USB High Speed Direct Connect Interface to Access iPod Playli...

Страница 4: ...6 is camera ready Before accessing any camera features you must purchase and install a rear video camera Once the camera is connected and operating properly the CAMERA source mode will become active W...

Страница 5: ...ble connector for playback of music video files from an compatible external device 9 SYSTEM RESET Press to reset system settings back to factory default settings 10 POWER ON OFF and VOLUME UP DOWN MUT...

Страница 6: ...Power button again to restore the volume The system volume level bar will be displayed on the Screen indicating the volume is muted Adjusting the volume or using any of the audio setup features cancel...

Страница 7: ...ase To increase or decrease the volume level rotate the rotary Power Volume button The volume level ranges from 0 mute to 50 maximum While adjusting the volume the system volume level bar will be disp...

Страница 8: ...ure option is updated when adjustments are complete Clock Sub Menu Features Table 2 Clock Sub Menu Adjustments Setting Options Function Clock HH MM Clock appears in the middle on top of the screen dur...

Страница 9: ...AM Frequency Band 530 kHz 1720 kHz FM Frequency Spacing 200 kHz FM Frequency Band 87 5 MHz 107 9 MHz Europe AM Frequency Spacing 9 kHz AM Frequency Band 522 kHz 1620 kHz FM Frequency Spacing 50 kHz F...

Страница 10: ...r increases the high frequency sound levels Touch the or buttons to adjust the settings Subwoofer 7 to 7 Reduces or increases the subwoofer sound level Touch the or buttons to adjust the settings EQ E...

Страница 11: ...t brightness of the screen Brightness 5 to 5 Adjust the brightness of the screen Contrast 5 to 5 Adjust the contrast of the screen To exit the General Sub Menu Press the Menu button once to enter the...

Страница 12: ...is selecting Load Factory Settings OK Restores the unit to factory settings Version OK Displays a screen which lists software version for the unit To exit the General Sub Menu Press the Menu button o...

Страница 13: ...begin calibration touch and hold the crosshair for one second until it moves to the next quadrant Continue for each quadrant until the calibration is completed and the Setup Menu appears To exit the S...

Страница 14: ...CATOR 12 NEXT Touch to tune forward one step 13 STATION PRESETS Touch to choose between six preset stations 14 AM FM BAND SELECTOR Touch to change between AM FM bands AM1 AM2 and FM1 FM2 FM3 each cons...

Страница 15: ...ext higher station with the best signal touch the icon To seek the next lower station with the best signal touch the icon Local Distant Radio Station Seeking When the Local function is ON only radio s...

Страница 16: ...stem clock is synchronized with broadcasters time signal setting the clock automatically In some regions where daylight savings time is not adhered to the system clock will be OFF by 1 hour In these c...

Страница 17: ...screen while a DVD VCD is playing to view select or set video playback controls There are three video control menu bars 1 3 2 3 and 3 3 To access each video control menu bar touch the first box in the...

Страница 18: ...yback 10 STOP Touch to stop DVD VCD playback DVD VCD Menu Control Bar 2 3 11 2 3 Touch to select one of the three DVD VCD Menu Control Bars 12 SHUFFLE Touchtoplaychaptersinrandomorderduringdiscplaybac...

Страница 19: ...o DVD mode from a different mode when a disc is already inserted press the MENU button on the front of the unit to access the MAIN Menu When the MAIN Menu appears touch the DISC icon Direct Track Chap...

Страница 20: ...e and once again to resume playback Stop Touch the STOP icon on the first control menu page to stop the playback of the disc Shuffle Touch the SHUFFLE icon on the second control menu page to play chap...

Страница 21: ...cenes that have been shot simultaneously from different angles For discs recorded with multiple angles touch the ANGLE icon on the third control menu page to toggle available angles of the on screen i...

Страница 22: ...of angles provided maximum of 9 Aspect ratios available LB stands for Letter Box and PS stands for Pan Scan In the example on the left the 16 9 video can be converted to Letter Box video Indicates the...

Страница 23: ...t playback controls Media Requirements The VM9026 will play music or other audio files from the following disc media CD DA CD R RW Upon inserting a CD the track number and playing time appear on the s...

Страница 24: ...psed playback time left side of time bar and total time of the current track playing right side of time bar 8 PREVIOUS TRACK Touch to play the previous track 9 PLAY PAUSE Touch to begin playback Press...

Страница 25: ...a different mode when a disc is already inserted press the MENU button on the front of the unit to access the MAIN Menu When the MAIN Menu appears touch the DISC icon Direct Track Selection To select...

Страница 26: ...con again to pause and once again to resume playback Next Track Touch the NEXT TRACK icon to advance to the next track on the CD Fast Reverse Touch the FAST REVERSE icon once to reverse playback of th...

Страница 27: ...Use the following settings when compressing audio data for your MP3 disc Transfer Bit Rate 128kbps Sampling Frequency 48kHz When recording MP3 up to the maximum disc capacity disable additional writin...

Страница 28: ...on the lower left of the radio s front panel 2 Lift the protective cover to reveal the USB SD slots 3 Insert the USB SD device into the USB SD connectors The unit will read the audio video files on th...

Страница 29: ...random mode is active 6 REPEAT This indicator is lit when the repeat mode is active 7 SOURCE MENU Touch to view the SOURCE Menu during playback 8 ELAPSED TIME INDICATOR Displays the elapsed playback t...

Страница 30: ...he unit to eject the disc The unit will automatically revert to RADIO mode You may eject a disc with the unit powered OFF The unit will remain OFF after the disc is ejected Ejecting a SD Card To eject...

Страница 31: ...current track Touch a track title if available or track number to begin playback of that track Touch to view the previous play list page Touch to view the next play list page Elapsed Time Indicator D...

Страница 32: ...con again to resume normal play Fast Forward Touch the FAST FORWARD icon once to forward playback of the disc two times faster x2 than normal playback speed Keep touching and releasing the icon to inc...

Страница 33: ...1 2 6 1 2 Touch to select one of the two JPG Menu Control Bars 7 REPEAT PLAY Touch to alter repeat mode in the following sequence 8 PREVIOUS CHAPTER Touch to move to previous chapter 9 NEXT CHAPTER To...

Страница 34: ...eration iPod touch 4th 2nd and 1st Generation iPod nano 6th 5th 4th and 3rd Generation iPod classic and iPod with video The unit will automatically switch to iPod mode when an iPod iPod touch or iPhon...

Страница 35: ...e 5 SOURCE MENU Touch to view the SOURCE Menu during playback 6 ELAPSED TIME INDICATOR Displays the elapsed playback time left side of time bar and total time of the current track playing right side o...

Страница 36: ...hat track Touch to view the previous play list page Touch to view the next play list page TheSOURCEMenuallowstheusertoselectmusicorvideofilesstoredintheiPhone iPod iPod touch iPod nano Touch the Music...

Страница 37: ...Touch the NEXT TRACK icon to advance to the next track on the iPhone iPod Fast Reverse Touch the FAST REVERSE icon to fast reverse Fast Forward Touch the FAST FORWARD icon to fast forward Stop Touch...

Страница 38: ...the iPod main screen touch the SOURCE Menu icon NOTE To transmit the video from your iPod to the VM9026 screen you must set the following options through the iPod video settings menu TV Out ON TV Sig...

Страница 39: ...een The rear camera image can be adjusted from Normal to Mirror using the Setup Menu within the General Sub menu STEERING WHEEL CONTROL SWC INTERFACE The VM9026 is compatible with various aftermarket...

Страница 40: ...et too low Increase volume level Improper MUTE connection Review wiring diagram and check TEL MUTE connection Speakers damaged Replace speakers Heavily biased volume balance Adjust the channel balance...

Страница 41: ...connections Check wiring and correct Prolonged image or improper height width ratio display Improper aspect ratio setup Use correct aspect ratio setting TUNER Weak station searching Auto antenna is no...

Страница 42: ...not compatible with unit Use disc with proper region code Disc is inserted upside down Insert disc with label side up PBC cannot be used during VCD playback PBC is not available on the disc No repeat...

Страница 43: ...Insert disc Bad Disc Disc is dirty Clean disc with soft cloth Disc is upside down Insert disc with label side up Unknown disc Disc format is not compatible with this unit Region Error DVD is not comp...

Страница 44: ...aynotoperateproperlyinextremehotorcold Ifsuchconditions occur allow the interior of the vehicle to reach a normal temperature before using player 7 When the vehicle warms up during cold weather or und...

Страница 45: ...eting Sensitivity 50dB 15dBf Alternate Channel Selectivity 70dB Signal to Noise Ratio 1 kHz 58dB Image Rejection 80dB Stereo Separation 1 kHz 30dB Frequency Response 30Hz 15 kHz 3dB AM Tuner Tuning Ra...

Страница 46: ...x 178mm x 100mm CEA Power Ratings Power Output 13 Watts RMS x 4 Channels into 4 Ohms 1 THD N Signal to Noise Ratio 70dBA Below Reference Reference 1 Watt 4 Ohms Frequency Response 20 Hz 20 kHz 3dB Aux...

Страница 47: ...d in China VM9026 Common Replacement Parts Owner s Manual Install Manual 30613820 Wire Harness Speaker Power A V 30313820 Trim Ring 30413820 Hardware Bag Miscellaneous Hardware 30513820 128 9195 For S...

Отзывы: