AUX
1
HDMI
USB
9
10
11 12
13
14
15
16
17
18
19
20
21
22
23
24
25
26
27
28
29
30
31
32
33
34
8
7
6
5
4
3
2
1
BASIC OPERATION
Power
Zones Volume Control
Zone Mute
Pause / Mute
Audio Menu Setting
System Menu Setting
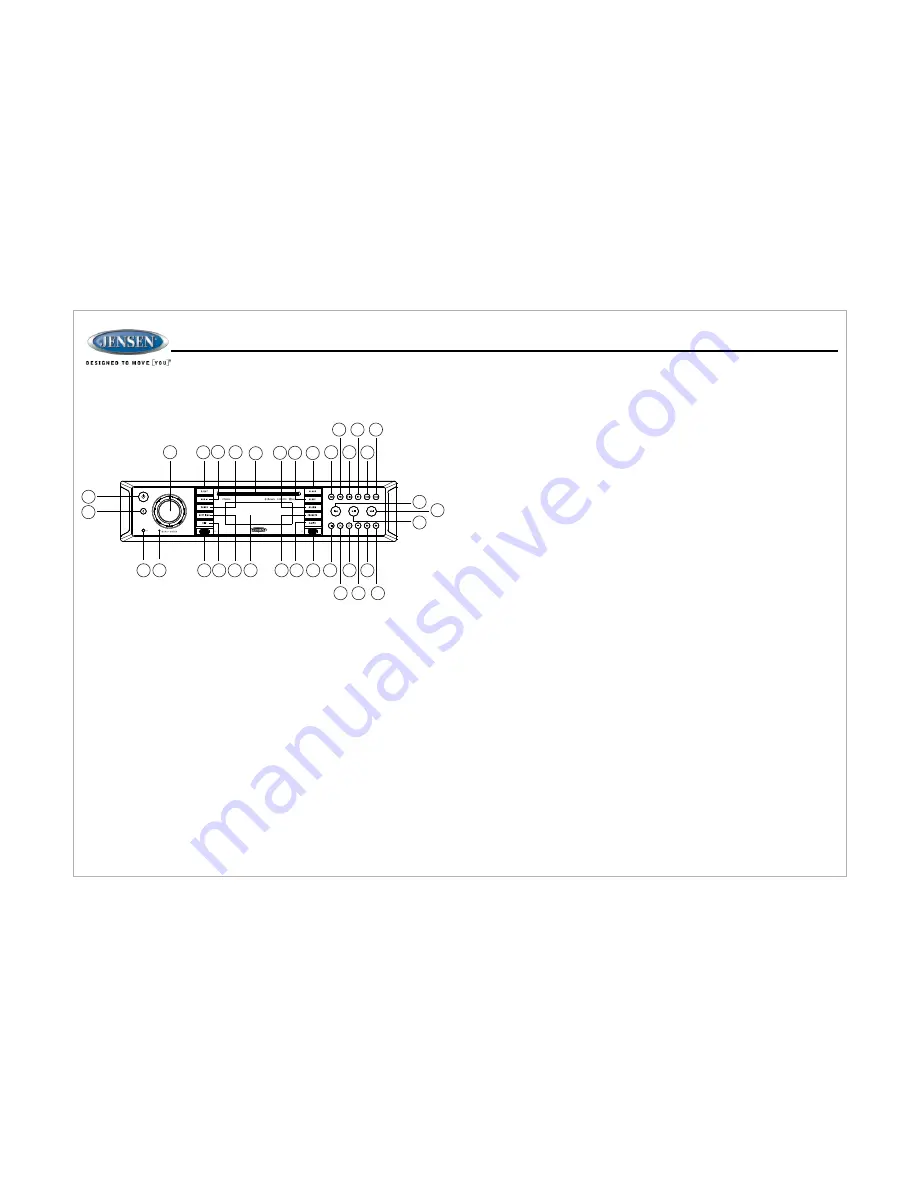
Press the
POWER
button (1) to turn the unit on.
The unit will resume at the last mode (Tuner, Aux, etc.).
1.Press the
SETTINGS
button (7) for 2 seconds to access the system menu.
2.Press the
|<<
or
>>|
buttons (20, 19) or
SETTINGS
button repeatedly to navigate
through the system menu items.
3.Once the desired menu item appears on the display, adjust that option by rotating
the
VOL/ENTER
knob clockwise or counter-clockwise within 5 seconds.
4.Press the
BACK
button (2) to confirm your selection and exit audio menu. The unit
will automatically exit the audio menu after 5 seconds of inactivity.
The following items can be adjusted:
1.Press the
ZONES
button (31) to enter the zone menu.
2.While in the zone menu, press
ZONES
(34), or the
|<<
or
>>|
buttons (20, 19)
repeatedly to navigate through the zones menu settings (ZONE A mode,
ZONE A volume adjustment, ZONE B mode, ZONE B volume adjustment,
ZONE C mode and ZONE C volume adjustment).
NOTE:
Zone A also controls the output of the rear line level audio output.
3.Rotate the VOL/ENTER knob (34) or counter-clockwise to select the active
zone's mode or rotate the
VOL/ENTER
knob (34) clockwise to increase or
counter-clockwise to decrease the active zone's mode volume.
While in zone menu (see above), press and hold the
ENTER
knob button to mute
the audio output of the active zone's volume. Rotate the
VOL/ENTER
knob (34)
to restore the previous volume level.
1.Press the
AUDIO
button (32) to access the audio menu.
2.Press the
|<<
or
>>|
buttons (20, 19) or
AUDIO
button repeatedly to navigate
through the audio menu items.
3.Once the desired menu item appears on the display, adjust that option by rotating
the
VOL/ENTER
knob (34) clockwise or counter-clockwise within 5 seconds.
4.Press the
BACK
button (2) to confirm your selection and exit audio menu. The unit
will automatically exit the audio menu after 5 seconds of inactivity.
The following items can be adjusted:
During RADIO / FRONT AUX / REAR AUX / COAXIAL / OPTICAL / HDMI ARC / HDMI
IN mode, press the
▶
|| button (18) to mute the audio output for active zones. Press
again to restore the previous volume level.
During USB / DVD / BT mode, press the
▶
|| button to pause playback. Press again to
resume playback.
JWM9
0A
Ÿ
BASS: Adjust the Bass level from "-7" to "+7".
Ÿ
TREBLE: Adjust the treble from "-7" to "+7".
Ÿ
BALANCE: Adjust the Balance between the left and right speakers output from
"LEFT 7" (full left) to "RIGHT 7" (full right).
Ÿ
“BALANCE 0” indicates equal balance between the left and right speakers.
Ÿ
FADE: Adjust the speaker fade between the rear and front speakers from
“
REAR 7
”
(full rear) to
“
FRONT 7
”
(full front).
Ÿ
“
FADE 0
”
indicates equal balance between the rear and front speakers.
Ÿ
LOUDNESS: Toggle the loudness on/off. When listening to music at low
volumes, this feature will boost the bass/treble range to compensate for the
characteristics of human hearing.
Ÿ
SUBWOOFER: Set the subwoofer volume output. The maximum volume setting
is “40”.
Ÿ
EQUALIZATION: Choose one of the following pre-defined bass and treble
curves: POP > CLASSICAL > ROCK > FLAT.
7
Содержание JWM90A
Страница 1: ...AUX 1 HDMI USB Installation and Owner s Manual MOBILE AUDIO SYSTEM JWM90A...
Страница 26: ......


