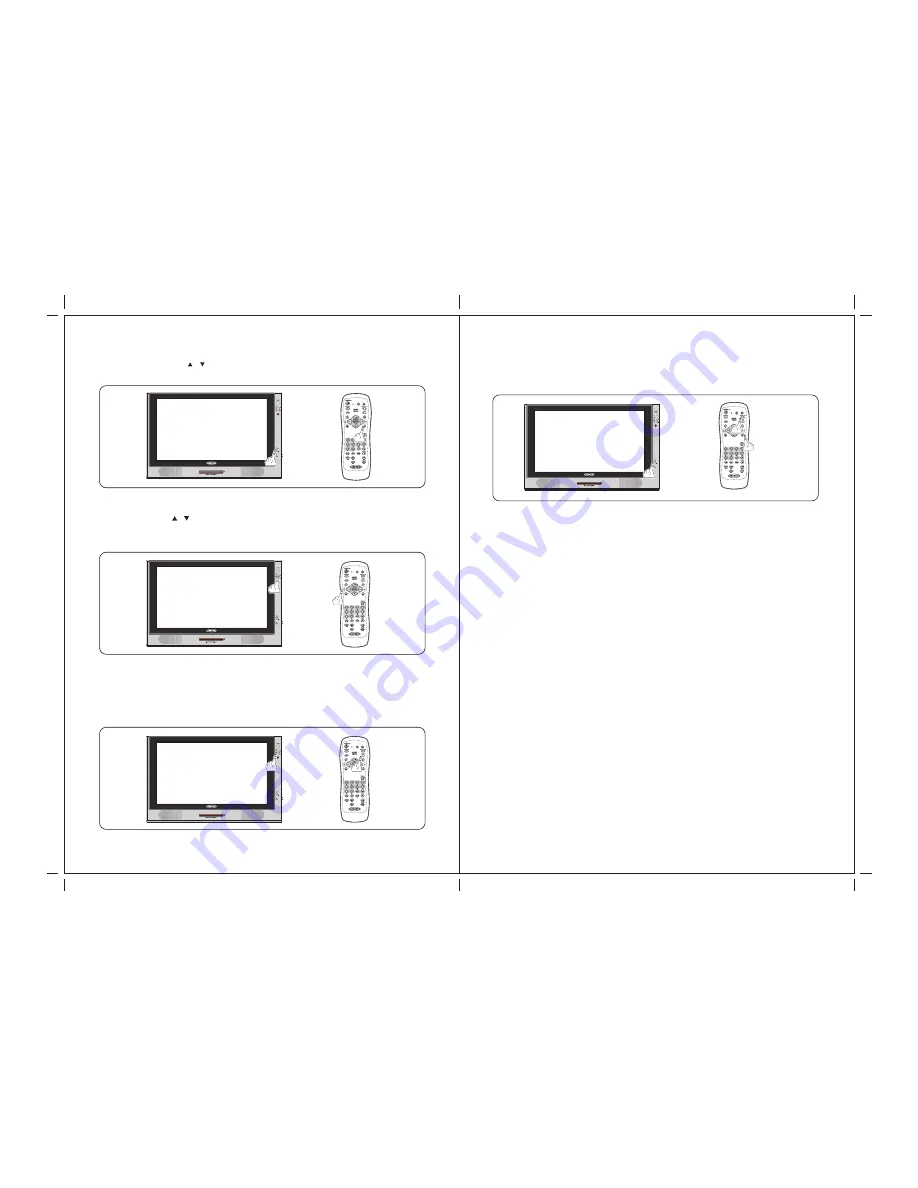
background image

10

11

* Volume Setting:

* Mute:

  1. Press "/- " (    /    ) button on TV front control panel or remote control to 
      adjust volume level.

  1. Press "MUTE" button on remote control to mute speakers. "MUTE" will display on 
      screen.
  2. Press "MUTE" button again or "/-" button to return sound back to speakers.

* OSD Menu Setting:

  This monitor provide "OSD" setting, enable you to customize the setting for monitor.

  Press  "MENU" button on remote or front control panel to set OSD menu.

  Noted: Before adjust settings, ensure all the video source is in correct mode.

* Channel Select:

  1. Press "Channel      /      "  button on remote control or TV Front Control Panel to 
      change/select channels.
  2. Press on Number buttons on remote control to change/select channel directly.

Содержание JE2369

Страница 1: ......

Страница 2: ...to operate under normal operation Notices 1 The changes or modifications not expressly approved by the party responsible for compliance could void the user s authority to operate the equipment 2 To comply with the FCC RF exposure compliance requirments no change to the antenna or the device is permitted Any change to the antenna or the device could result in the device exceeding the RF exposure re...

Страница 3: ...splay Incorporated with a user friendly menu allowing easy customization to user preferences The unit comes with built in screen display controls when used with the remote control allowing you to make changes to the settings It even support the use of 2 channel wireless headphones therefore you do not need to worry that the volume coming out from the monitor will disturb other people The Digital T...

Страница 4: ...es 11 Wireless Night time viewable remote control included 12 Mounting bracket optional 13 Two auxiliary monitor inputs One fixed NTSC composite one selectable composite S Video or component HDTV 14 HDTV ready Remote Control Operation Manual S Video Cable DC Power Harness 1 DC Power Harness 2 Antenna Cable Component Video Conversion Cable Composite Video Conversion Cable IR Transmitter Audio Input...

Страница 5: ...ENTER Enter Button VOLUME Volume Up Volume Down RECALL Channel Return NEXT TRACK Select Next Title Chapter FR FAST Reverse Play DVD DVD Mode Selected FF FAST Forward Play MENU DVD Root Menu PREVIOUS TRACK Select Previous Title Chapter DVD Button Buttons only for DVD use 1 2 3 4 5 14 16 6 7 8 9 11 13 15 17 4 5 10 11 12 16 18 2 FRONT PANEL CONTROLS PANEL CONTROL 1 POWER Power On Off 2 MODE Source Se...

Страница 6: ...socket on the TV Side Input Panel 4 Connect your AV cable to the equipment photo 2 Noted When connect S Video input please set OSD AV1 Select to SV to view S VIDEO source Noted When connect Component Video input please set OSD AV1 Select to CV to view Component Video source Noted When connect AV IN 2 please set OSD AV1 Select to AV to view AV IN 2 source Noted When connect AV OUT 1 please set OSD ...

Страница 7: ... front panel or SOURCE button on remote control to select from the various mode settings 2 The mode setting status will change each time the Mode or SOURCE button is pressed AV1 AV2 CH 00 Please make sure video source is been connected properly Noted When connect VGA input please set OSD AV1 Select to PC to view VGA source Connect Power Connect to the power source using the power cable and adapter...

Страница 8: ...n sound back to speakers OSD Menu Setting This monitor provide OSD setting enable you to customize the setting for monitor Press MENU button on remote or front control panel to set OSD menu Noted Before adjust settings ensure all the video source is in correct mode Channel Select 1 Press Channel button on remote control or TV Front Control Panel to change select channels 2 Press on Number buttons ...

Страница 9: ...rround Speaker TV 50 50 50 50 OFF ON Audio Adjust Volume Bass Treble Balance Surround Speaker TV 50 50 50 50 ON OFF Input Select Main Display AV1 Select TV TV AV Input Select Main Display AV1 Select TV AV1 AV Input Select Main Display TV AV1 AV2 TV Input Select AV1 Select TV AV PC CV SV 50 TV Setting MTS ANT CATV Auto Scan Set Channel Add Erase Fine Tune TV STEREO ANT NO 07 Add 50 TV Setting MTS A...

Страница 10: ...ce Surround Speaker AV1 50 50 50 50 OFF ON Audio Adjust Volume Bass Treble Balance Surround Speaker AV1 50 50 50 50 ON OFF Input Select AV1 Select AV1 AV PC CV SV Menu Setting OSD H Position OSD V Position OSD Timeout Language Recall OSD Exit AV1 10 ENGLISH NO 50 50 Menu Setting Language AV1 FRANCAIS DEUTSCH ITALIANO ESPANOL 繁體中文 NTSC NTSC NTSC NTSC NTSC Input Select Main Display AV1 Select AV1 AV...

Страница 11: ...tting Press MENU button osd menu will display on screen press SET button to select Management setting and press ENTER button to enter management setting then press SET select course settings Pls see chart as below NO Corlor Color Temp AV1 1024x768 SEP HF 48 3KHz VF 59 9Hz Cool Neut Warm AV1 1024x768 SEP HF 48 3KHz VF 59 9Hz Corlor Color Temp Red Green Blue AV1 1024x768 SEP HF 48 3KHz VF 59 9Hz Use...

Страница 12: ...e the volume 5 Remote Control not Working a Check batteries are installed correctly replaced if necessary b Aim the remote controller towards the unit remote sensor 6 Unit will not power on w front Power button a Check the power is connected b Power indication LED on unit is red in color 9 SPECIFICATIONS Active Matrix LCD TFT 23 Diagonal 16 9 307 200 Pixel 640x480 16 7 M 500 cd m 500 1 H 170 degre...

Страница 13: ...asaelectronics com ...

Отзывы: