background image

Assembly Instructions

8

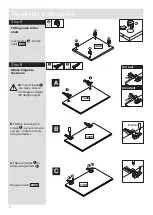
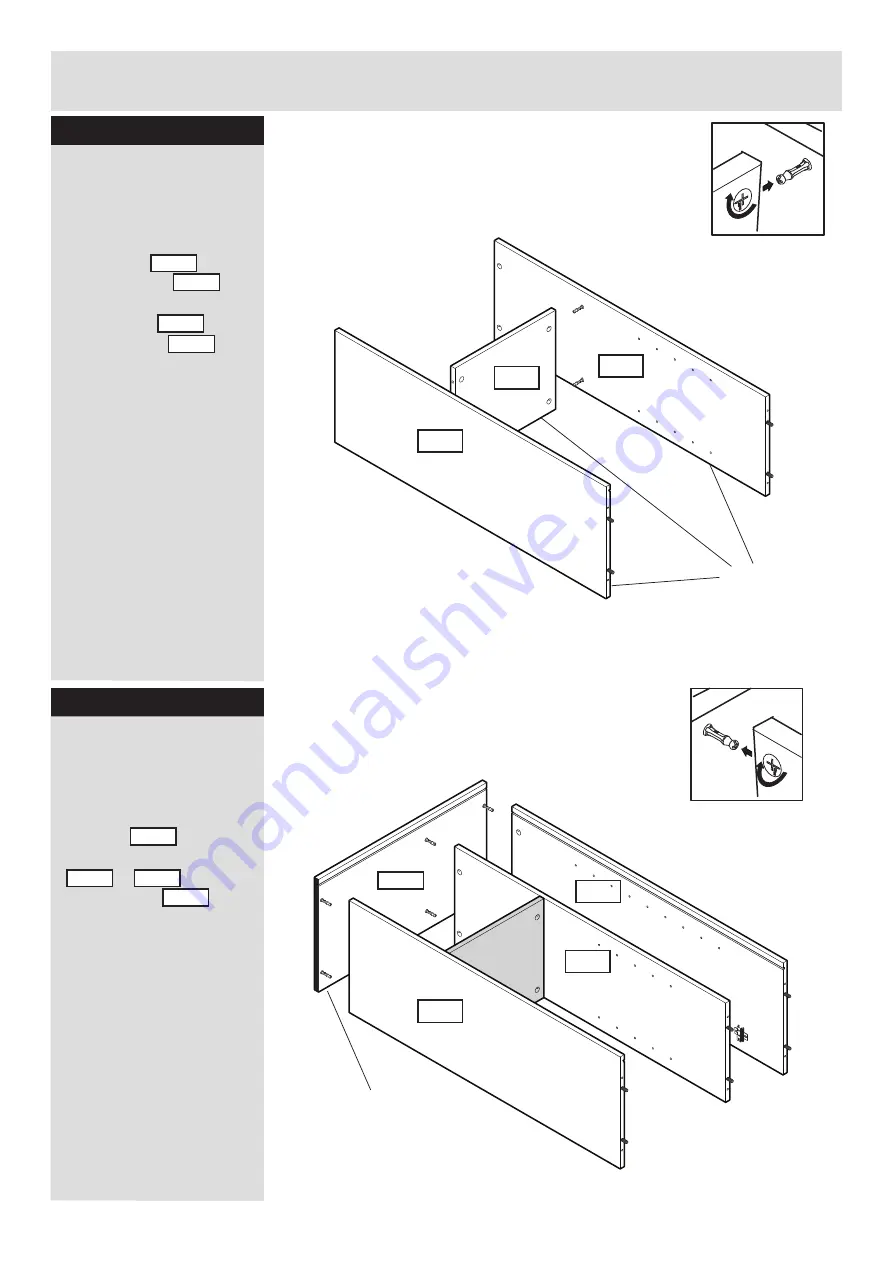
Step

 7

Step

 8

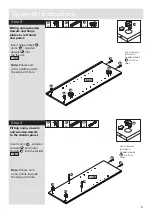
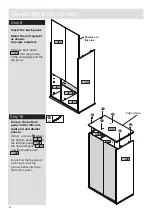
Connect the shelf

to the rh end panel 

and divider.

Connect the dowels in

the rh end                to the

cams in shelf

1483

1483

1485

Connect the dowels in

the divider                to the

cams in shelf

1485

Edged face

Edged face

1484

1483

1482

1484

1484

1485

Turn the cam 180 degrees

to lock.

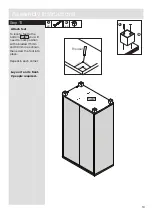
Connect the top

to the end panels 

and divider.

Connect the dowels in

the top                to the

cams in the end panels

            &           and the 

divider panel           .

1480

1482

1480

1483

1484

Turn the cam 180 degrees

to lock.

Содержание 2 Door Cupboard 044 9426 Series

Страница 1: ...se read these instructions fully before starting assembly If you need help or have damaged or missing parts call the Customer Helpline 01709 534123 Please turn to back page for important information w...

Страница 2: ...niture when moving it do not drag otherwise the joints may be damaged From time to time check that there are no loose screws on this unit This product should not be discarded with household waste Take...

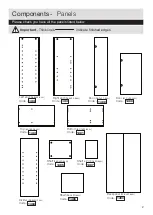
Страница 3: ...es indicate finished edges 1482 1484 Backpanel 97 8x57 6cm Code 1490 Top 60 0x34 8cm 1480 Code Shelf 36 0x30 6cm Code 1485 Shelf x 2 19 0x30 6cm Code 1487 Shelf 36 0x30 6cm Code 1486 Left end 96 8x34...

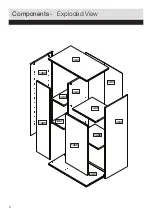
Страница 4: ...3 Components Exploded View 1480 1490 1483 1485 1484 1486 1481 1489 1488 1482 1487 1487...

Страница 5: ...ss Headed Screwdriver Tape Measure Eye protection when using a hammer Large cam x 10 Code 760001103 Metal dowel x 10 Code 760003004 A B C D G J L 45mm screw x 6 Code 690001075 M Wooden dowel x 6 Code...

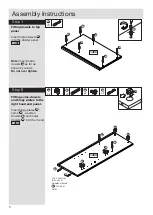
Страница 6: ...panel 1480 B B x6 B Insert metal dowels into the divider panel 1480 B B B B B B 1483 H H A A A x2 x2 H x2 E B B B x2 Insert hinge plates cams wooden dowels and metal dowels into the rh end 1483 Fitti...

Страница 7: ...owels and metal dowels into the divider 1484 Fitting cams dowels and wooden dowels to the divider panel A E B Note Ensure cam arrow points towards the edge with hole A A Fitting cams wooden dowels and...

Страница 8: ...ach hinges to the doors a Insert hinges into holes ensure the hinge is straight 90 degree angle b Before securing the hinges we recommend you pre mark the doors using a bradawl c Secure hinges to door...

Страница 9: ...83 1483 1485 Connect the dowels in the divider to the cams in shelf 1485 Edged face Edged face 1484 1483 1482 1484 1484 1485 Turn the cam 180 degrees to lock Connect the top to the end panels and divi...

Страница 10: ...1482 1480 Stand the unit upright as shown 2 people required Raw face to this side x6 C C Secure the bottom panel to the left end right end and divider panels Using screws attach the bottom panel to t...

Страница 11: ...4 Lay unit on its front 2 people required 1481 Attach feet Bradawl 15mm 15mm 38mm 38mm To locate feet to the bottom you will need to mark position with a bradawl 15mm and 38mm in as shown then screw t...

Страница 12: ...ensuring these are the same DIAG 1 If they are not DIAG 2 Apply slight pressure as indicated DIAG 3 until they are the same M XX YY YY XX M x6 Step 13 Add stability blocks Slide the thin point of the...

Страница 13: ...15 Locate shelves onto shelf studs Locate shelves and onto shelf studs 1486 1487 Locate shelf studs Step 14 K K K K K K K K Fittings you will need for this step Push shelf studs into panels and 1482 1...

Страница 14: ...3 Hanging doors b Tighten screw shown to lock hinges in position See Hinge adjustment page if the doors need adjusting Repeat the process on the remaining doors B B B Underside view Ensure the undersi...

Страница 15: ...osen screws shown and move doors to suit Re tighten screws Hinge adjustment b To move doors in or out loosen screw shown and move doors to suit Re tighten screws c To move doors left or right loosen o...

Страница 16: ...when working with tools If in doubt consult a qualified person With help move the unit into position Warning 2 people required Lift with care Warning D x1 J x2 IN ORDER TO PREVENT OVERTURNING THIS PRO...

Страница 17: ...ou can also e mail your requests to us at customer helpdesk addspacefl co uk Alternatively you can write to us at Customer Service Department Addspace Furniture Limited Braithwell Way Hellaby Industri...

Страница 18: ...Notes...

Страница 19: ...Notes...

Страница 20: ...Notes...

Отзывы: