


5
Basic setup using open network
Tip:
Check out our video tutorial on our YouTube channel at
http://videos.jbmedia.de
For the basic setup of the Wifi Bridge please connect your Light-Manager to the PC.
Install the latest version of Lightman Studio (currently 4.0) and perform a firmware
update of the Light-Manager. Please load your configuration containing all light scenes
and actuators. Select options -> Wifi Bridge from the menu. If no bridge has been
configured so far also the log screen will open up. If this is not the case this can be
done manually from the view menu.
Next step is opening your Wifi network, which means disabling network security
temporarily. For this purpose load the configuration page of your router by typing its
IP address in the browser address bar. In case of a Fritz!Box you can enter fritz.box
instead, too. In the wireless settings section remove the encryption type resp. set it to
OPEN.
Now it is the right time to connect the Wifi Bridge to the AC adaptor or to another USB
port of the PC. The USB connector of the Bridge is for power purposes only; it is not
recognized as a USB device by the PC. In the log screen status messages start to
appear.
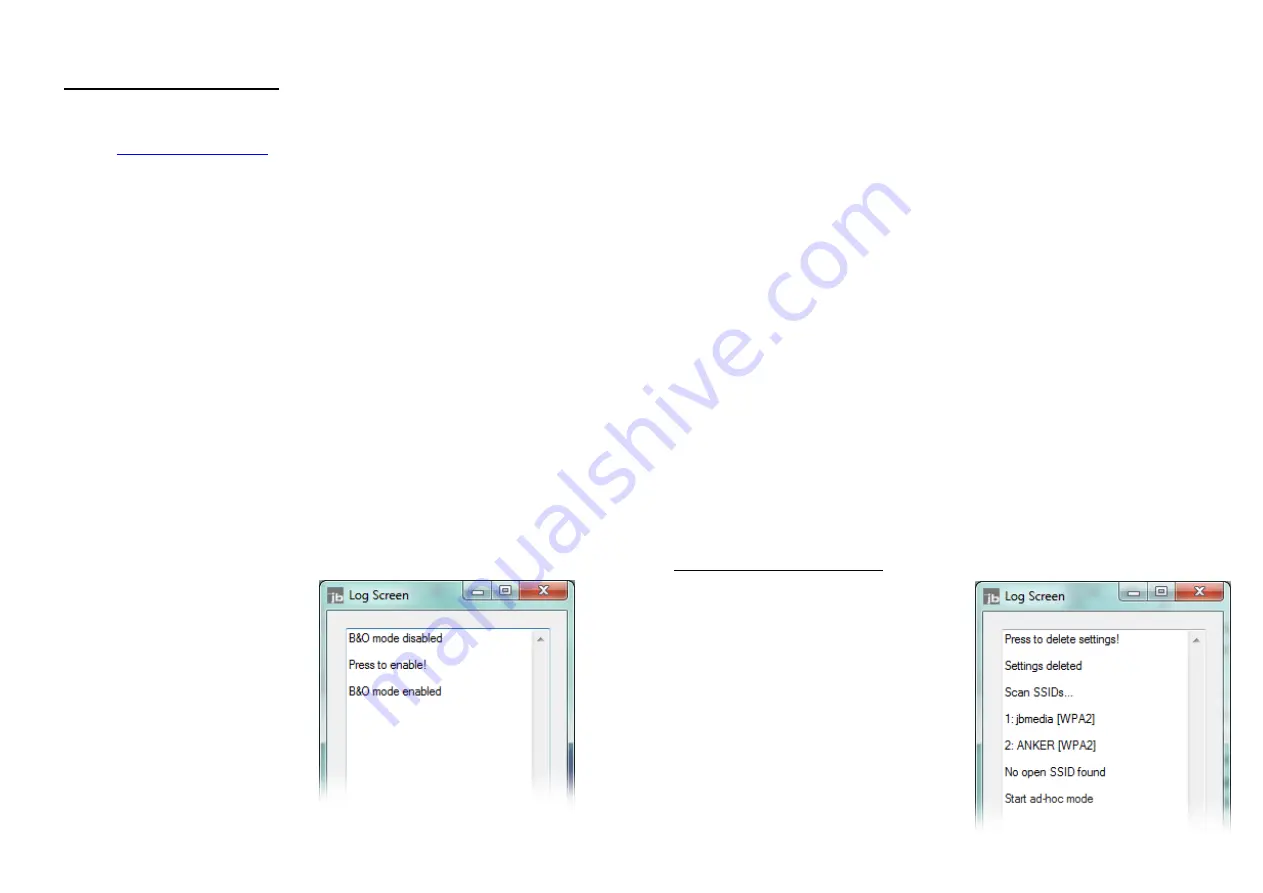
Note for Bang & Olufsen users:
By
default the Bridge is adjusted to
normal mode. To change to B&O
mode please wait until you see the
message “B&O mode disabled, press
to enable”. By pressing the front
button of the Bridge shortly the B&O
mode will be enabled. This will be
confirmed in the log screen. To repeat
this process just disconnect the Bridge
from USB and connect it again.
6
Next the Bridge will list up all available Wifi networks together with the encryption
type. The desired network should be listed as OPEN. The Bridge will now start
connecting to that network automatically. If there are multiple open networks you will
be asked one after another if the Bridge shall connect. You can select the networks by
pressing the front button in this case.
After a few seconds a connection has been established and the Bridge got an IP
address from the router. Now you can configure the security parameters. Also a name
can be assigned to the Bridge. This is useful if multiple Bridges are in use. On
Windows PCs the Bridge is even available under this name (plus trailing “/” character)
in the browser conveniently. Finally click on the set button to transfer the settings to
the Bridge. It will then disconnect from the network and start connecting right away,
this time with the security parameters assigned before. In the log screen this process
can be monitored.
The connection can be established only after the security settings have been re-
applied in the router. This should be done in the router configuration page now. The
bridge continues trying to connect until the connection can be established. With WPA2
enabled this can take up to 30 seconds because of the high encryption quality offered
by this algorithm.
Basic setup using ad-hoc mode
There is a second way to connect to the
Bridge. In this case it is not necessary to open
your Wifi network, but the PC must have a Wifi
card. This method is recommended for laptop
computers as these are mostly connected
wirelessly anyway.
The steps are the same as described before,
just leave your Wifi network secured. The
bridge will list available networks again. After
Содержание Wifi bridge
Страница 1: ...Wifi Bridge Manual of operation 2...