Export graphics
Insert a USB flash drive into the
USB-A connector to save your
soldering process in csv format.
Profi les
Advanced Functionalities
It provides detailed graphics of tip temperature and power delivery in real time during
solder joint formation for analysis purposes. This helps you decide how to adjust your
process or which tip to use to obtain the best quality soldering.
Graphics
Get greater quality and control in your production.
Manage your whole soldering process remotely in real time.
For more information see
www.jbctools.com/webmanager.html.
Designed to avoid thermal shock when soldering Ceramic Chip components like
MLCC, this new and unique feature allows controlling the heating ramp up rate of the
tool to gradually increase the temperature of the component through all the phases of
the soldering process. Up to 25 fully confi gurable soldering profi les can be stored.
System Notifications
The following icons will be displayed on the screen’s status bar.
Station update
Download the JBC Update File from
www.jbctools.com/software.html
Insert the USB flash drive with the
file downloaded to the station.
Files
Update
USB fl ash drive is connected.
Station is controlled by a PC.
Station is controlled by a robot. down-
loaded to the station.
Station software update. Press INFO to
start the process.
Warning. Press INFO for failure description.
Error. Press INFO for failure description,
the type of error and how to proceed.
JBC Net
350
ºC
Port
1
Power
45%
Temp levels
T245
250
350
380
19:29
Port
1
T245
19:29
Sleep
Tool in the stand
Actual Temp. 180º
Delay to hibernation: 29:30
Port
1
T245
19:29
Hibernation
Actual Temp. 25ºC
Peripherals
19:29
Pedal
PD_a
Module
MSE
Pedal
PD_a
PD_b
None
Peripherals
19:29
Pedal
PD_a
Module
MSE
Peripherals
19:29
Pedal
PD_a
Function
Extractor
Mode
released
Minimum time
0 sec
Back
Peripherals
Port 2-PA
Port 2-PA
Port 2-PA
Port 2-PA
19:29
Pedal
None
Module
None
Module
MSE_a
None
350
ºC
Port
1
Power
45%
Temp levels
T245
250
350
380
19:29
Port
1
T245
19:29
Sleep
Tool in the stand
Actual Temp. 180º
Delay to hibernation: 29:30
Port
1
T245
19:29
Hibernation
Actual Temp. 25ºC
Peripherals
19:29
Pedal
PD_a
Module
MSE
Pedal
PD_a
PD_b
None
Peripherals
19:29
Pedal
PD_a
Module
MSE
Peripherals
19:29
Pedal
PD_a
Function
Extractor
Mode
released
Minimum time
0 sec
Back
Peripherals
Port 2-PA
Port 2-PA
Port 2-PA
Port 2-PA
19:29
Pedal
None
Module
None
Module
MSE_a
None
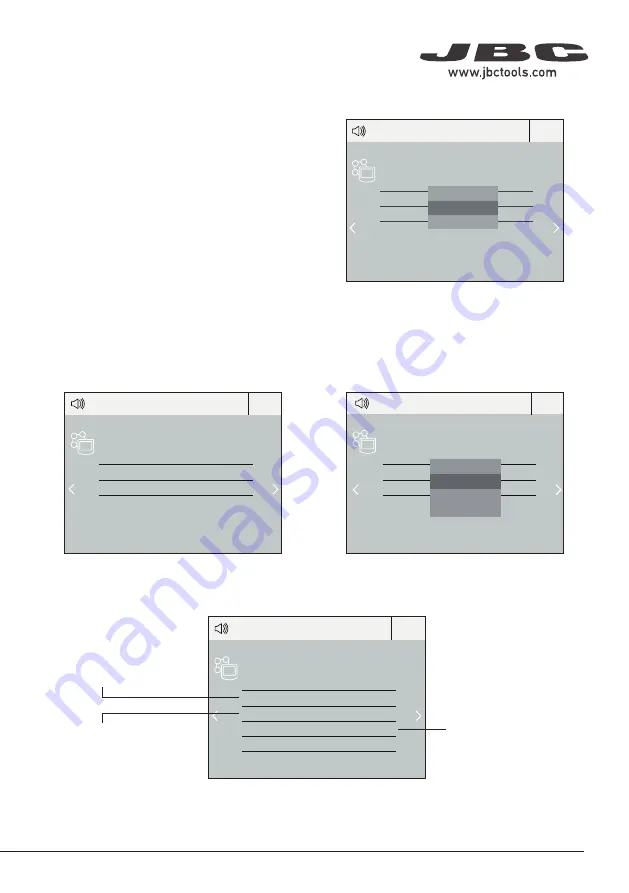
Pedal Set Up
1.
Enter the
Peripherals
Menu
and
select the
port
which you want to join to the pedal.
2.
Select the pedal from the list (
Note that your
first connection is denoted as “a”, the second
being “b”, etc. (e.g. PD_a, PD_b,...)
.
3.
Set the pedal function according to your work needs:
Select how the pedal
acts: as
Sleep
,
Extractor
(hibernation)
or as a
module
switch.
Select the activating
mode of the pedal
(
pressed
/
released
)
Set the duration
of the activation
time when pressing
the pedal once*.
For continuous
functioning keep the
pedal pressed.
*NB: The same can be applied inversely when continually pressing the pedal and releasing to activate.
1.
After connecting the module, enter the
Peripherals Menu and select the port which
you want to join with the module.
2.
Select the module from the list of peripheral
connections. Remember your first connection
is denoted as “a”, the second being “b”, etc.
(e.g. MS_a, MS_b,...).
3.
Press Menu or Back to save changes.
Peripheral Set Up
7
40 mm
50 mm
60 mm
80 mm
100 mm
130 mm
130 mm
para manuales - color gris
200 mm
300 mm
Содержание DDE-1C
Страница 1: ...DDU 2 Tool Control Unit INSTRUCTION MANUAL...
Страница 12: ...Notes 12...
Страница 13: ...Notes 13 40 mm 50 mm 60 mm 80 mm 100 mm 130 mm 130 mm para manuales color gris 200 mm...
Страница 14: ...Notes 14...


