


7
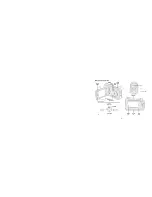
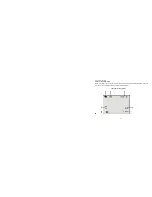
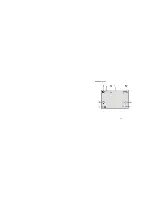
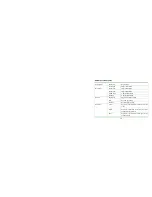
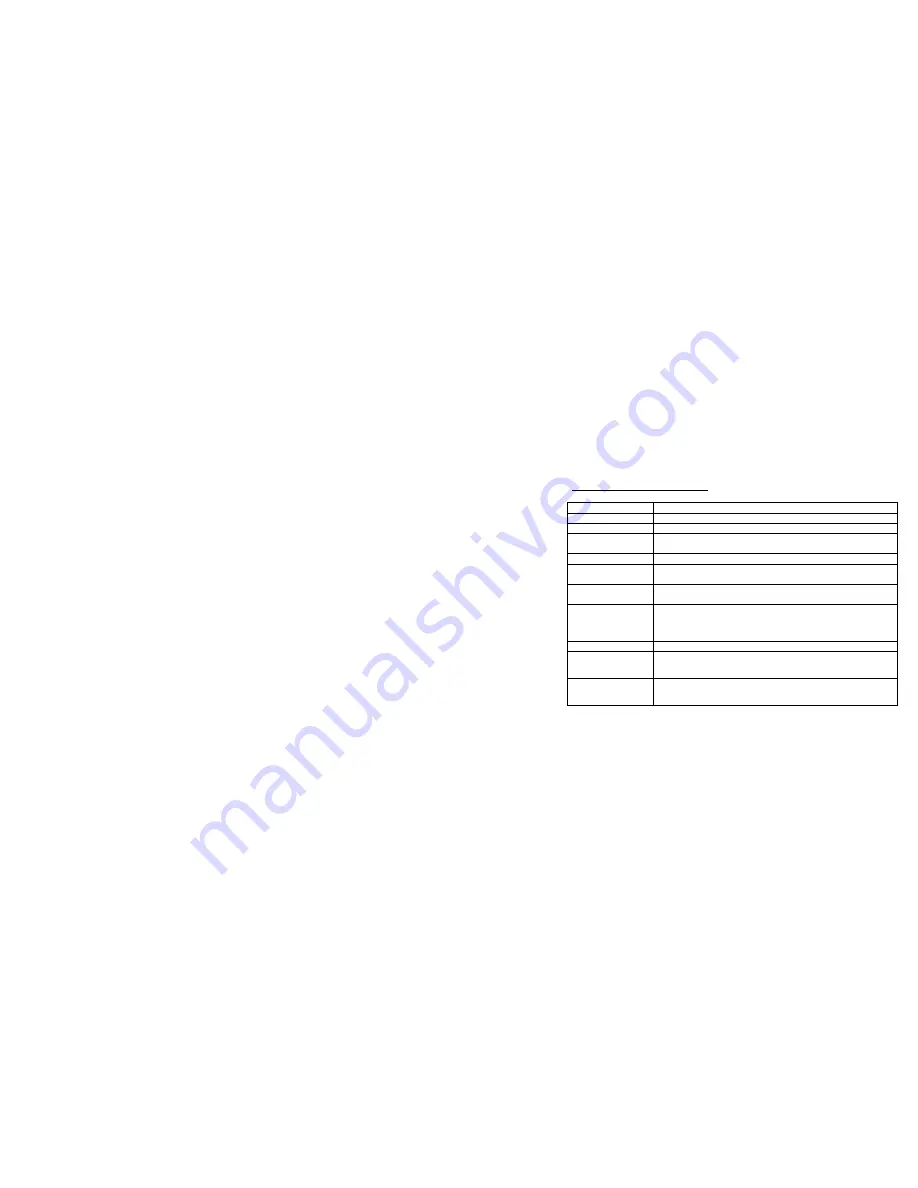
Buttons and Function Indicators
Buttons/Indicator
Function
Power Button
Press to turn recorder ON and OFF
SHUTTER button
Press to Start / Stop Video recording or Take Still Photo
Zoom IN
Zoom OUT
Press to zoom IN
Press to zoom OUT
MENU Button
Press to OPEN or exit the MENU selection
MODE Button
Press to select desired Recording MODE: Video Recording or
Taking Still Photos
PLAYBACK Button
Press to select the PLAYBACK Mode or exit / return to
Recording MODE
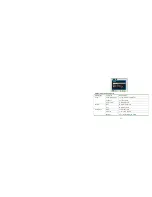
UP Button
- Recording MODE: press UP to remove icons from LCD screen
or dim the screen.
- MENU selected; press to scroll UP available options.
DOWN Button
-MENU selected; press to scroll DOWN available options
LEFT Button
Selects files and MENU, moves photos to the left (when the photo
is enlarged and set at Pan mode) and switches to the 10 sec delay
Self-Timer Mode or vice versa.
RIGHT Button
Selects files and MENU, moves photos to the right (when the
photo is enlarged and set at Pan mode) and turns LED supporting
light On or OFF in Recording MODE.


